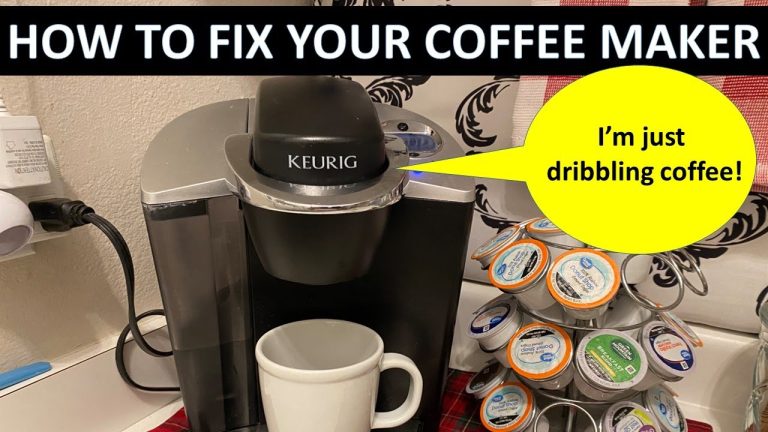

Is your Keurig coffee maker not working this morning? I know that panic well. I once stood in my kitchen, staring at a silent machine that acted more like a heavy paperweight than a brewer. It ruins the whole morning vibe.
But don’t toss it in the trash just yet. I have fixed dozens of these machines over the years for friends and family. I’ll show you exactly why your Keurig won’t brew coffee anymore and help you fix it fast.
Common Reasons a Keurig Coffee Maker Stops Working
I used to think my Keurig was broken forever when it stopped. It felt like my morning was cancelled. But these machines are actually quite simple. They are like simple puzzles.
Most issues come down to water flow or power. I have fixed so many of these for friends. It is rarely a total failure. Usually, it is just a small hiccup. Here is what I look for first.
Power Issues I See All the Time
First, let’s look at the basics. If your keurig won’t turn on, don’t panic. I once drove to my mom’s house to fix her “broken” brewer. The plug was just loose. It happens to the best of us.
Check your outlet first. A kitchen outlet can trip easily. If there is keurig no power at all, plug a lamp into that same outlet. Does the lamp work? If not, reset your outlet breaker.
Sometimes the power cord is the bad guy. Wiggle it a bit. If the keurig coffee maker not powering on issue stops when you hold the cord, you found the problem. It might be a loose wire inside.
Keurig Turns On but Won’t Brew
This one is the most annoying. The lights are on. The machine makes noise. But your cup stays empty. If your keurig runs but no coffee comes out, it is likely a clog.
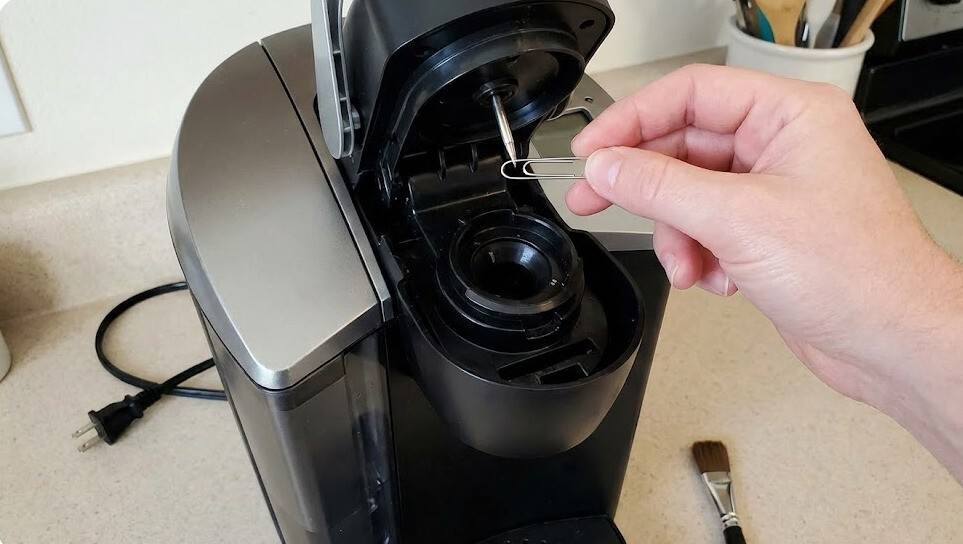
Think of it like a clogged straw. Tiny coffee grounds get stuck in the exit needle. This blocks the water flow. I use a paperclip to clear it out. It works like a charm.
Air bubbles can also block the water. This causes an “airlock.” If you hear a grinding noise and have a keurig not brewing problem, the pump is dry. You might need to “burp” the machine.
Keurig Shuts Off Mid-Brew
Does your machine start and then quit? It feels like it is teasing you. If your keurig stops mid brew, it might be overheating. The sensors get confused.
Vibration is another sneaky cause. I helped a neighbor, Sarah, with this last week. Her keurig turns off while brewing because it shook the water tank loose. The machine thought it was out of water.
We just seated the tank firmly. The problem vanished. Scale buildup can also cause this. It chokes the heater. The machine shuts down to protect itself.
Blinking Lights and Error Messages
Those lights are trying to talk to you. They are not random. Keurig blinking lights usually mean two things: “I need water” or “Clean me.”
If you see a keurig flashing power light, check the lid. Is it closed all the way? Sometimes the sensor is just dirty. A quick wipe can fix it.
Don’t ignore keurig error lights. They are a map to the problem. My old K-Classic flashed blue when the tank was low. It flashed red when it needed descaling. Listen to the lights.
Step-by-Step: How I Fix a Keurig Coffee Maker That’s Not Working
Here is my honest process. I don’t use fancy tools. I just use what I have in my kitchen drawers. Most of the time, the fix is simpler than you think. It just takes a little patience.
Quick Reset That Solves Many Problems
I always start here. It is like rebooting your WiFi router or computer. Computers need a nap sometimes, and so does your brewer.
Unplug your machine from the wall. Remove the water tank completely. Let it sit for about five minutes. This drains the internal power.
Plug it back in and attach the tank. Turn it on. You might be surprised. About half the time, this clears the confusion in the machine’s brain.
Deep Cleaning the Needles (My Go-To Fix)
If the reset fails, I check the needles. This is usually the culprit. Coffee grounds get stuck in the top needle. It acts like a cork in a bottle.
Grab a regular paper clip. Straighten one end out. Safety tip: Unplug the machine first and watch your fingers. Those needles are sharp.
Gently poke the paper clip into the needle holes. Move it around to loosen the gunk. I do this whenever the stream looks weak. It makes a huge difference.
Descaling: The Fix People Skip (But Shouldn’t)
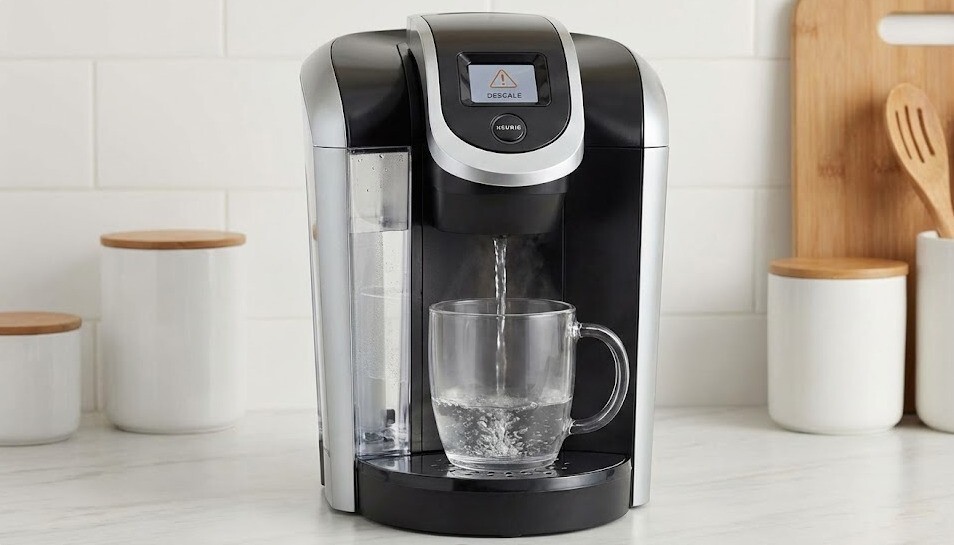
Scale is the silent killer of coffee makers. It is just mineral buildup from your water. If your coffee tastes bitter or the stream is thin, you need to descale keurig machines immediately.
You can use white vinegar or a store-bought solution. I used vinegar once. My kitchen smelled like a salad for two days. I prefer the Keurig solution now because it is odorless.
Run the solution through on the largest brew setting. Do this until the “Add Water” light comes on. It flushes out the white crust hiding inside the pipes. This is vital keurig maintenance.
Fixing Water Flow and Reservoir Problems
Sometimes the water tank is just sitting wrong. It looks connected, but the valve at the bottom isn’t open. It is like a kink in a garden hose.
I take the tank off and fill it. Then I put it back and give it a firm press. You should see a couple of bubbles rise up. That means water is flowing.
My friend Mike thought his pump was dead. I just reseated his tank and tapped the side. It started brewing instantly. Sometimes, trial and error is the best teacher.
When Your Keurig Is Still Not Working
Sometimes, despite our best efforts, the machine is just done. It is hard to admit. But knowing when to stop fixing saves you stress.
How I Decide If It’s a Hardware Failure
Listen to your machine. Does it make a loud buzzing sound but pump no water? That is usually a failed pump. It is trying, but the motor is shot.
If the water comes out cold, the heating element is broken. These internal parts are hard to replace. They are buried deep inside the plastic shell.
I look at the cost. If a part costs $40 and a new machine is $80, I stop. It is not worth the surgery.
Repair vs Replace: My Honest Recommendation
Keurigs are not built to last forever. In my experience, the typical lifespan is about three to five years. If yours is older than that, it had a good run.
If you are on a tight budget, look for a sale. But don’t spend hours fixing a five-year-old unit. Plastic parts get brittle over time.
I usually replace mine when the pump fails. It is just easier. Plus, newer models often brew hotter and quieter.
Tips to Prevent Your Keurig From Stopping Again
I want my morning coffee to be a sure thing. A little care goes a long way. These habits keep my machine running like new.
My Weekly Cleaning Routine
I wipe down the outside every Sunday. I also wash the drip tray and K-cup holder in soapy water. It prevents mold and sticky messes.
This counts as basic how to clean keurig hygiene. It keeps the sensors clean. Clean sensors mean fewer error lights.
Water Quality Matters More Than People Think
This is my biggest tip. Do not use tap water if you have “hard” water. The minerals will clog your machine fast.
I use filtered water from my fridge. It tastes better and has fewer minerals. This simple switch doubled the life of my last brewer.
Habits That Extend Keurig Lifespan
Don’t leave water in the tank for days. Fresh water is best. Also, run a “cleansing brew” without a pod after making hot cocoa.
Sugary drinks leave a sticky residue. A hot water rinse washes it away. Follow this keurig care guide mentality, and you will have fewer keurig maintenance tips to search for later.
FAQs: Keurig Coffee Maker Not Working
Why is my Keurig coffee maker not working even after descaling?
You likely have a clog in the needles. Descaling cleans the pipes, but not the exit needle. Use a paper clip to clear the grounds from the needle manually.
How do I reset a Keurig that won’t brew?
Unplug the machine and remove the water reservoir. Wait five minutes. Plug it back in and reattach the reservoir. This clears the internal computer memory.
What does it mean when my Keurig lights keep blinking?
Blinking lights usually indicate a low water level or a need for descaling. If the water tank is full, the magnetic sensor in the tank might be stuck or dirty.
Can a Keurig be repaired or should I replace it?
If it is a clog or scale, repair it. If the pump motor fails or the heater breaks, replace it. Repairs often cost more than a new unit.
How long should a Keurig coffee maker last?
Expect your Keurig to last between three to five years with daily use. Regular cleaning and using filtered water can extend this lifespan significantly.
Final Thoughts: What I’ve Learned From Years of Using Keurig Machines
Fixing a broken appliance feels great. It saves money and waste. I hope this guide helped you get your morning cup back.
Most of the time, your Keurig just needs a good cleaning. It isn’t truly broken. A little vinegar and a paper clip work wonders.
Take care of your machine, and it will take care of you. Now, go enjoy that fresh cup of coffee. You earned it.