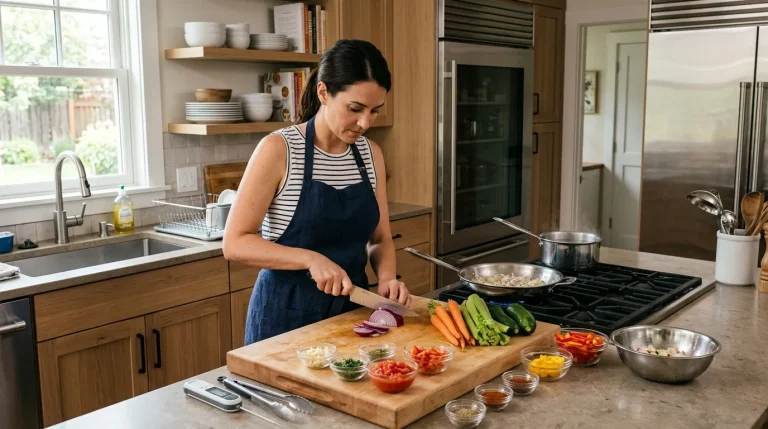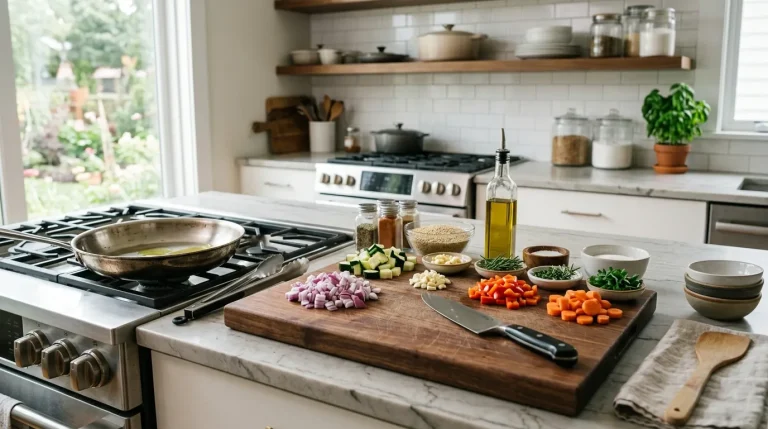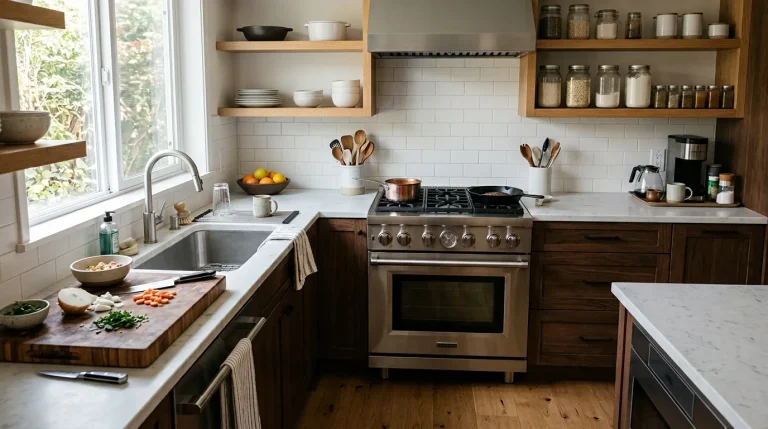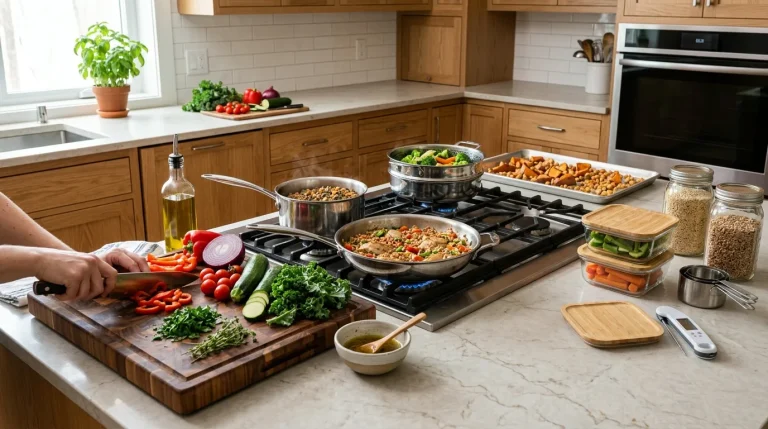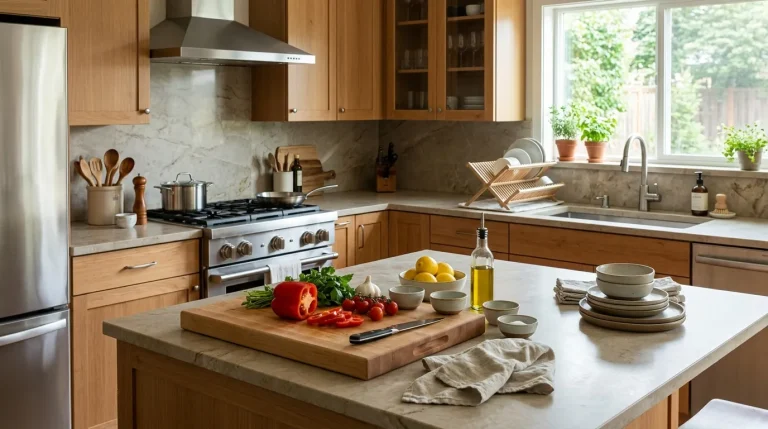
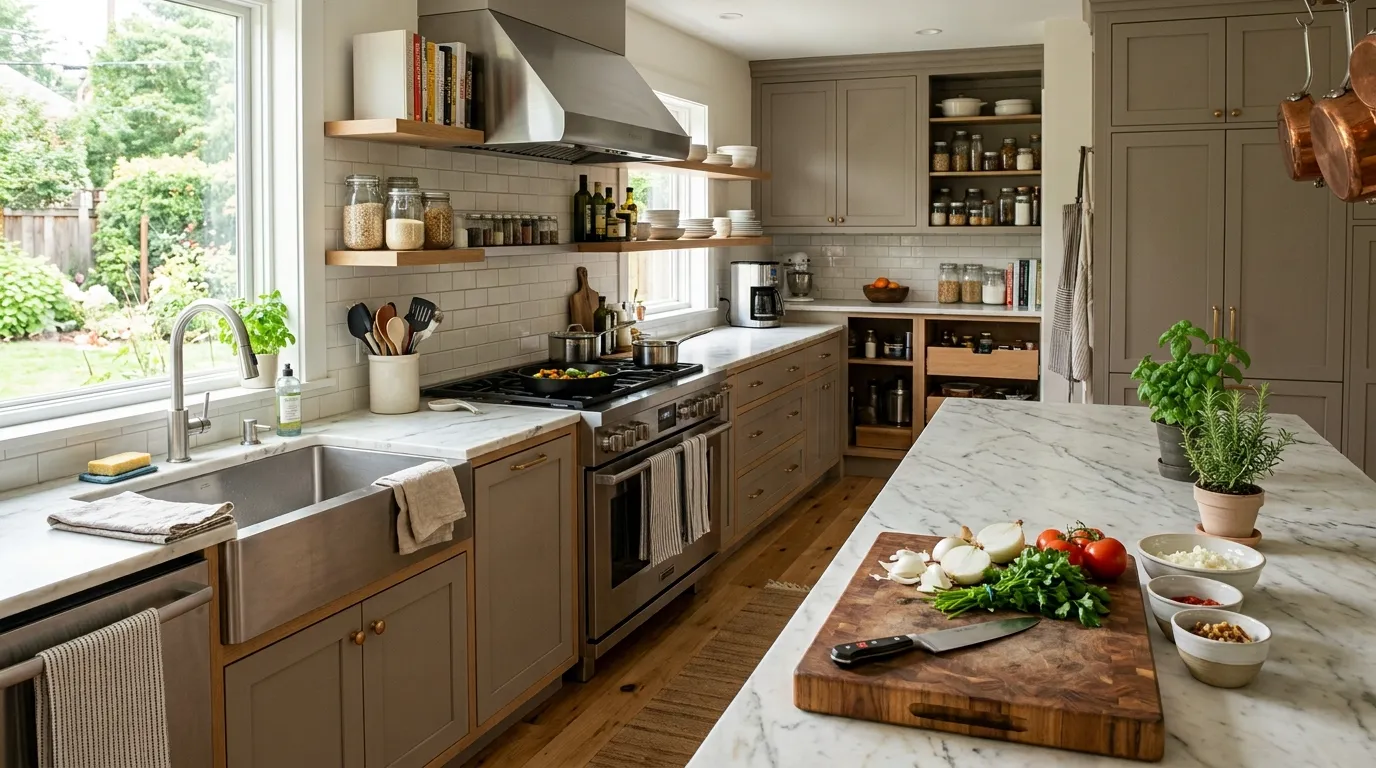
Kitchen workflow optimization reduces steps, improves safety, and makes meals faster and better.
If you want a kitchen that flows like a well-rehearsed dance, you are in the right place. This Kitchen Workflow Optimization Guide blends real-world know-how with clear steps you can use today. I have set up home kitchens and busy café lines, and I’ll show you what works, what to skip, and how to keep it simple without losing speed or joy.
What Is Kitchen Workflow Optimization?
Kitchen workflow optimization is the art of placing tools, food, and people so tasks move with less effort. It cuts walking, reaching, and waiting. It also makes prep, cooking, and cleanup run in a smooth loop.
In this Kitchen Workflow Optimization Guide, we will shape your space around your tasks. We will use simple rules and small changes to get big results. The goal is to save time, stay safe, and cook with ease.
The Core Principles: Work Triangle vs. Work Zones
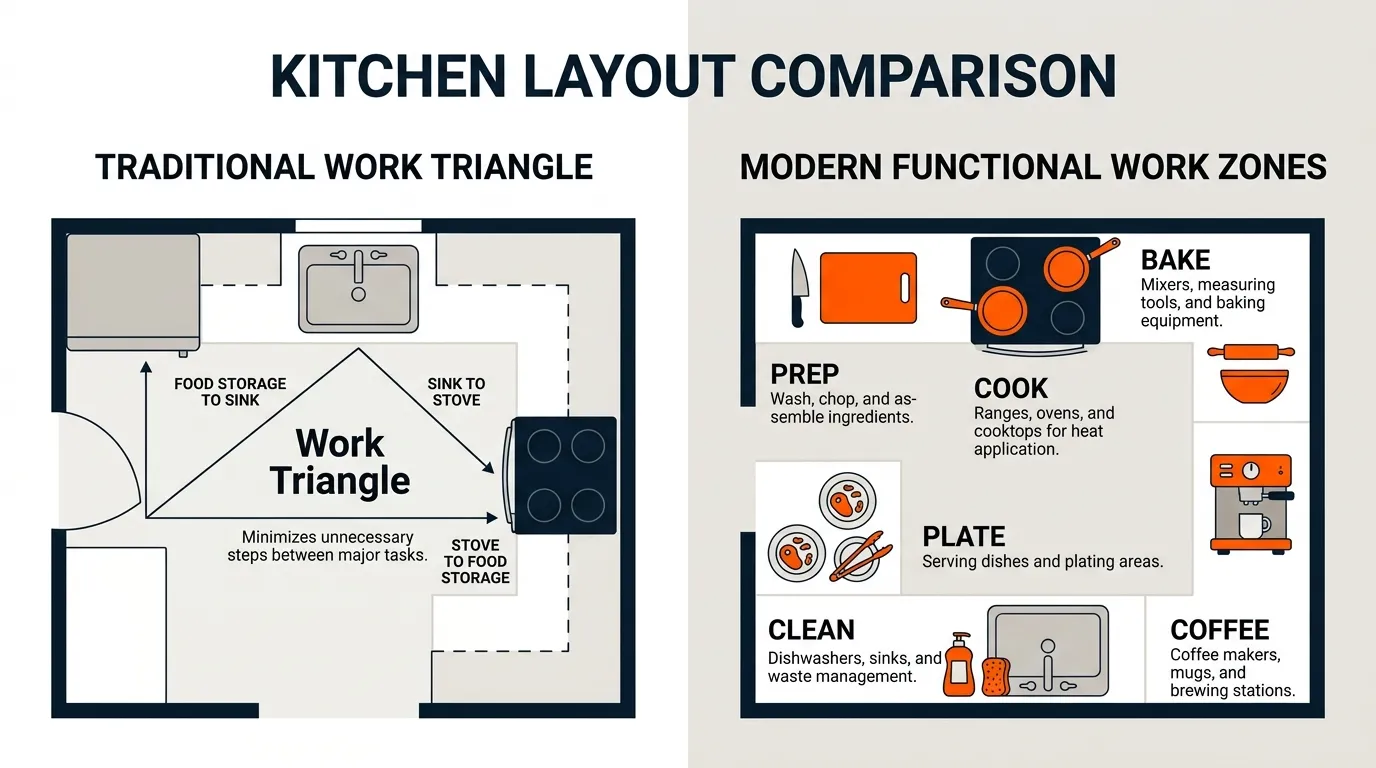
The classic work triangle links the sink, stove, and fridge. It works well in many homes. But modern kitchens often use work zones. That means you set up spots for prep, cooking, baking, plating, storage, and cleaning.
Use these rules to guide your setup:
- Keep tools at the point of use. Knives near the board. Pans at the stove. Soap at the sink.
- Put heavy use items between shoulder and hip height. Save your back and time.
- Store bulk and extras far away, dailies up front. Make grab-and-go your default.
Our Kitchen Workflow Optimization Guide balances triangle and zones. Choose the method that fits your space and habits.
Step-by-Step Kitchen Workflow Optimization Guide
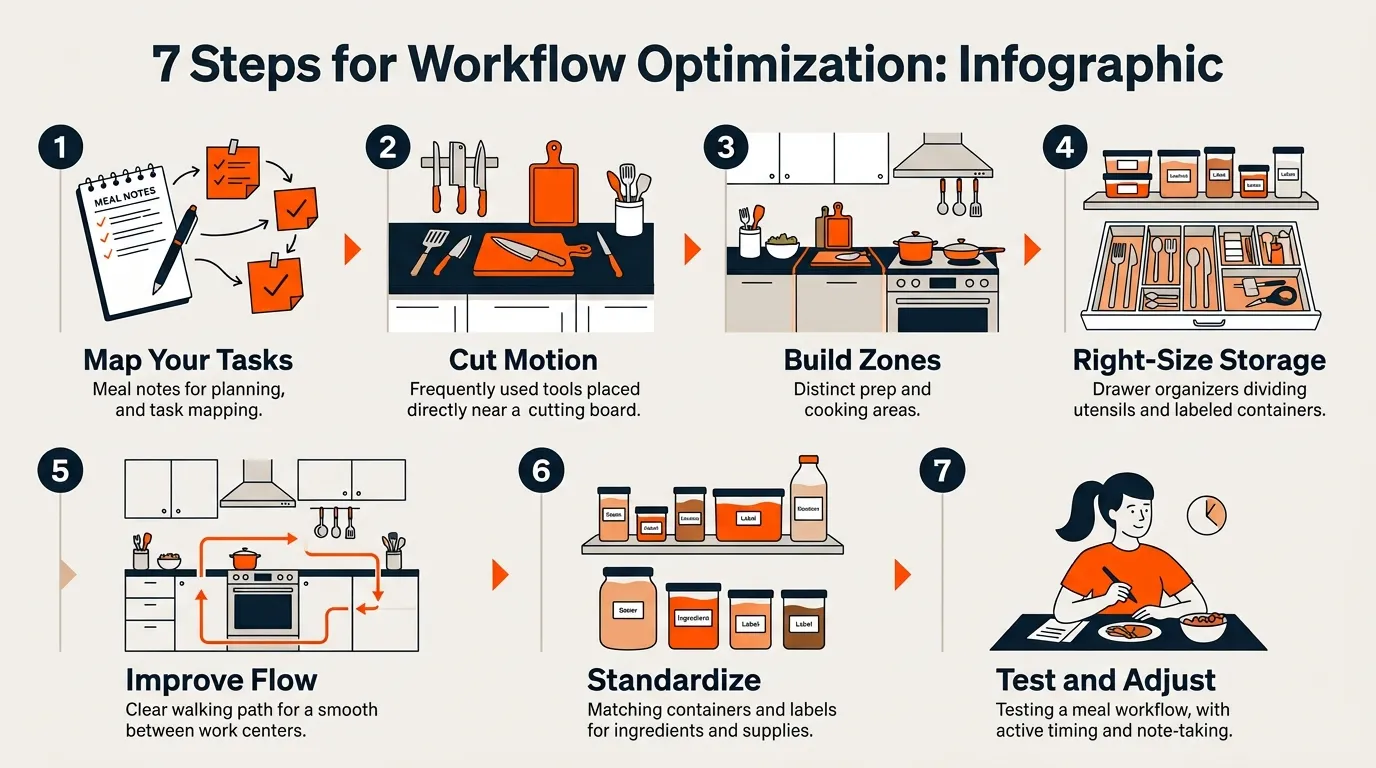
Follow these steps to tune any kitchen, small or large:
- Map your tasks. List your top ten meals. Note what you reached for and where you moved.
- Cut motion. Move the top 20 items you use every day within one step of where you use them.
- Build zones. Create prep, cook, bake, plate, clean, and coffee zones as needed.
- Right-size storage. Use bins, dividers, and drawer inserts. Label by task.
- Improve flow. Keep paths clear. Leave drop zones near the fridge, oven, and sink.
- Standardize. Set par levels for staples. Use the same container sizes and labels.
- Test and adjust. Cook three meals. Fix the slow parts first.
I used this exact plan in a 20-seat brunch spot. We moved the waffle iron and syrup to the pass. Ticket times dropped by four minutes without new gear. This Kitchen Workflow Optimization Guide works because it starts with what you use, not what looks cute.
Layout Strategies for Different Kitchen Types
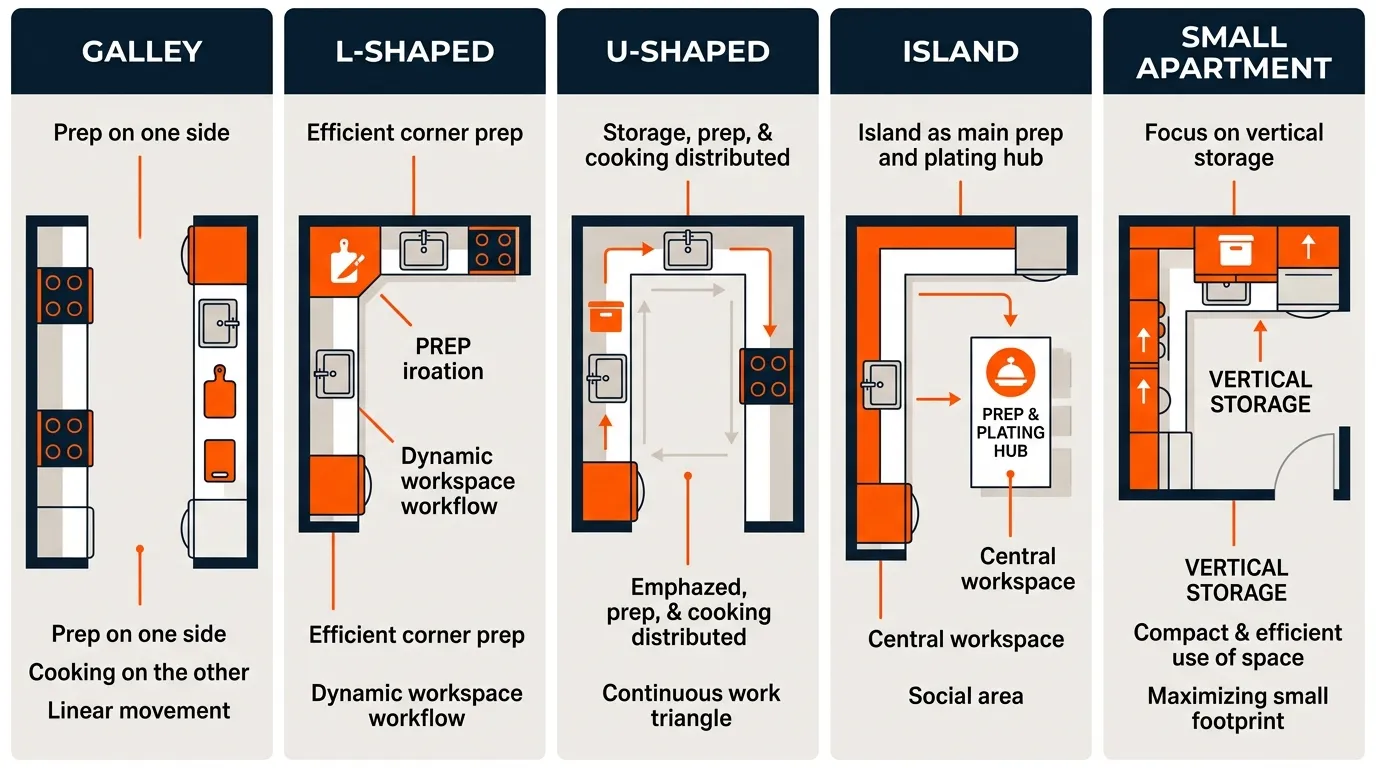
Your layout sets the rules of the game. Use these tips:
- Galley kitchen: Keep prep on one side, cook on the other. Put the sink in the middle to split tasks.
- L-shaped kitchen: Make the corner a prep zone with a board, knives, and bowls.
- U-shaped kitchen: Use one leg for storage, one for prep, and the base for cooking.
- Island kitchen: Treat the island as your prep and plate hub. Add a trash cutout for fast cleanup.
- Small apartments: Go vertical. Mount rails, magnet strips, and pegboards for daily tools.
In our Kitchen Workflow Optimization Guide tests, tight spaces gained the most. Hitting “one reach, one step” gave the biggest wins.
Mise en Place: Prep Systems That Save Time
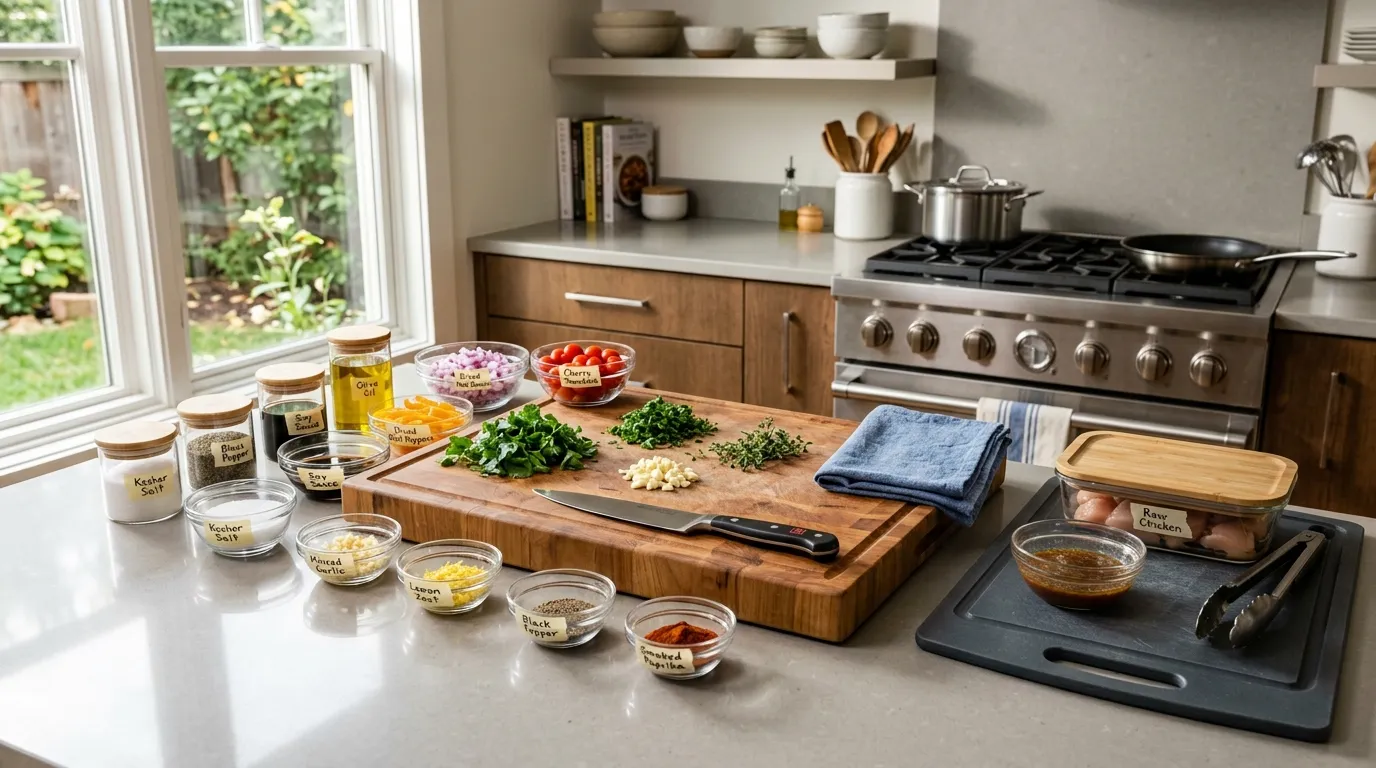
Mise en place means “everything in its place.” It is the backbone of speed and calm. Do these things:
- Pre-portion staples. Make small deli cups your friend for herbs, garlic, and sauces.
- Color-code boards and bins. Green for produce, red for meat, blue for cooked foods.
- Label and date. Use large, clear labels on the side of containers.
Batch prep saves time and lowers stress. Industry data shows that standard prep lists can cut cook time by up to 30 percent. Our Kitchen Workflow Optimization Guide leans on mise en place because it makes every meal feel easy.
Time and Motion: Lean and 5S for the Kitchen
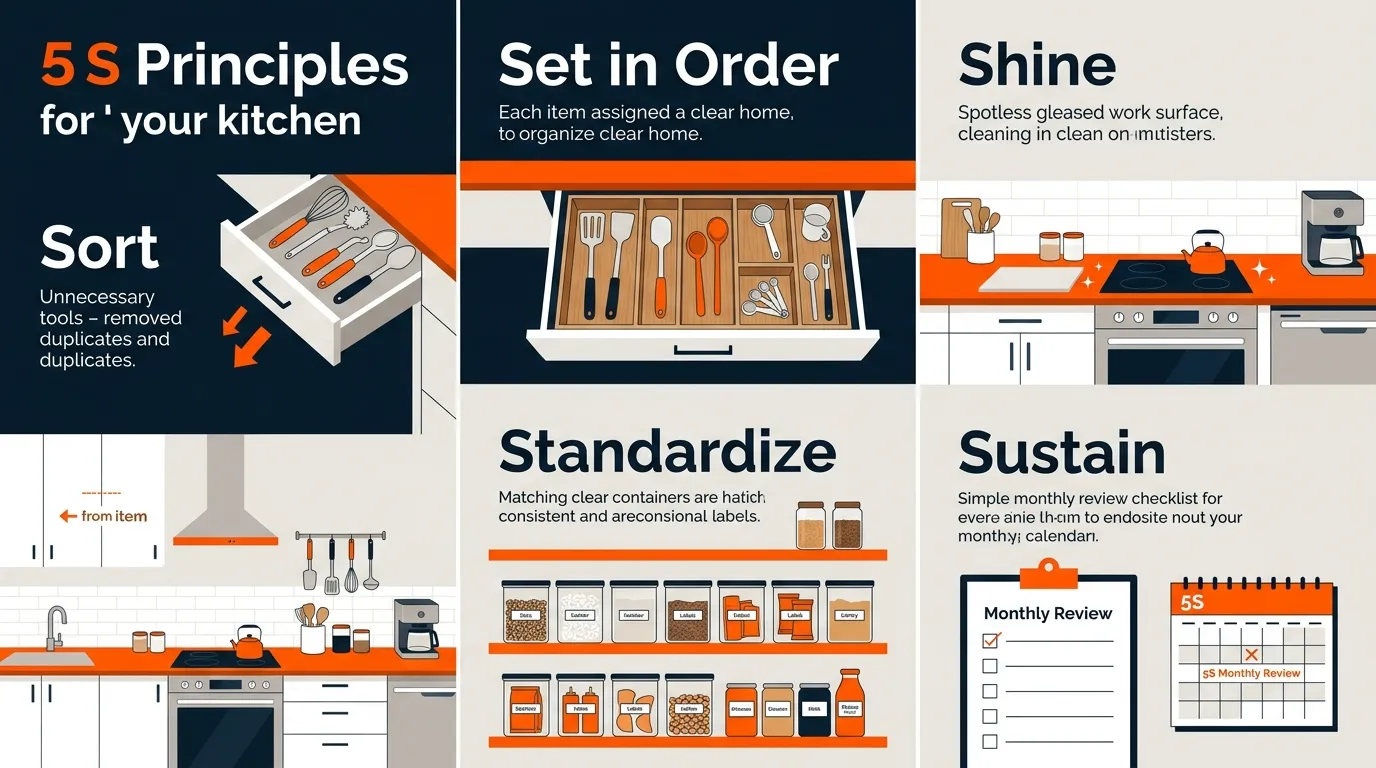
Lean methods help you cut waste. The 5S steps are sort, set in order, shine, standardize, and sustain.
- Sort. Remove tools you never use. Keep only daily drivers at hand.
- Set in order. A home for each thing. Shadow boards help.
- Shine. Clean as you go. Wipe and reset after each task.
- Standardize. Use the same bins and labels in all zones.
- Sustain. Review once a month. Ten minutes keeps chaos away.
Published research shows that 5S reduces motion, rework, and wait time. The Kitchen Workflow Optimization Guide adapts 5S so it feels natural at home too.
Tools, Tech, and Simple Automation
You do not need a smart kitchen to move fast. Start with low-cost gear:
- Drawer dividers for knives, tools, and spices.
- A scale and timer for repeat results.
- A sharpener, bench scraper, and squeeze bottles.
- A rolling cart for overflow or party service.
Add tech when it helps:
- Digital thermometers for safe temps.
- Label printers for batch prep and leftovers.
- App-based inventory and par lists to avoid stock-outs.
I once swapped a dull set for two sharp chef’s knives and a boning knife. It was like giving the line wings. The Kitchen Workflow Optimization Guide prioritizes sharp, safe, simple tools first.
Safety, Sanitation, and Ergonomics
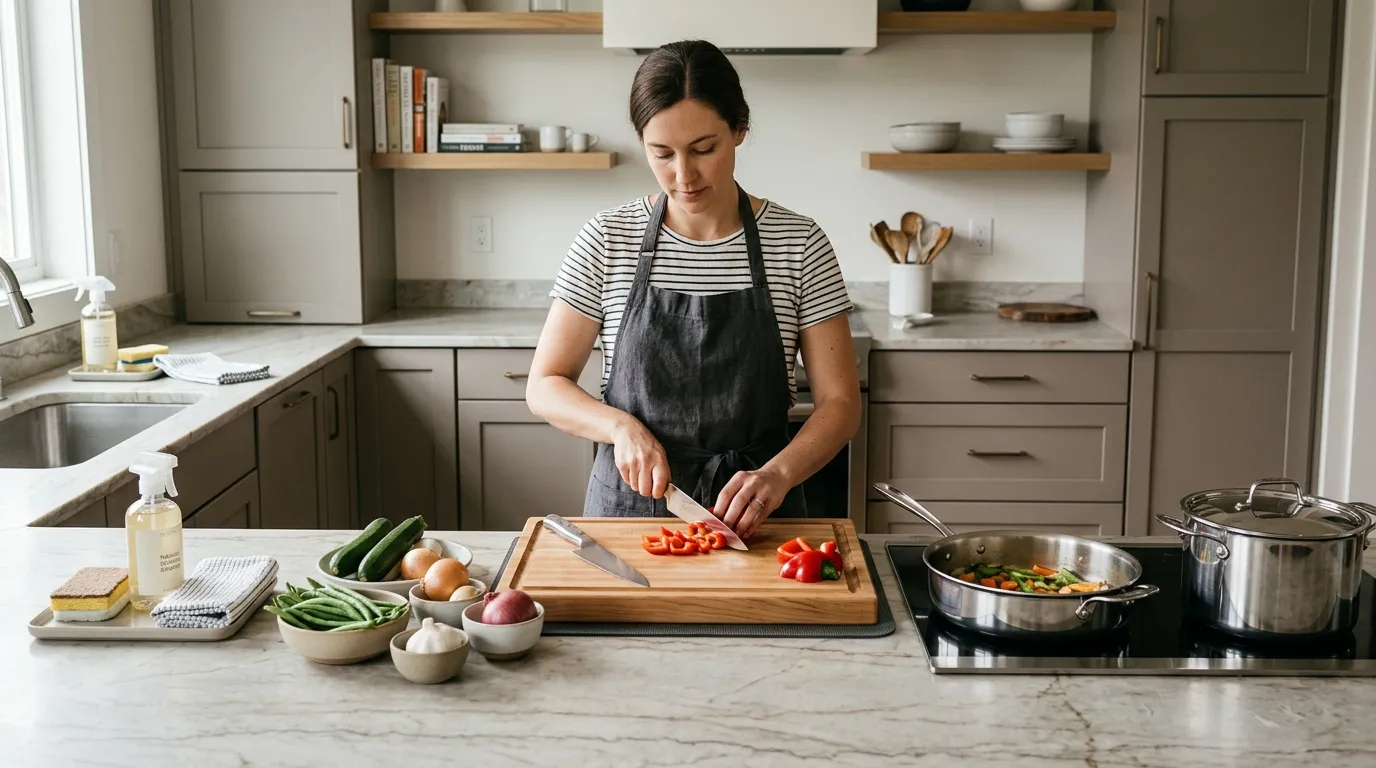
A fast kitchen is a safe kitchen. Build safety into your flow:
- Keep knife work away from the cook line to avoid bumps.
- Use non-slip mats and stable boards.
- Set “hot zones” near the stove for sheet pans and lids.
- Store cleaning kits in one visible spot. Refill weekly.
Ergonomics matters. Bend less. Lift close to the body. Use risers to lift work to a comfy height. Studies link better ergonomics to lower injury risk and quicker work. Our Kitchen Workflow Optimization Guide folds safety into every step.
Teamwork and Communication at Home or Work
Even at home, more than one cook needs a plan. Write short steps that all can follow.
- Use a whiteboard for the dinner plan and prep list.
- Assign zones. One person preps, one cooks, one plates.
- Use simple codes. “Behind hot,” “Corner,” “Hands,” “Sharp” keep bumps low.
In a café I helped, we placed quick callouts on shelf tags. New staff were fast by day three. The Kitchen Workflow Optimization Guide makes systems easy to teach and keep.
Inventory, Par Levels, and Shopping Rhythm
Running out slows you down. Set pars, which are the target amounts to keep on hand.
- Pick a shopping day. Check staples the day before.
- Use first in, first out. Put new stock behind old.
- Keep a running list on the fridge or an app.
A steady rhythm cuts waste and saves cash. This Kitchen Workflow Optimization Guide uses pars to keep your flow smooth through the week.
Metrics That Matter and How to Improve
What you measure, you improve. Track three simple metrics:
- Steps per meal. Count with a phone pedometer once a week.
- Prep time for a go-to dish. Aim to shave 10 percent.
- Search time. How long to find a tool? Goal is under five seconds.
Run small tests. Move one tool. Try one new bin. Repeat what works. Industry cases show that small, steady changes beat one big remodel. The Kitchen Workflow Optimization Guide favors quick wins you can do today.
Budget, Limitations, and Smart Trade-Offs
You can optimize on any budget. Start free by moving items and clearing space. Next, spend on high-impact upgrades:
- A quality chef’s knife and board.
- Drawer dividers and clear bins.
- Good lighting over prep and cook zones.
Be honest about limits. Tiny kitchens need tight menus. Old appliances set the pace. Work with what you have. This Kitchen Workflow Optimization Guide helps you pick the best trade-offs for your home.
Frequently Asked Questions of Kitchen Workflow Optimization Guide
What is the first step to improve my kitchen workflow?
Start by listing your top meals and mapping each step. Move daily tools and staples within one step of where you use them.
How does the work triangle compare to zones?
The triangle links sink, stove, and fridge for short paths. Zones group tasks like prep, cooking, and cleaning; most modern homes gain more from zones.
Do I need new gadgets to optimize?
No. Begin with layout changes, labels, and sharp knives. Add low-cost tools like bins and timers before buying anything big.
How does this Kitchen Workflow Optimization Guide help a small kitchen?
It reduces steps and clutter with vertical storage and tight zones. One reach and one step rules give the biggest gains in small spaces.
How often should I review my setup?
Do a ten-minute reset each week and a deeper review each month. Tweak one thing at a time and test with a real meal.
Can this work for both home and café kitchens?
Yes. The core rules are the same. The Kitchen Workflow Optimization Guide scales by adding more stations and checklists for teams.
What are par levels and why do they matter?
Par levels are target stock amounts for key items. They prevent stock-outs, reduce waste, and make shopping fast.
Is mise en place worth the effort for home cooks?
Yes. Prepping a few items in advance cuts stress and cook time. It also improves food quality and consistency.
How do I keep knives safe and handy?
Use a magnetic strip or in-drawer holder near the prep zone. Keep them sharp and store tips pointed away from traffic.
What metric should I track first?
Track steps per meal with your phone. It is simple and shows instant gains when you move tools closer.
Conclusion
Great kitchens do not happen by chance. They grow from a few simple rules, checked often, and shaped to your life. This Kitchen Workflow Optimization Guide gives you a clear path to faster meals, safer work, and calmer nights.
Pick one change today. Move your most used tools to arm’s reach. Cook a favorite meal and time it. Share your win, subscribe for more guides, and tell me which part of your kitchen you will optimize next.