
Regular cleaning, safety checks, and simple fixes keep your microwave running longer.
I work with home appliances every day, and I’ve seen how smart microwave maintenance saves money, prevents smells, and keeps food safe. This guide turns expert practice into easy steps you can follow at home. Read on to master microwave maintenance without the stress.

Source: mdtechservices.com
What Is Microwave Maintenance and Why It Matters
Microwave maintenance means simple tasks that keep your unit clean, safe, and strong. It helps your food heat faster and more evenly. It also cuts power waste and lowers repair costs. Most important, it prevents fires, sparks, and bad odors.
When I visit homes, most issues come from splatter, blocked vents, or worn door seals. A quick wipe today beats a big bill later. With regular microwave maintenance, you protect the magnetron, keep the waveguide cover clean, and stop damage to the turntable motor.
You do not need fancy tools. You need time, care, and a plan. This article gives you that plan and shows you how to stay safe.

Source: youtube.com
Safety First: Rules You Should Never Skip
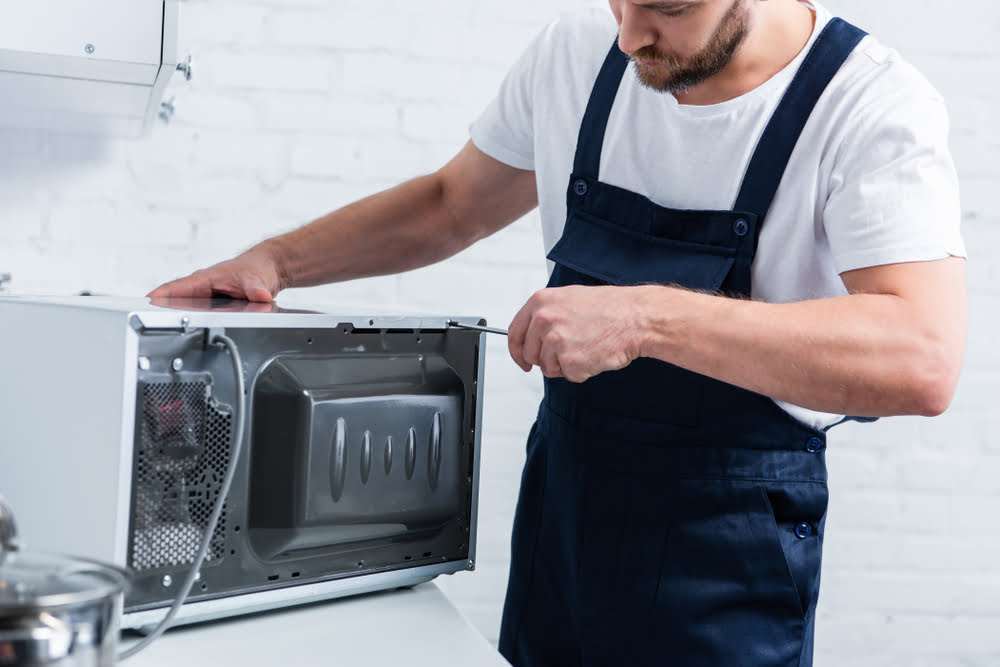
Your microwave holds high voltage. Even when it is off. Do not open the cabinet. Leave internal parts to a certified tech.
Follow these safety rules:
- Unplug before you clean or move it. This is non‑negotiable.
- Keep at least a few inches of space around vents for airflow.
- Never run it empty. That can damage the magnetron fast.
- Use only microwave‑safe containers. No metal, no twist ties, no sealed jars.
- Wipe the door gasket and the frame. A clean seal stops leaks and heat loss.
- If you see sparks, stop at once and unplug. Find the cause before you use it again.
From years in the field, I’ve learned that care beats courage. If a fix needs tools inside the case, call a pro.
Source: co.uk
My Proven Weekly Microwave Maintenance Routine
I use this simple routine in my own kitchen and on service calls. It keeps things fresh and safe.
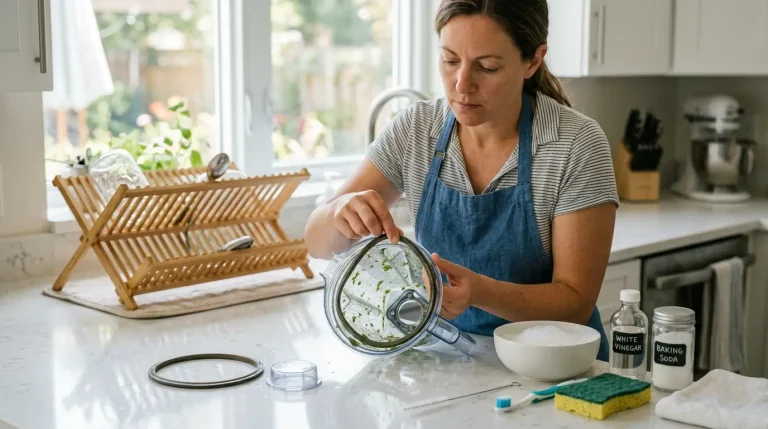
Tools I keep on hand:
- Soft cloths or paper towels
- Mild dish soap
- White vinegar and baking soda
- A small soft brush or old toothbrush
- A microfiber towel
Steps for weekly microwave maintenance:
- Unplug the unit. Remove the turntable and roller ring.
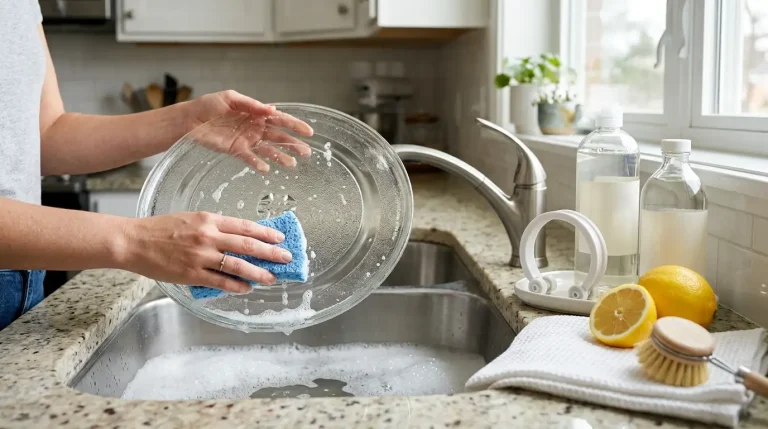
- Wash the glass plate and ring with warm soapy water. Dry well.
- Steam clean the cavity. Heat a cup of water with a splash of vinegar for 2–3 minutes. Let it sit 2 minutes. Wipe walls and ceiling.
- Check the waveguide cover. If it has grease or splatter, wipe it gently. If it is soft, cracked, or burned, replace it.
- Wipe the door seal and the latch area. A clean seal improves heat and safety.
- Vacuum or brush the vent openings to clear dust.
- Dry all parts. Reinstall the plate so it sits flat on the coupler.
This 10‑minute microwave maintenance routine can add years to your unit.

Source: youtube.com
Monthly And Quarterly Tasks That Pay Off
These tasks go deeper and help catch small issues early.
Monthly:
- One‑cup water test. Heat 1 cup of room‑temp water for 2 minutes. It should be hot or near boiling. Note the time and result. Changes can flag a problem.
- Inspect the cord and plug. Look for kinks, burns, or loose fit.
Quarterly:
- Over‑the‑range models. Remove and wash the metal grease filters with warm soapy water. Let them dry. Replace charcoal filters every 6–12 months as needed.
- Check the turntable drive. Make sure the coupler is snug and clean.
- Tighten mounting screws on built‑in or OTR units if safe and accessible.
- Surge protection. Use a quality surge protector. Power spikes can kill a magnetron.
In my service notes, units with this schedule have fewer breakdowns and better heat.
Source: aphw.com
Deep Cleaning And Odor Removal That Actually Works
Burnt popcorn smell can linger for weeks. I have removed that odor many times with these steps:
- Steam with vinegar. Heat a bowl with 1 cup water and 2 tablespoons vinegar for 3–5 minutes. Let it sit, door closed, for 5 minutes. Wipe dry.
- Baking soda paste. Mix baking soda with a little water. Dab on stuck spots. Let sit 10 minutes. Wipe gently.
- Citrus refresh. Heat lemon slices in water for 2–3 minutes. Let rest with door closed.
- Overnight deodorize. Place an open box of baking soda inside (microwave off) overnight. Remove before use.
Avoid harsh abrasives and metal scouring pads. They scratch the cavity and can cause rust. That rust can lead to arcing. Good microwave maintenance means gentle methods that still get results.

Source: youtube.com
Troubleshooting Common Issues You Can Fix Safely
Some problems are fast fixes. Others need a pro. Start with these checks.
- Turntable not turning. Clean the roller ring and coupler. Re‑seat the plate so the grooves align. Make sure the plate is not upside down.
- Uneven or slow heating. Cover food to trap steam. Stir and rotate. Check that the door closes tight. If the one‑cup test gets worse over time, call a tech.
- Sparks or arcing. Remove any metal, foil, or twist ties. Clean food splatter from the waveguide cover. If the cover is burned, replace it before use.
- Loud or new noises. Remove the plate and run a few seconds with a cup of water. If the noise stops, the plate or ring was the cause. If it stays, the fan or motor may be dirty or worn.
- Bad smells or smoke. Stop, unplug, and vent the room. Find the source before using it again.
If a fix needs you to open the case, stop. High‑voltage parts like the capacitor can hold a charge. A certified tech should handle internal repairs.

Source: westinghouse-egy.com
When To Repair Or Replace Your Microwave
Microwave maintenance delays big costs, but every unit ages out. Use this quick guide.
Repair makes sense when:
- The unit is under 5–7 years old and parts are easy to find.
- The issue is minor, like a door latch, turntable ring, or keypad overlay.
- Labor plus parts cost less than half the price of a new unit.
Replacement makes sense when:
- The magnetron, high‑voltage diode, or control board fails on an older unit.
- The repair quote is close to the cost of a new microwave.
- There are cracks, rust, or burn marks in the cavity.
- Your needs changed. Maybe you want a convection or inverter model.
Over‑the‑range and built‑ins cost more to replace. Yet old units can leak grease into cabinets and struggle with venting. I tell clients to factor energy use, better sensors, and warranty. Often, a new unit wins after year 8–10.

Source: youtube.com
Smart Habits And Energy Efficiency
Good microwave maintenance also saves energy.
- Cover food to cut cook time. Steam speeds heat transfer.
- Use sensor cook and reheat. These settings adjust power to prevent waste.
- Match the container. Wide, shallow dishes heat faster than tall, thick bowls.
- Keep vents clear. Better airflow means better cooling and longer life.
- Avoid standby waste. Unplug if the clock draw bugs you, or use a smart plug.
- Do not run empty. It wastes power and can damage parts.
These small habits stack up. They also make results more even and tasty.
Care Tips For Different Microwave Types
Different styles need small changes in microwave maintenance.
- Countertop. Keep feet level and vents clear. Give it space on all sides.
- Over‑the‑range. Clean grease filters often. Replace the charcoal filter on schedule. Check the light and fan.
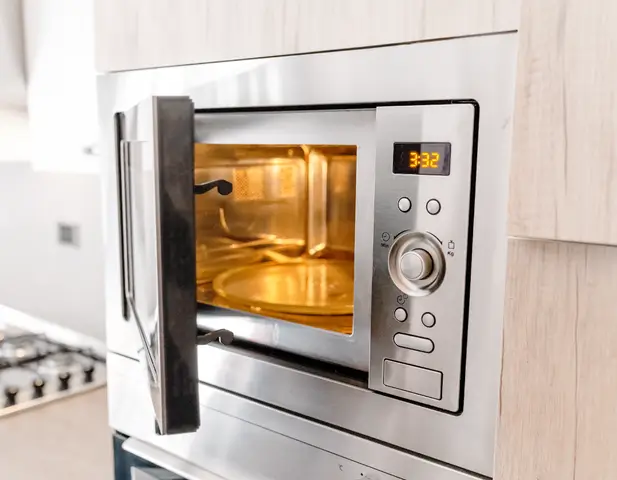
- Built‑in. Check trim vents and mounting screws. Ensure airflow per the manual.
- Convection microwaves. Wipe the convection fan cover. Clean racks after each use. Do not block airflow in convection mode.
- Inverter models. They deliver steady power, which helps with defrost. Treat them with the same cleaning care. Use surge protection to safeguard the inverter board.
If you are unsure, read the manual for your model. It lists tasks and clearances that matter.
The Ultimate Microwave Maintenance Checklist
Use this quick checklist to stay on track.
Daily or after messy use:
- Wipe spills at once.
- Leave the door ajar a minute to air out.
Weekly:
- Steam clean with water and vinegar.
- Wash the plate and roller ring.
- Wipe the door seal and latch area.
- Brush or vacuum vents.
Monthly:
- One‑cup performance test.
- Inspect cord and plug.
Quarterly:
- Clean or replace filters on OTR units.
- Check turntable coupler and alignment.
- Confirm clearance and level.
As needed:
- Deodorize with citrus or baking soda.
- Replace a stained or damaged waveguide cover.
- Call a pro for internal parts or wiring.
This checklist makes microwave maintenance simple, fast, and reliable.
Frequently Asked Questions of microwave maintenance
How often should I clean my microwave?
Do a light wipe after messy use and a deeper clean weekly. Filters on over‑the‑range models should be cleaned monthly and charcoal filters replaced every 6–12 months.
Is it safe to use vinegar for cleaning?
Yes. A mix of water and white vinegar is safe and effective. It loosens grime so you can wipe without harsh scrubbing.
Why does my microwave spark sometimes?
Sparks often come from metal, foil, or dried splatter on the waveguide cover. Remove any metal and clean the cavity; replace a damaged cover before using the microwave.
How can I tell if my microwave is losing power?
Run the one‑cup water test monthly and note the time to near‑boil. If it takes longer over time, you may have a magnetron or power issue that needs a pro.
Can I replace the turntable motor myself?
If you are skilled and the design allows easy access from below, maybe. But many models need cabinet removal, so a tech is the safer choice.
What containers are best for reheating?
Use glass or microwave‑safe plastic with a vented cover. Avoid metal trim, cracked dishes, and containers without the microwave‑safe label.
How long should a microwave last with good maintenance?
Most last 7–10 years. With steady microwave maintenance and gentle use, many reach the 10‑year mark or beyond.
Conclusion
Microwave maintenance is simple, fast, and worth it. A clean cavity, clear vents, and a tight door seal protect key parts and improve heating. Small weekly steps prevent big, costly repairs.
Start with the 10‑minute routine this week. Add the monthly checks to your calendar. If you found this helpful, subscribe for more appliance care tips, or leave a comment with your trick for beating burnt popcorn smells.