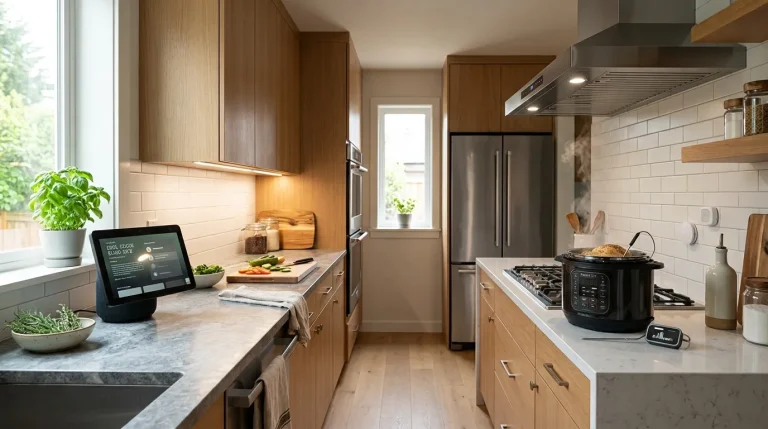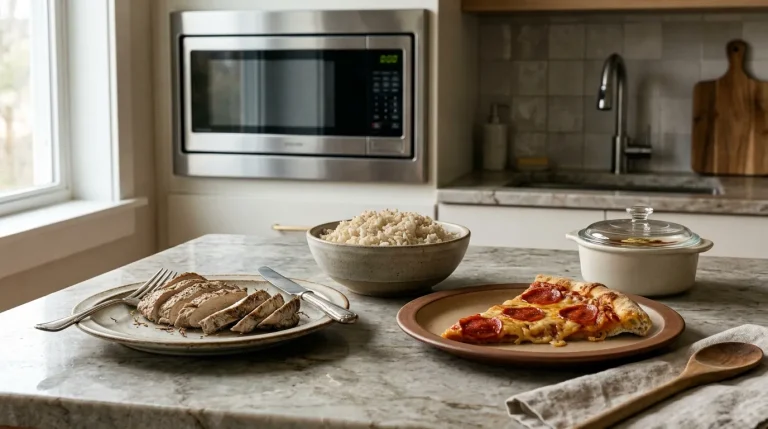
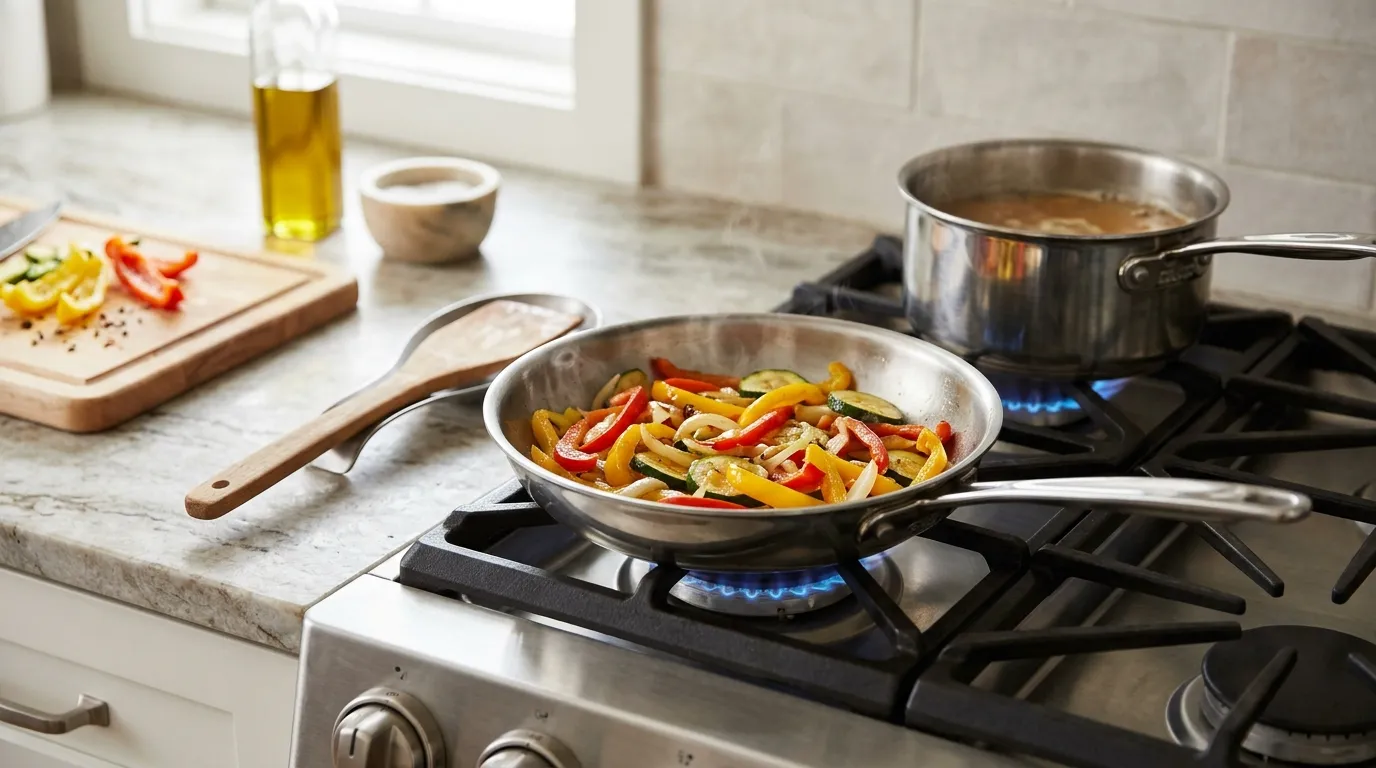
For most home cooks in the United States, the best cooking heat is medium. It works well for eggs, vegetables, grilled cheese, pancakes, and many everyday meals. Use low heat for gentle cooking and high heat only when you need to boil water, sear food, or heat a pan fast.
The right setting depends on the food, pan, oil, and cooking method. A good cook watches the food, not just the knobWhat Do Low, Medium, and High Heat Mean?
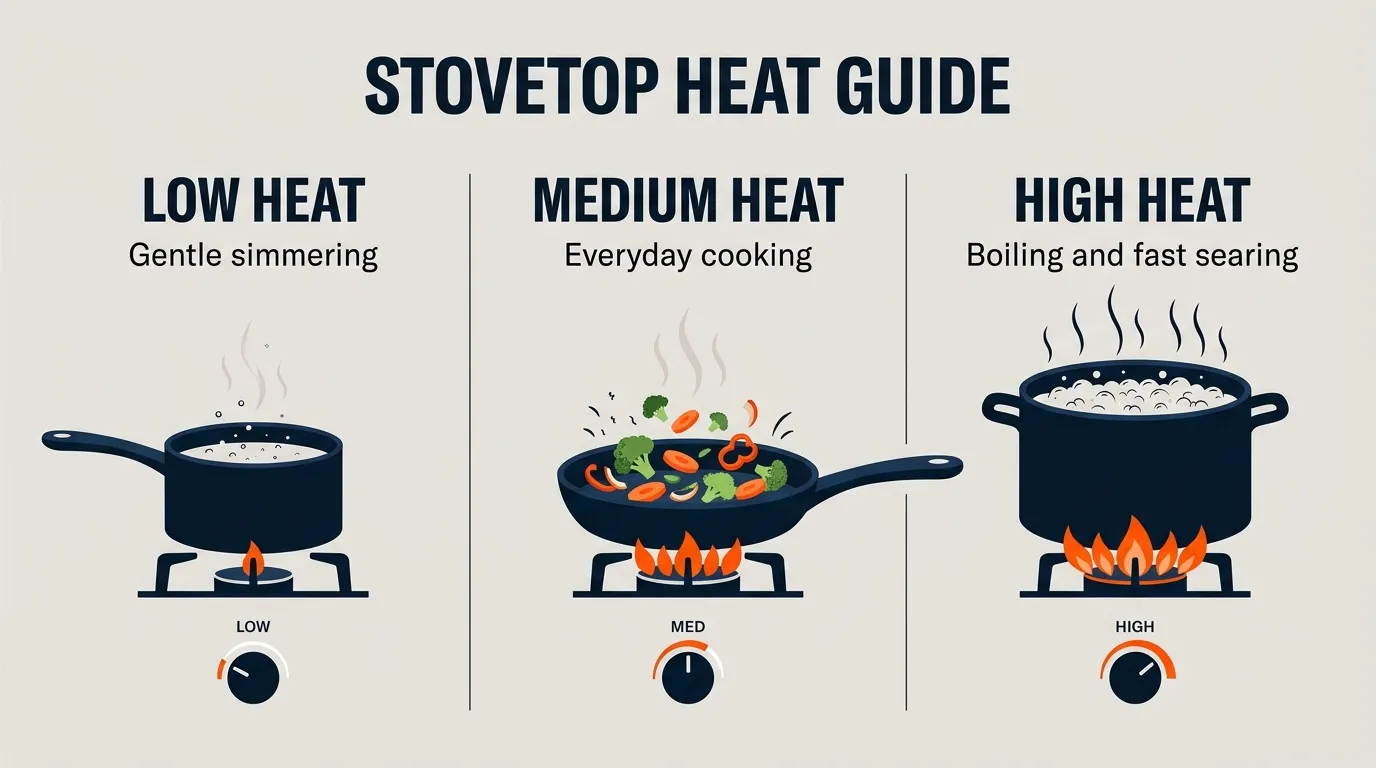
Heat levels describe how much energy your burner sends to the pan. They do not show an exact temperature. A “medium” setting on a gas range may feel different from medium on an electric, induction, or glass-top stove.
Use these ranges as a starting point:
| Heat level | Approximate burner use | Best for |
|---|---|---|
| Low | About 10%–30% | Melting, warming, simmering, slow cooking |
| Medium-low | About 25%–40% | Eggs, sauces, pancakes, delicate foods |
| Medium | About 40%–60% | Sautéing, frying, grilled cheese, most daily cooking |
| Medium-high | About 60%–75% | Browning, stir-frying, searing thinner foods |
| High | About 75%–100% | Boiling water, fast searing, reducing liquid |
These percentages are not exact temperature readings. They are simple guides for burner power.
Heat level is not the same as pan temperature
A burner setting controls heat flow. The pan temperature also depends on:
- The pan material
- Pan size and thickness
- The amount of food in the pan
- Whether the food is cold or warm
- The amount of oil or liquid
- Whether you cover the pan
- How long the pan preheats
A thin pan can become too hot very quickly. A heavy cast-iron pan takes longer to heat but holds heat well.
Why medium heat is the best starting point
Medium heat gives food time to cook inside while it develops color outside. High heat can burn the surface before the center is done. Low heat may leave food pale, greasy, or unevenly cooked.
Start at medium unless the recipe gives a clear reason to use another setting. Then raise or lower the heat based on what you see and hear.
Best Heat Level for Common Cooking Methods
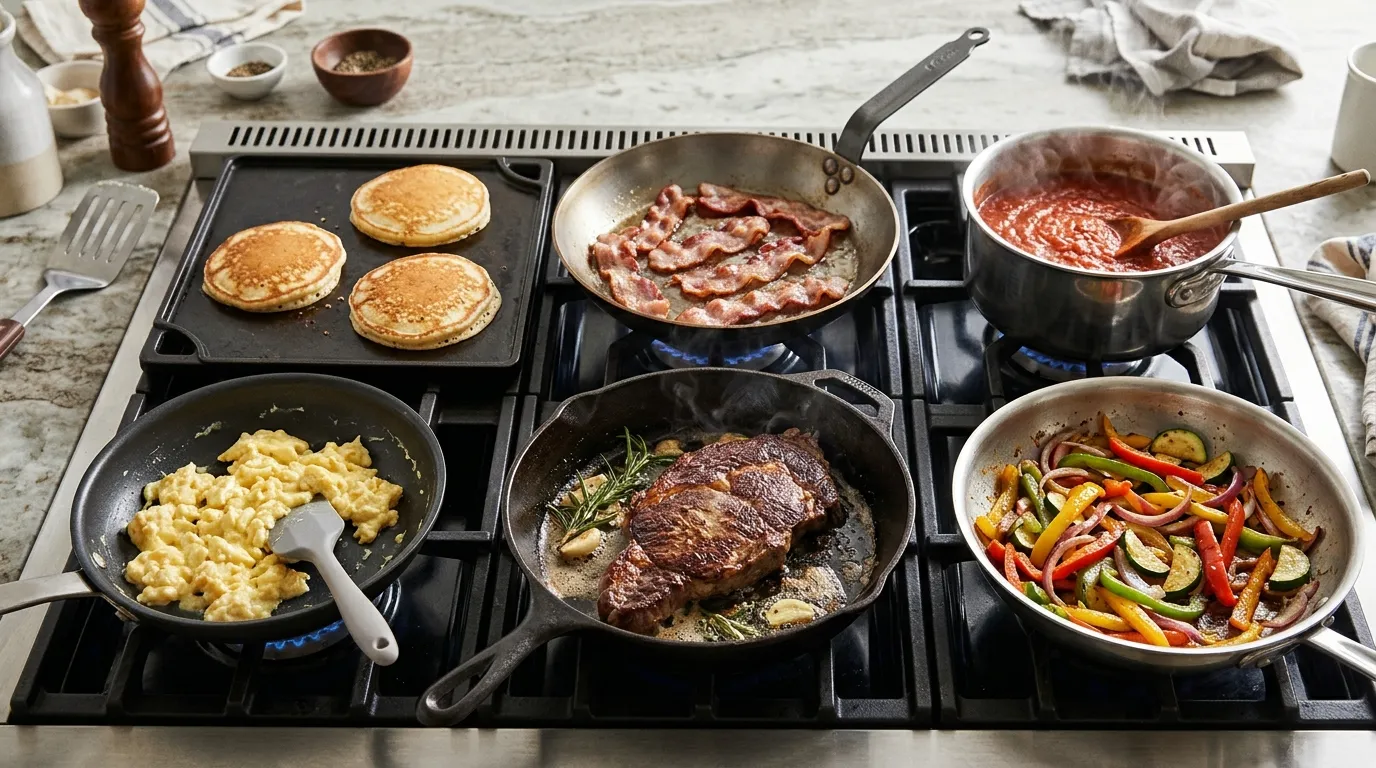
The cooking method usually tells you more than the recipe name. Use the guide below as a practical starting point.
Sautéing vegetables
Use medium to medium-high heat.
Heat the pan first, then add a small amount of oil. Add vegetables in a single layer when possible. You should hear a light sizzle, but the oil should not smoke.
Use medium heat for:
- Onions
- Garlic
- Mushrooms
- Peppers
- Zucchini
- Carrots cut into thin pieces
Use medium-high heat for firm vegetables that need quick browning. Lower the heat if garlic turns dark or the pan begins to smoke.
Cooking eggs
Use low to medium-low heat.
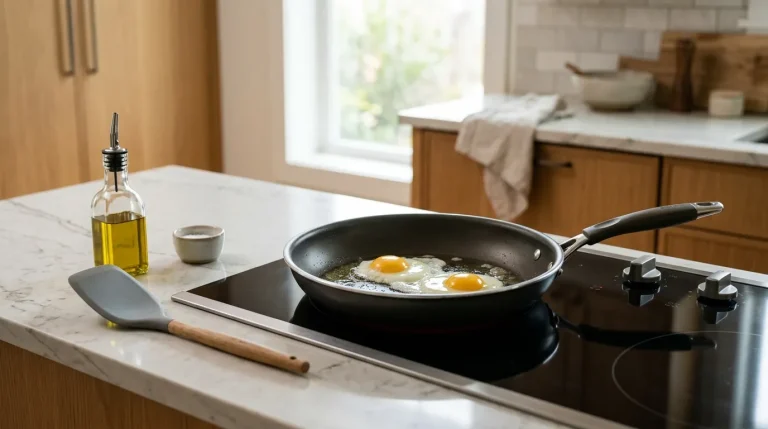
Eggs cook quickly and can become tough when exposed to strong heat. For scrambled eggs, start with medium-low heat and stir often. For fried eggs, low heat helps the whites set before the bottoms burn.
Use low heat for:
- Scrambled eggs
- Omelets
- Custards
- Egg sandwiches
- Soft fried eggs
If the egg white stays clear for too long, raise the heat slightly. If the edges turn brown before the center sets, lower it.
Frying bacon
Start with a cold pan over low to medium heat.
Bacon releases its own fat as it warms. Starting cold helps the fat melt slowly and gives the bacon a more even texture. Turn the strips as needed.
For crisp bacon, use medium heat once the fat begins to render. Avoid high heat because the grease can splatter and the bacon can burn before enough fat melts.
Searing steak
Use medium-high to high heat, with care.
Pat the steak dry before cooking. Add a thin layer of high-heat cooking oil to a properly heated pan. The steak should sizzle when it touches the pan.
Searing creates a browned crust. It does not tell you whether the center is safe or done. Use an instant-read thermometer for the final internal temperature.
The USDA recommends:
- Whole cuts of beef, pork, lamb, and veal: 145°F, followed by a 3-minute rest
- Ground meats: 160°F
- Poultry: 165°F
Cooking burgers
Use medium to medium-high heat.
A burger needs enough heat to brown the outside without burning it. Do not press the burger often, since this can push out moisture and create grease flare-ups.
Ground beef should reach 160°F in the center, according to the USDA. Color alone cannot confirm safety.
Making pancakes
Use medium-low to medium heat.
Preheat the pan, then test it with a small drop of water or a tiny amount of batter. The batter should sizzle gently. If it turns dark before bubbles form, the pan is too hot.
Wipe away excess oil between batches if it starts to burn. Adjust the heat as the pan gets hotter.
Stir-frying
Use high heat, but cook in small batches.
Stir-frying works best when food cooks fast and stays crisp. Cut all ingredients before you start. Add food in stages based on cooking time.
If the pan is crowded, food releases water and steams instead of browning. A home range may need smaller batches than a restaurant wok burner.
Simmering soup or sauce
Bring the liquid to a boil over medium-high heat, then reduce to low or medium-low.
A simmer has small, gentle bubbles. A rolling boil has large, active bubbles. Use a simmer for:
- Tomato sauce
- Soup
- Gravy
- Beans
- Braised meat
- Poached foods
A hard boil can break delicate foods apart and make sauces reduce too fast.
How to Choose the Right Heat Step by Step
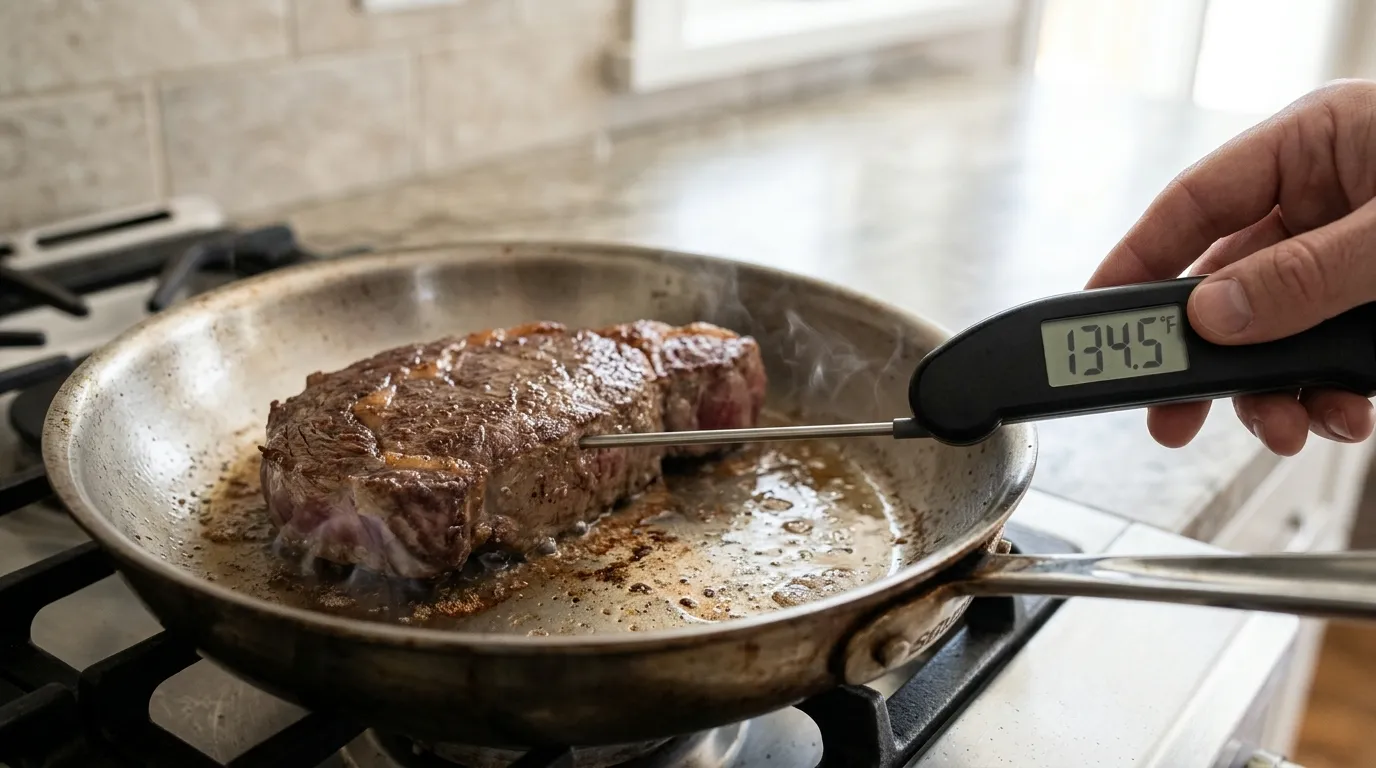
Use this simple process when a recipe does not give a heat setting.
1. Match the heat to the food
Ask what the food needs:
- Gentle heat for eggs, dairy, and delicate sauces
- Moderate heat for vegetables, pancakes, and sandwiches
- Strong heat for browning and fast searing
- Very high heat for boiling water or rapid reduction
Foods with sugar, milk, or a thin surface often need lower heat.
2. Preheat the pan when needed
Preheat an empty pan for a short time before sautéing or searing. Do not leave an empty nonstick pan on high heat for a long period.
A stainless steel or cast-iron pan may need more preheating than a thin aluminum pan. Induction cooktops often heat pans very fast, so begin at a lower setting until you learn the range.
3. Add oil and watch it
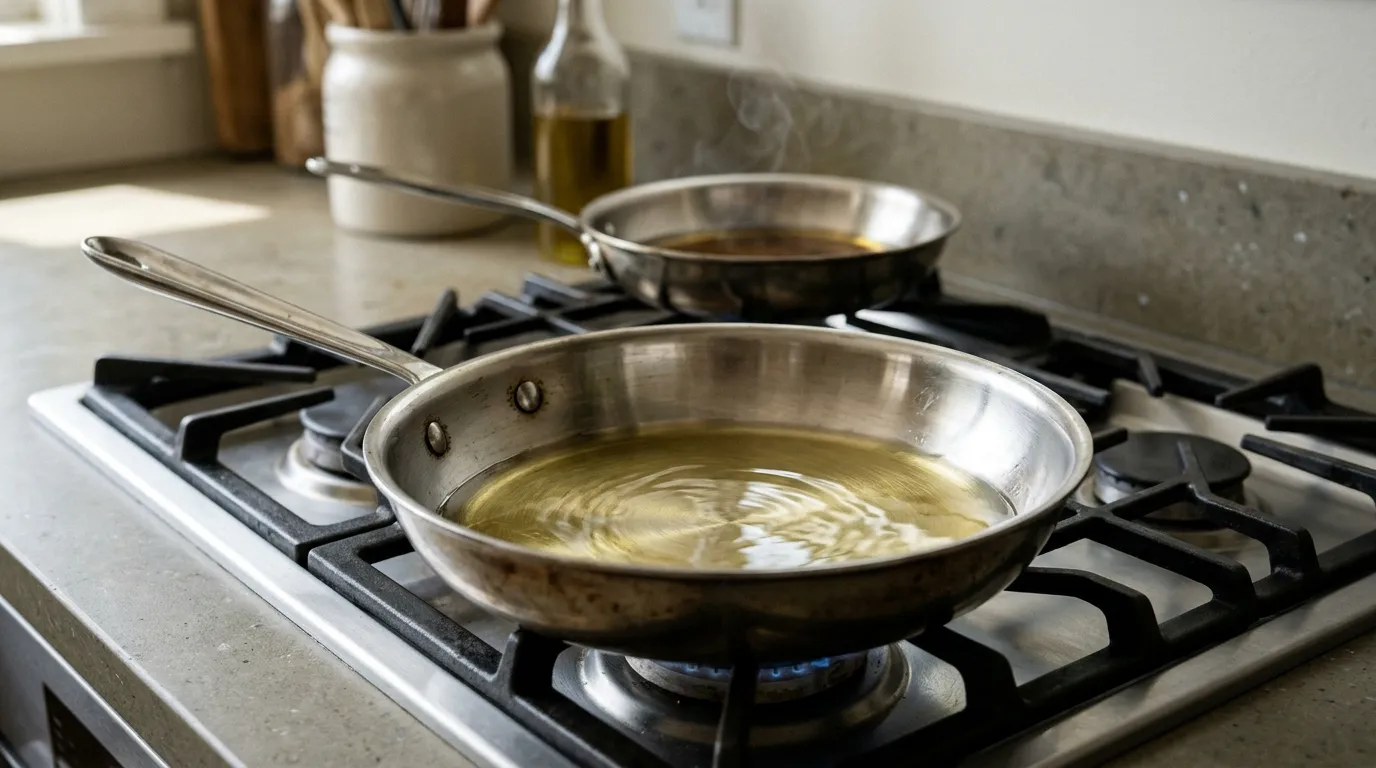
Oil should look fluid and glossy. It may move across the pan with ease.
If the oil smokes, the pan is too hot for that oil and cooking method. Turn off the burner or move the pan away from the heat. Let it cool before adding food.
Never pour water onto a grease fire. If a small pan fire starts, turn off the heat and cover the pan with a metal lid if it is safe to do so. Leave the lid on and call emergency services if the fire does not stop.
4. Add food and listen
A gentle sizzle usually means the pan is ready. No sound may mean the pan is too cool or the food is too wet. A loud, sharp sizzle may mean the pan is too hot.
Do not rely on sound alone. Also watch the food’s color, moisture, and texture.
5. Adjust the heat during cooking
Heat is not a set-and-forget choice. Lower the burner when:
- Food browns too fast
- Oil smokes
- Sauce splashes or boils hard
- The pan dries out
- The outside cooks before the inside
Raise the heat when:
- Food releases water and stays pale
- A simmer stops
- The pan cools after adding a large amount of food
- Browning does not begin after a reasonable time
6. Check doneness safely
Use visual signs for quality, but use a food thermometer for safety when needed. Insert the thermometer into the thickest part of the food. Avoid touching the pan or bone, since these can give a false reading.
The FDA also advises using a food thermometer for meat, poultry, seafood, and egg dishes. See the FDA safe minimum internal temperature chart.
Heat Level Guide by Food
This table gives a quick starting point for common meals.
| Food or task | Starting heat | What to watch for |
|---|---|---|
| Scrambled eggs | Low to medium-low | Soft curds, no browning |
| Fried eggs | Low | Whites set slowly, yolk stays tender |
| Pancakes | Medium-low to medium | Bubbles form before the bottom gets dark |
| Grilled cheese | Low to medium-low | Bread browns while cheese melts |
| Vegetables | Medium | Light sizzle and steady browning |
| Chicken breast in a skillet | Medium | Brown outside, safe internal temperature |
| Steak | Medium-high to high | Fast browning without smoking oil |
| Bacon | Low to medium | Fat renders without burning |
| Tomato sauce | Low to medium-low | Gentle bubbles |
| Water for pasta | High | Strong rolling boil |
| Rice after boiling | Low | Small bubbles with the lid on |
| Stir-fry | High | Quick cooking in small batches |
| Deep frying | Follow the recipe and oil directions | Keep oil temperature steady |
The best heat for cooking chicken
Use medium heat for most stovetop chicken pieces. Thicker pieces may need medium-low heat after browning so the center can cook without burning the outside.
Chicken is safe when the thickest part reaches 165°F. For thick chicken breasts, you can brown both sides over medium-high heat, then lower the heat and cover the pan to finish cooking.
The best heat for cooking rice
Bring water or stock to a boil over high heat. Add rice, stir once, then cover and lower the heat to low.
The liquid should stay at a gentle simmer. If the rice boils hard, the bottom may burn while the top stays undercooked. If the simmer stops, increase the heat slightly.
The best heat for pasta
Use high heat to bring a large pot of water to a rolling boil. After adding pasta, adjust the burner as needed to maintain a steady boil without allowing the water to spill over.
Salt seasons the pasta water, but oil is not needed to stop pasta from sticking. Stir during the first few minutes instead.
The best heat for sauces
Use medium heat to start a sauce, then switch to low or medium-low once it bubbles.
Cream sauces, cheese sauces, and sauces with sugar can scorch easily. Stir the bottom of the pan often. If the sauce thickens too fast, remove it from the burner and add a small amount of liquid.
Pan Temperature, Oil, and Smoke Points
Oil choice affects how much heat you can use, but smoke point is not the only factor. Flavor, refining, storage, and the food itself also matter.
Common cooking oils include:
- Canola oil
- Vegetable oil
- Avocado oil
- Peanut oil
- Olive oil
- Grapeseed oil
Use the oil’s package guidance when available. Keep the oil below its smoke point. Smoke means the oil is breaking down and the pan is too hot for that oil.
Do not heat an empty nonstick pan too much
Nonstick pans are useful for eggs, fish, and foods that tend to stick. Use low to medium heat unless the pan maker gives different instructions.
High heat can damage some nonstick coatings and may create unwanted fumes. Always follow the care instructions for the specific pan.
Dry food browns better
Water cools a pan. Pat meat, seafood, and vegetables dry before searing when appropriate. Wet food may steam instead of brown.
Do not dry raw chicken or other poultry by rinsing it. The USDA advises against washing raw poultry because splashing water can spread bacteria around the kitchen.
Signs Your Heat Is Too High or Too Low
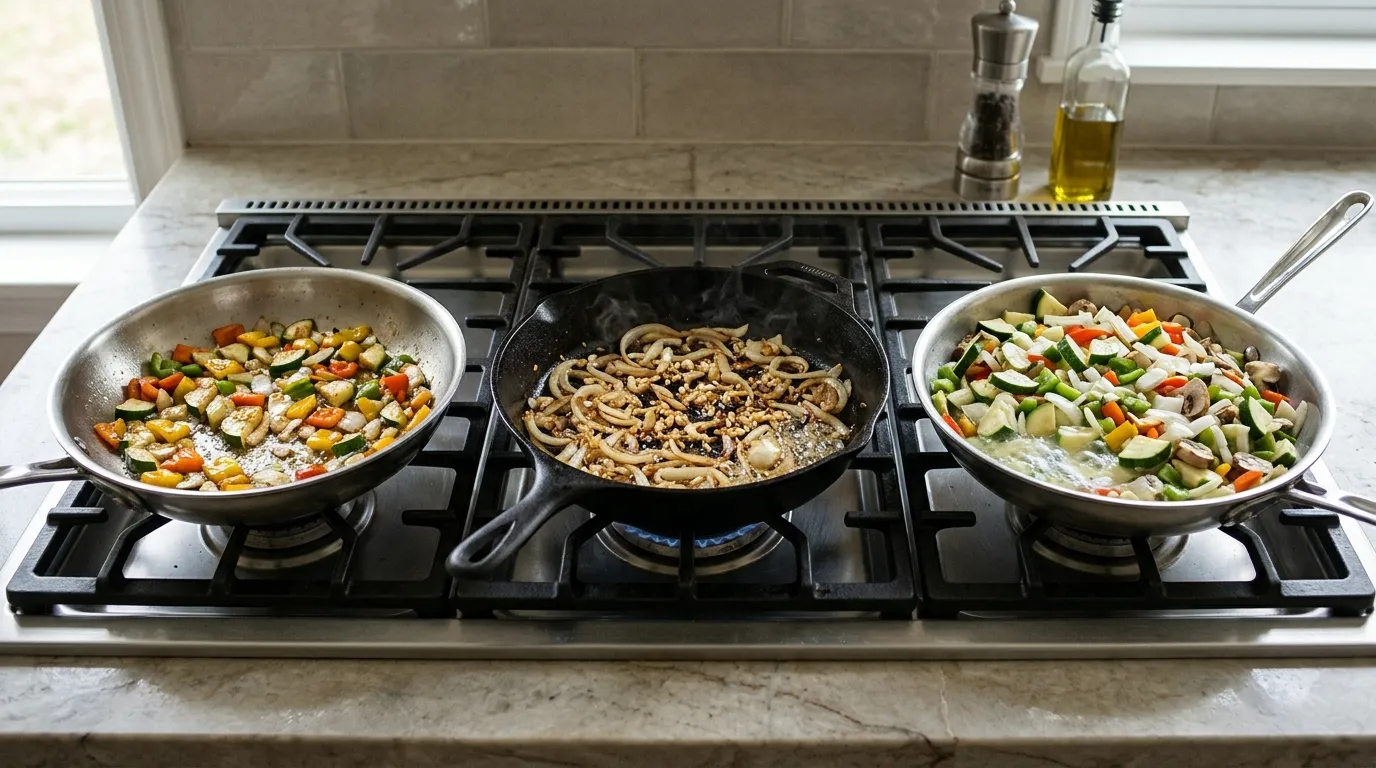
The food gives useful clues. Use these signs to adjust before the meal is ruined.
Heat is too high when:
- Oil smokes right away
- Garlic turns brown in seconds
- Food burns before the center cooks
- Sauce sticks to the bottom
- Butter turns dark quickly
- The outside of meat becomes black before the inside reaches its target temperature
Lower the heat, move the pan off the burner for a moment, or transfer the food to a cooler pan.
Heat is too low when:
- Food releases water and turns pale
- Meat does not brown
- A sauce never reaches a simmer
- Food absorbs oil instead of lightly frying
- Cooking takes far longer than expected
Raise the heat in small steps. Adding too much heat at once can make the pan overshoot.
The burner may not be the problem
Uneven cooking can come from:
- A warped pan
- An oversized pan on a small burner
- Crowding
- Food pieces of different sizes
- A lid that traps too much steam
- A cooktop that cycles power
Spread food out, use similar-size pieces, and match the pan base to the burner when possible.
Common Cooking Heat Mistakes
Starting everything on high
High heat is useful for boiling and some types of searing. It is not a general setting for faster cooking. Food can burn on the outside while the center remains raw.
Start lower and increase heat only when needed.
Leaving the burner unchanged
Many foods need more than one heat level. Rice starts high and finishes low. A sauce starts medium and finishes low. Meat may start medium-high and finish over medium or in the oven.
Change the heat as the food changes.
Crowding the pan
Too much food lowers the pan temperature. Moisture then collects, and the food steams.
Cook in batches when you need browning. This matters most for mushrooms, meat, tofu, and stir-fry vegetables.
Using the thermometer incorrectly
A thermometer must measure the food, not the pan. Place the probe in the thickest area. For thin foods, insert it from the side.
Clean the probe before and after use. Follow the thermometer maker’s instructions for calibration and care.
Treating burner numbers as universal
A “7” on one electric range may not equal a “7” on another. Use the number as a starting point, then judge the pan and food.
Key Takeaways
- Medium heat is the best starting point for most stovetop cooking.
- Use low heat for eggs, sauces, melting, warming, and gentle simmering.
- Use medium heat for vegetables, pancakes, sandwiches, and many skillet meals.
- Use medium-high or high heat for browning, searing, stir-frying, and boiling.
- Lower the heat if oil smokes or food browns too fast.
- Raise the heat if food turns watery, pale, or fails to simmer.
- Use a food thermometer for meat, poultry, seafood, and egg dishes when safety matters.
- Heat settings vary by stove, pan, and burner size, so watch the food as it cooks.
Frequently Asked Questions
What is medium heat on a stove?
Medium heat is often near the middle of the burner range. On a dial marked 1 through 10, it may be around 4 to 6. This is only a starting point because each stove transfers heat differently.
Is it better to cook on low or high heat?
Neither setting is always better. Low heat gives gentle, even cooking. High heat cooks fast and creates browning. Medium heat is the most useful general setting for many foods.
What heat should I use to fry food?
For shallow frying, start around medium to medium-high heat. The food should sizzle when it enters the oil. If the oil smokes, lower the heat. For deep frying, follow the recipe’s oil temperature and safety instructions.
Why does my food burn even on medium heat?
Your pan may be thin, too small for the burner, or already overheated. The recipe may also require a lower setting. Remove the pan from the burner briefly, lower the heat, and check the food more often.
Should I cook steak on high heat?
A hot pan helps brown steak, but high heat is not always needed for the entire cooking time. Use medium-high to high heat for the initial sear, then reduce the heat if the outside darkens too fast.
Can I cook everything faster with high heat?
No. High heat often burns the outside before the inside cooks. It can also make sauces stick, dry out meat, and create smoke. Faster cooking works only when the food is thin, the pan is not crowded, and the heat matches the method.
Conclusion
The best heat level for cooking is the lowest setting that gives the result you need. Start with medium, watch the pan, and adjust in small steps. Use low heat for control, medium heat for most meals, and high heat for boiling or quick browning.
When food safety matters, judge doneness with a thermometer rather than color or cooking time alone. With practice, the sound of the sizzle, the look of the oil, and the color of the food will help you choose the right heat before problems begin.