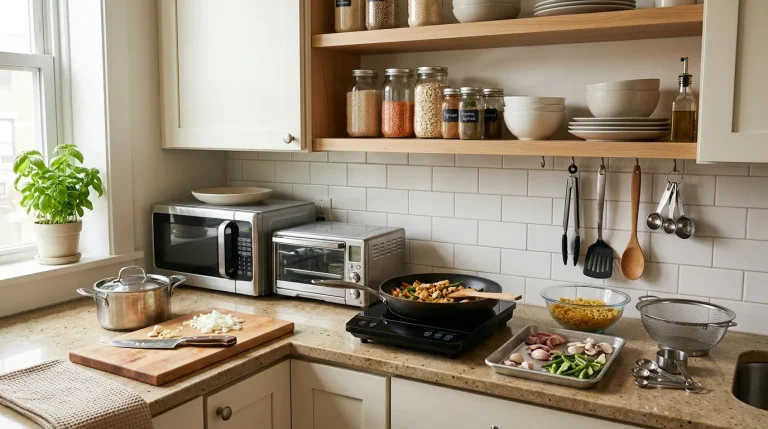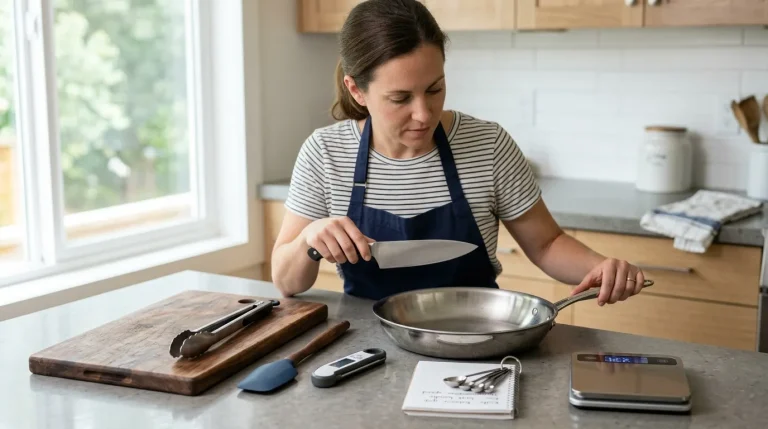
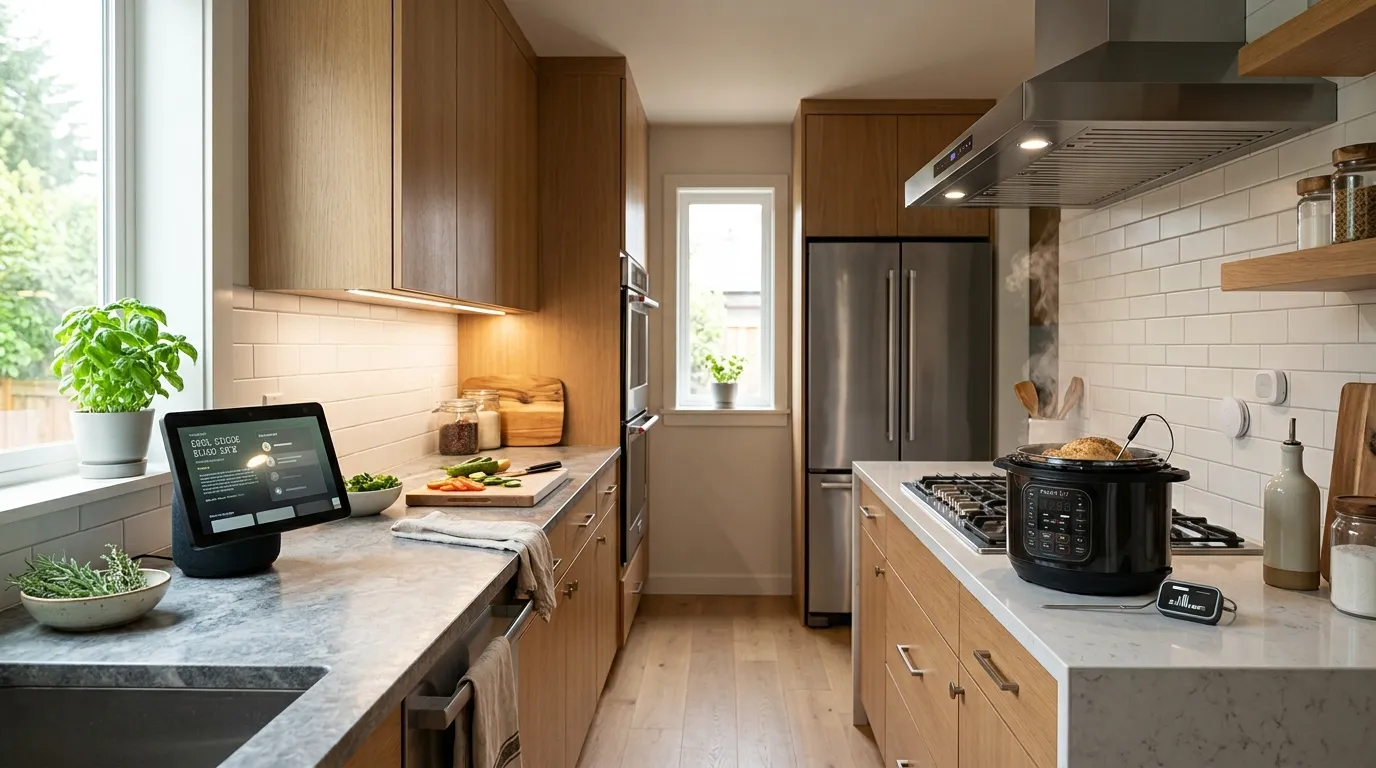
Smart kitchens save time, cut waste, and make everyday cooking feel effortless.
You’re here for a Smart Kitchen Setup Guide that is simple, tested, and real. I’ve planned and installed smart kitchens in apartments, busy family homes, and chef-grade spaces. In this guide, you’ll learn what works, what to skip, and how to build a kitchen that runs like clockwork.
Smart Kitchen Basics and Planning
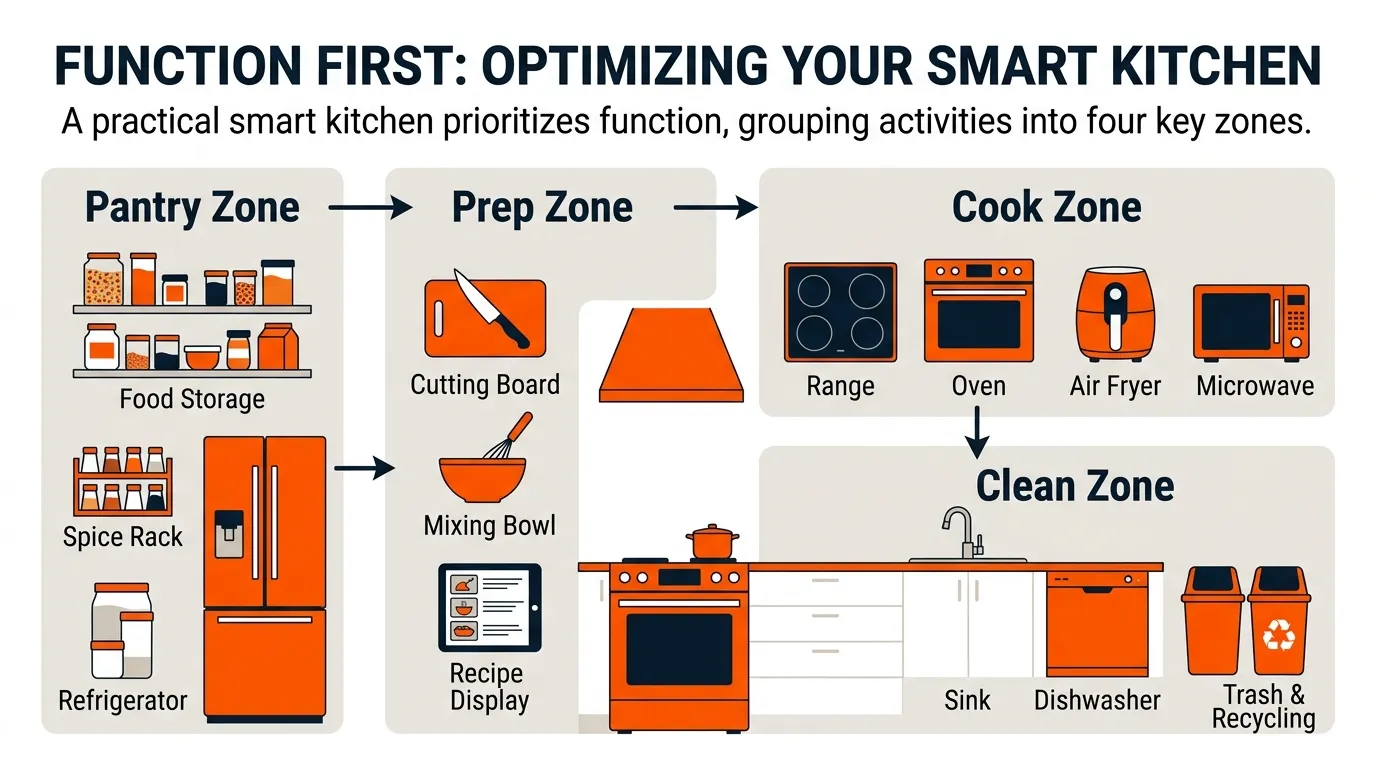
Think function first. A smart kitchen should remove friction. It should guide timing, track food, keep you safe, and make cleanup easy. This Smart Kitchen Setup Guide starts with a plan, not a pile of gadgets.
Start with three questions:
- What jobs do I hate in the kitchen?
- What do I waste most often?
- What safety gaps worry me?
Now map your zones:
- Prep zone Cutting, mixing, reading recipes.
- Cook zone Range, oven, air fryer, microwave.
- Clean zone Sink, dishwasher, trash, recycling.
- Pantry zone Food storage, spice rack, fridge.
Set goals that are clear and small:
- Save 15 minutes on weeknight meals.
- Cut food waste by 20 percent.
- Add leak and smoke alerts for peace of mind.
Tip from the field: I always start with sensors, lighting, and voice control. These win fast and work for every kitchen. We will grow from there with this Smart Kitchen Setup Guide.
Network, Power, and Safety Setup
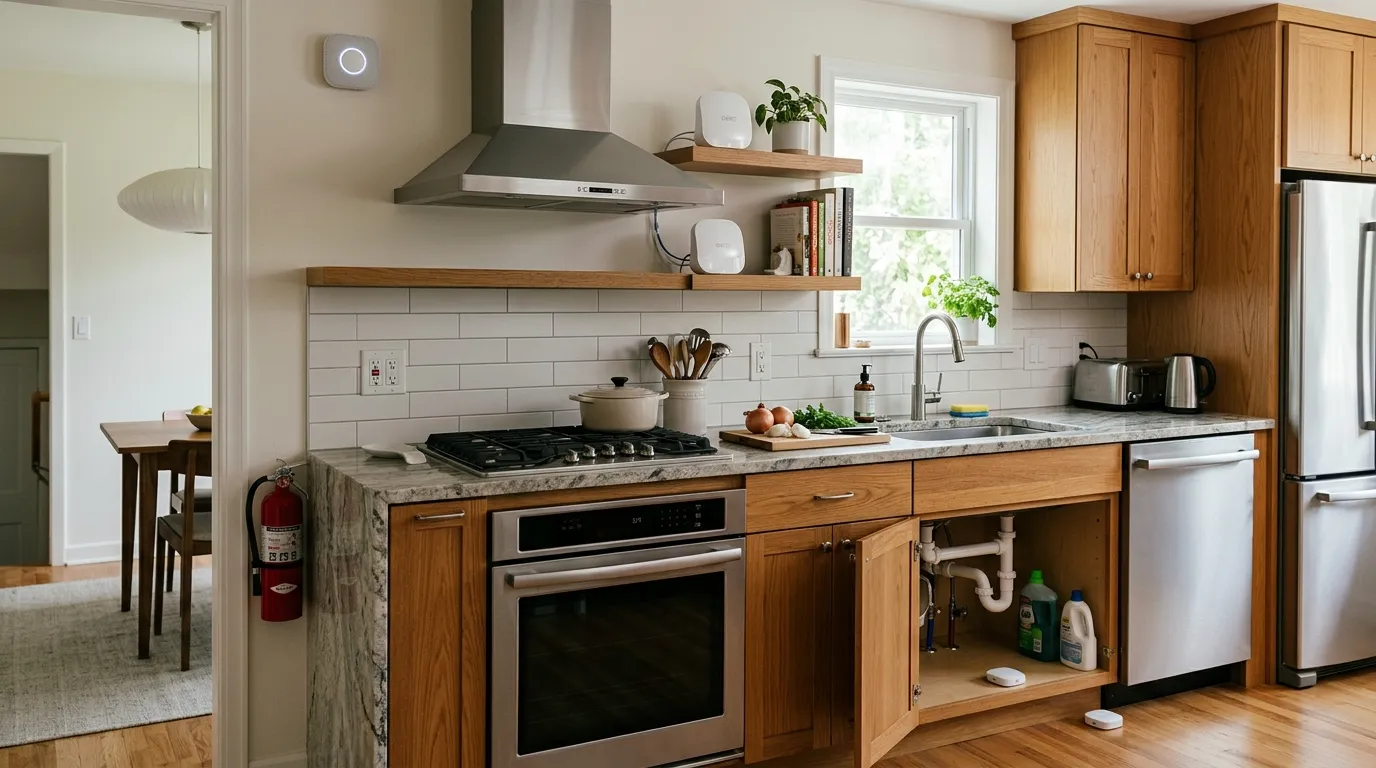
Your kitchen is a harsh place for tech. Heat, steam, and metal can hurt signals. A strong base is key. This Smart Kitchen Setup Guide puts network and power first.
Wi‑Fi and threads of control:
- Use a Wi‑Fi 6 router near the kitchen if you can.
- Add a Thread border router for Matter devices. Many modern hubs or smart speakers include one.
- Use WPA3 and a guest network for devices.
Power and protection:
- Check GFCI outlets near water.
- For big draws like ovens, ask a licensed pro.
- Use smart plugs only on loads they can handle.
Safety first, always:
- Place a smart smoke and CO alarm outside the kitchen but nearby.
- Add a water leak sensor under the sink, fridge, and dishwasher.
- Keep a Class K fire extinguisher where you can reach it fast.
A common mistake I see is hiding the router in a metal pantry. The signal dies. Move it in the open. Your gear will behave much better.
Core Hubs, Assistants, and Ecosystems
Pick your brain before you pick your body. In plain words, choose an ecosystem. This Smart Kitchen Setup Guide stays brand-agnostic. What matters is what you own and what you like to use.
Your choices:
- Alexa Strong with voice, wide device support, handy routines.
- Google Assistant Great search, recipe steps, and timers.
- Apple Home Privacy-first, smooth automations, strong with HomeKit and Matter.
Do you need a hub? Many devices work without one. But a hub can unlock local control, better speed, and less cloud risk. Matter and Thread reduce hub needs, but a border router still helps.
Pro tip I install a small smart display on the counter. It runs timers, shows recipes, and answers quick subs. Keep it away from the stove and sink spray.
Smart Cooking Appliances and Gadgets
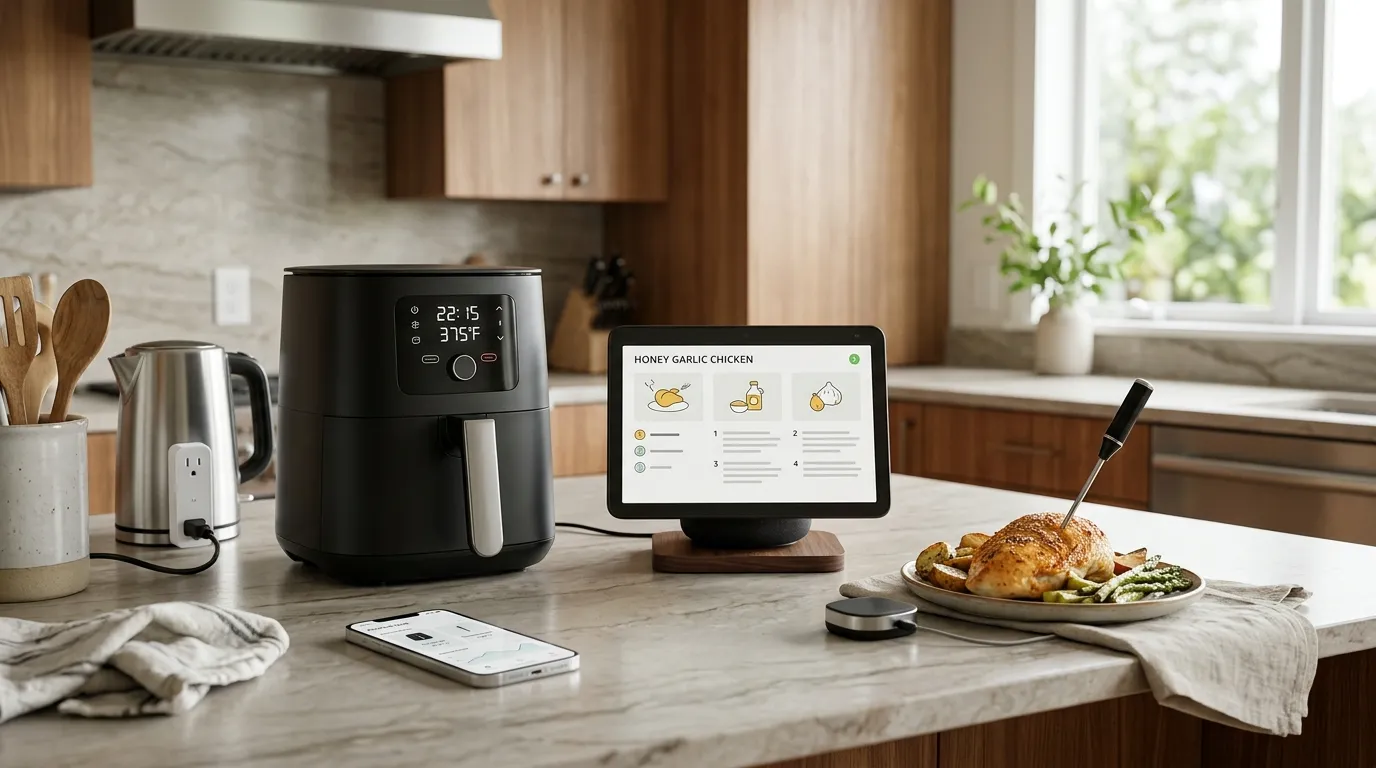
Start small. Upgrade as you learn. This Smart Kitchen Setup Guide favors items that save real time and reduce stress.
High-impact picks:
- Smart display or tablet on a stand For guided recipes and hands-free timers.
- Smart thermometer Alerts when meat hits temp. You avoid dry chicken forever.
- Smart plug for kettle or coffee maker Schedule brew starts. Add vacation cutoff.
- Multi-cooker or air fryer with Wi‑Fi Control from the sofa. See remaining time at a glance.
- Smart oven or range If you replace anyway, get preheat alerts and remote off.
Placement and care:
- Never place a device where steam rises. Steam kills electronics fast.
- Use magnetic backs or mounts to lift gear off messy counters.
Real-world save I once set a multi-cooker to keep warm while in traffic. The app held the stew at a safe temp. Dinner was hot and safe, not overcooked. That one feature paid for itself.
Lighting, Sensors, and Environment Control
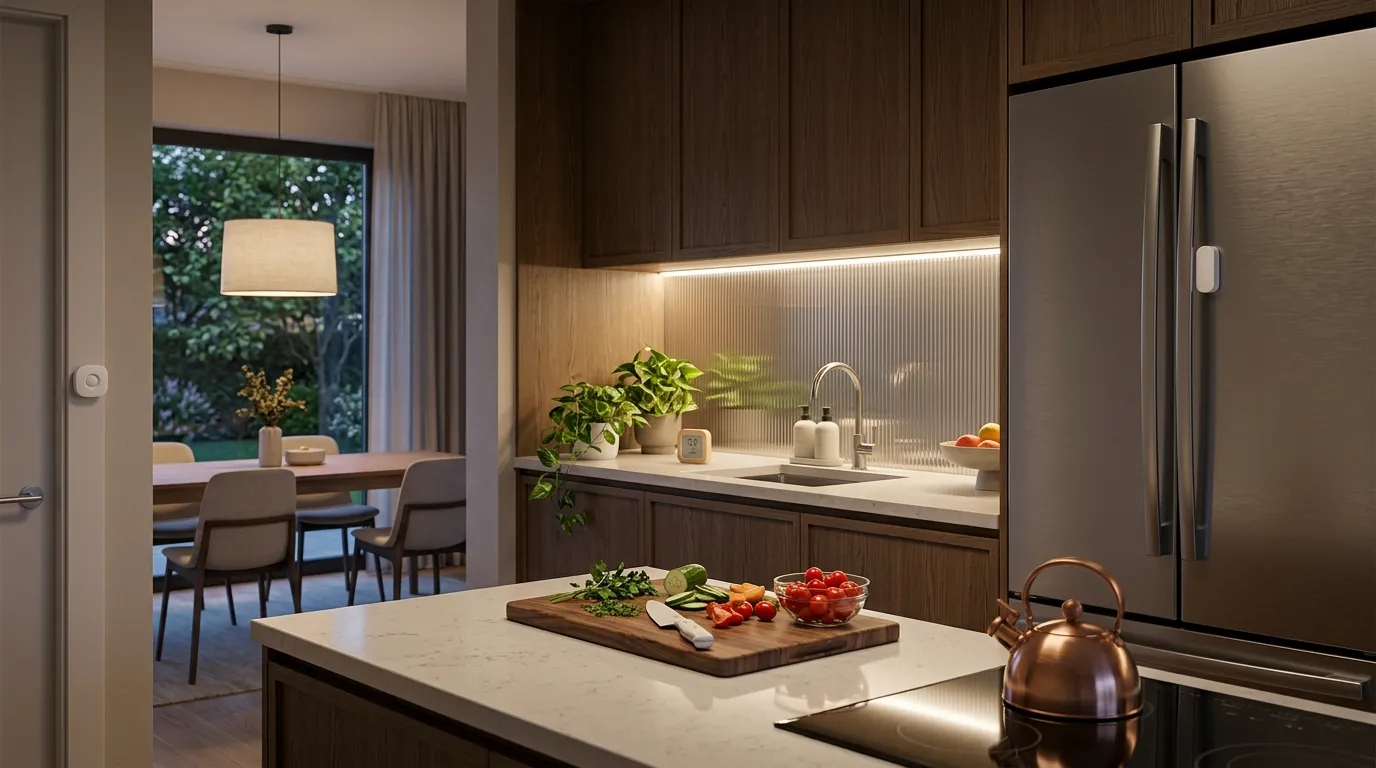
Light shapes how you cook. Sensors make it smart. In this Smart Kitchen Setup Guide, lighting is the silent helper.
Layer your light:
- Task lights under cabinets for prep.
- Warm ambient light for late dinners.
- Bright, cool light for deep cleaning.
Simple wins:
- Motion sensors turn lights on when you enter.
- Contact sensors ping you if the fridge is ajar.
- Temperature and humidity sensors warn you about food storage risks.
Sound and air:
- A smart range hood switch syncs with a stove sensor or routine.
- A compact air quality sensor can flag smoke or VOC spikes.
Want to cut bills? Switch to LED bulbs and add schedules. Dim after 10 p.m. for calm nights.
Automation Routines and Daily Playbooks
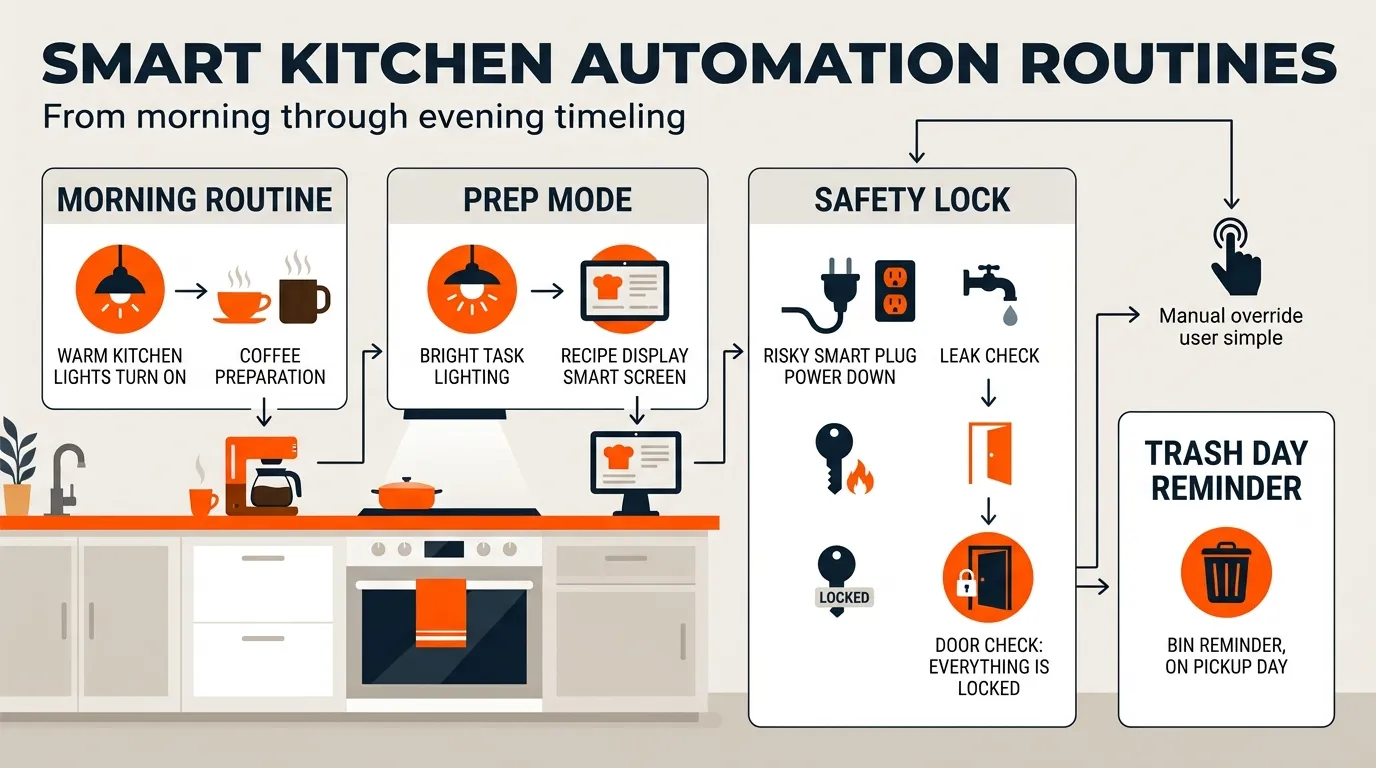
Good automations feel like magic. Bad ones get in your way. This Smart Kitchen Setup Guide uses small, clear flows.
Starter automations:
- Morning routine At 6 45 a.m., warm lights to 30 percent, start coffee, announce weather.
- Prep mode Say “Let’s cook.” Turn on bright task lights. Open a recipe card on the display.
- Safety lock At 10 p.m., power off risky plugs. Check for leaks and open doors.
- Trash day reminder If the bin sensor is full on pickup nights, announce and light a reminder.
Rules of thumb:
- Always add a manual override. Voice or a physical button is a must.
- Keep names simple. “Prep Lights” is better than “Luma Beam 3000.”
- Test each routine for a week. Tweak. Then add the next one.
One of my best installs used a simple phrase: “Hands messy.” It paused timers by voice and resumed them later. Zero taps. Big smile.
Privacy, Security, and Data
Your kitchen hears and sees a lot. Treat it with care. This Smart Kitchen Setup Guide keeps privacy at the core.
Make it safe:
- Use strong, unique passwords and a password manager.
- Turn on two-factor login for every account.
- Prefer local control when offered. Matter and Thread help.
Tune the mics and cams:
- Mute or cover cameras in shared spaces when you host.
- Turn off voice purchase by default, or add a code.
- Review device permissions twice a year.
Be honest about trade-offs. Cloud features can be great for recipes and voice. But store only what you need. Clear history on a schedule.
Budget, Phased Rollout, and ROI
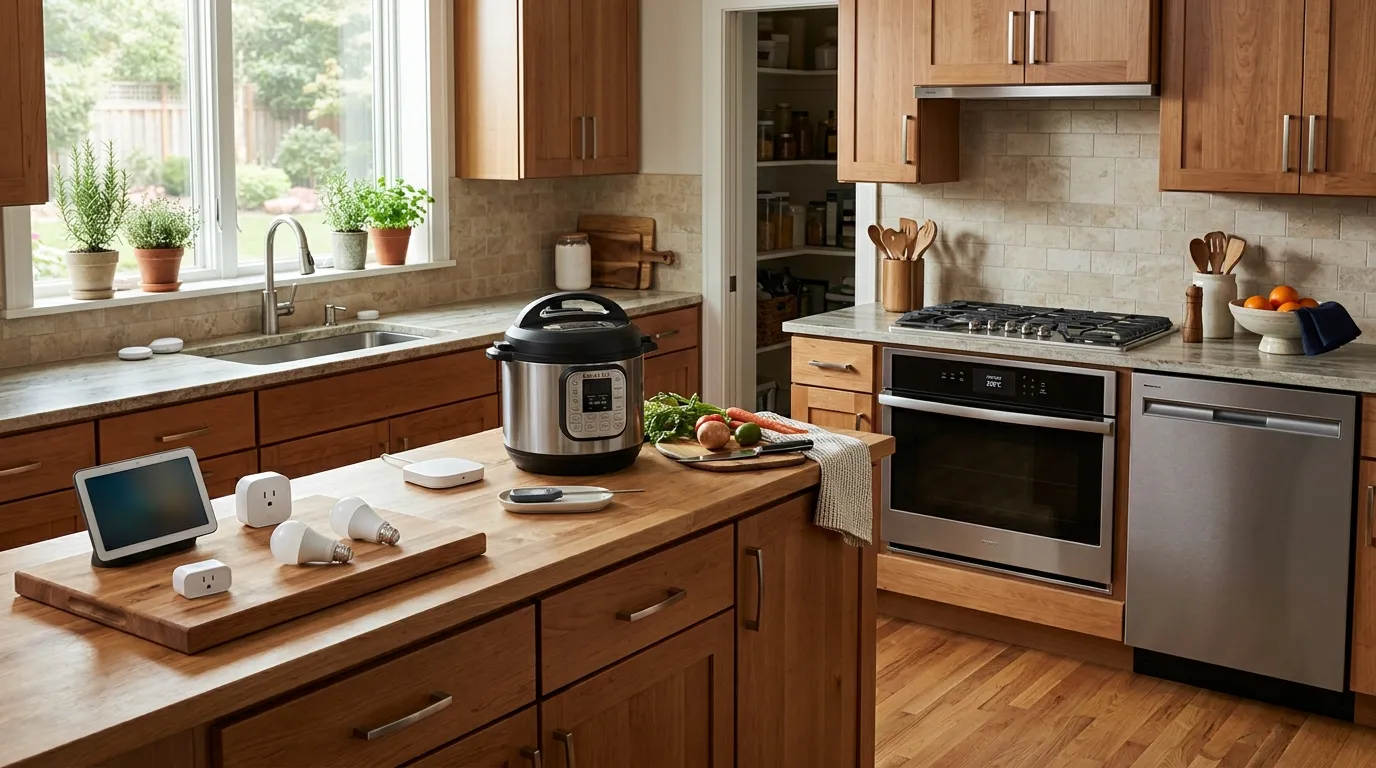
You do not need to buy it all at once. This Smart Kitchen Setup Guide breaks it into three waves.
Phase 1 Quick wins
- Smart display, LED bulbs, 2–3 sensors, and a smart plug.
- Impact Fast control, safety alerts, and better light.
Phase 2 Cooking helpers
- Smart thermometer, multi-cooker or air fryer, and routines.
- Impact Better meals, fewer mishaps, and saved time.
Phase 3 Big upgrades
- Smart oven, dishwasher, or fridge when you replace.
- Impact Deep data, remote control, less waste.
Track ROI:
- Count minutes saved per meal.
- Watch your power bill after LED swaps.
- Note fewer spoiled items with door and temp alerts.
Maintenance, Troubleshooting, and Support
Smart gear needs care, like knives need sharpening. This Smart Kitchen Setup Guide closes with upkeep tips I use on every job.
- Clean sensors and screens monthly with a dry cloth.
- Update firmware after you read the notes.
- Replace batteries on a calendar. Kitchens eat batteries fast.
When stuff breaks:
- Reboot the device and the router. It fixes more than you’d think.
- Move sensors away from metal or big fridges if signals drop.
- Check automations for conflicts. Two rules may fight each other.
Keep a simple log. Note device names, IPs, and install dates. You will thank yourself on a busy night when something acts up.
Frequently Asked Questions of Smart Kitchen Setup Guide
Do I need a smart hub for a small kitchen?
Not always. Many Wi‑Fi and Matter devices work fine without a hub, but a hub can add speed and local control as you grow.
Which voice assistant is best for cooking?
Pick the one you already use. Alexa is great for timers and routines, Google shines with search and recipes, and Apple Home is strong on privacy.
Are smart ovens worth it?
If you bake or roast a lot, yes. Remote preheat, probe tracking, and alerts reduce mistakes and save time.
How do I keep my devices safe from splashes and heat?
Keep devices out of steam paths and away from open flames. Use mounts, cable clips, and outlet covers to reduce risk and mess.
What should I buy first on a tight budget?
Start with a smart display, two bulbs, a leak sensor, and one smart plug. You’ll see instant gains in safety and daily ease.
Conclusion
A smooth smart kitchen starts with a clear plan, a solid network, and a few high-impact tools. Add sensors and lighting, then layer in cooking gear and calm, simple automations. This Smart Kitchen Setup Guide is your roadmap to save time, cut waste, and cook with confidence. Try one upgrade this week, test it for seven days, and build from there. Ready to level up your kitchen? Subscribe for more tips, or drop your questions and wins in the comments.