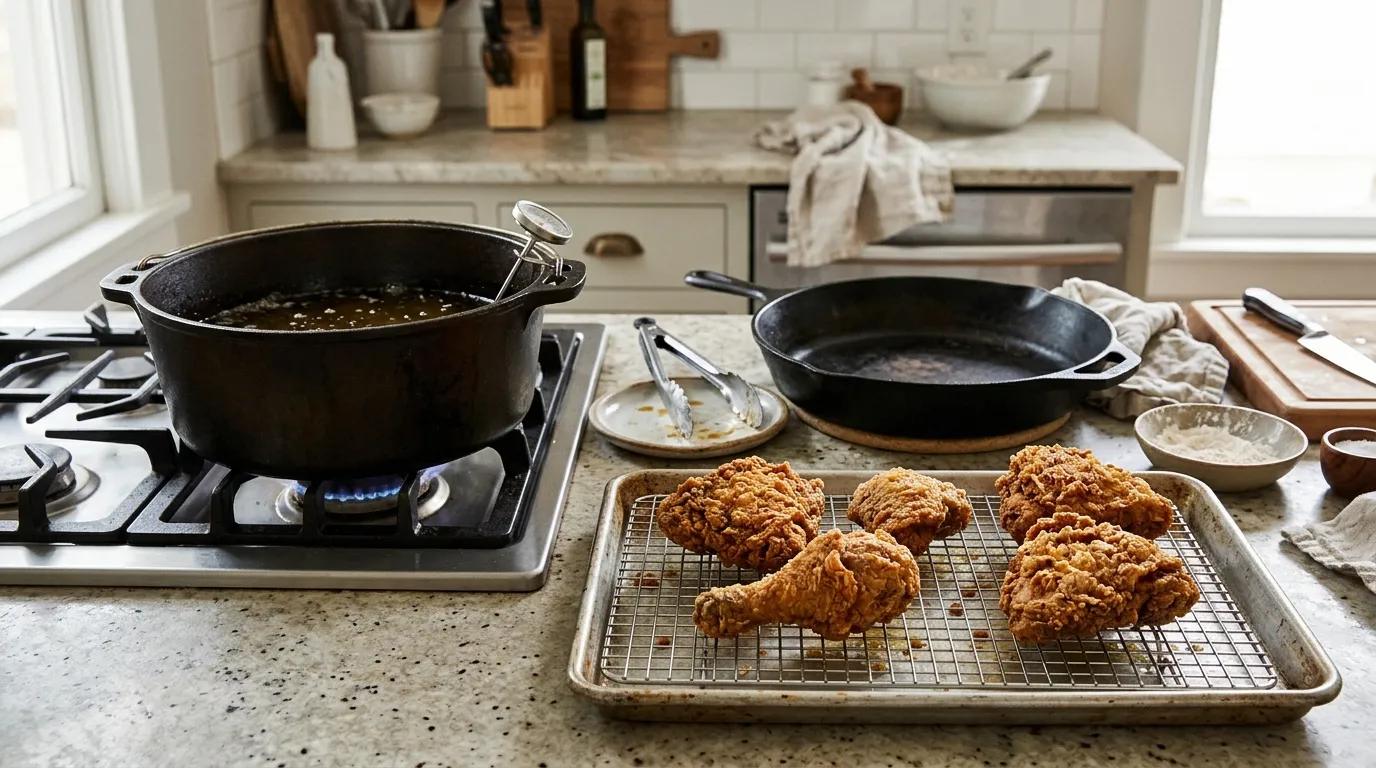
The best pan for frying crispy chicken in a U.S. home kitchen is a heavy cast-iron Dutch oven. Its thick walls hold heat well, its tall sides reduce oil splatter, and its depth allows enough oil to surround the chicken.
For classic Southern-style shallow frying, a 12-inch cast-iron skillet is also a strong choice. It gives chicken a wide cooking surface and uses less oil. The trade-off is that it needs more careful temperature control and creates more splatter.
The pan matters, but crisp chicken also depends on oil temperature, dry coating, good spacing, and safe cooking. This guide explains which pan fits your method and how to get a crisp crust without burning the outside.
What makes a pan good for crispy fried chicken?
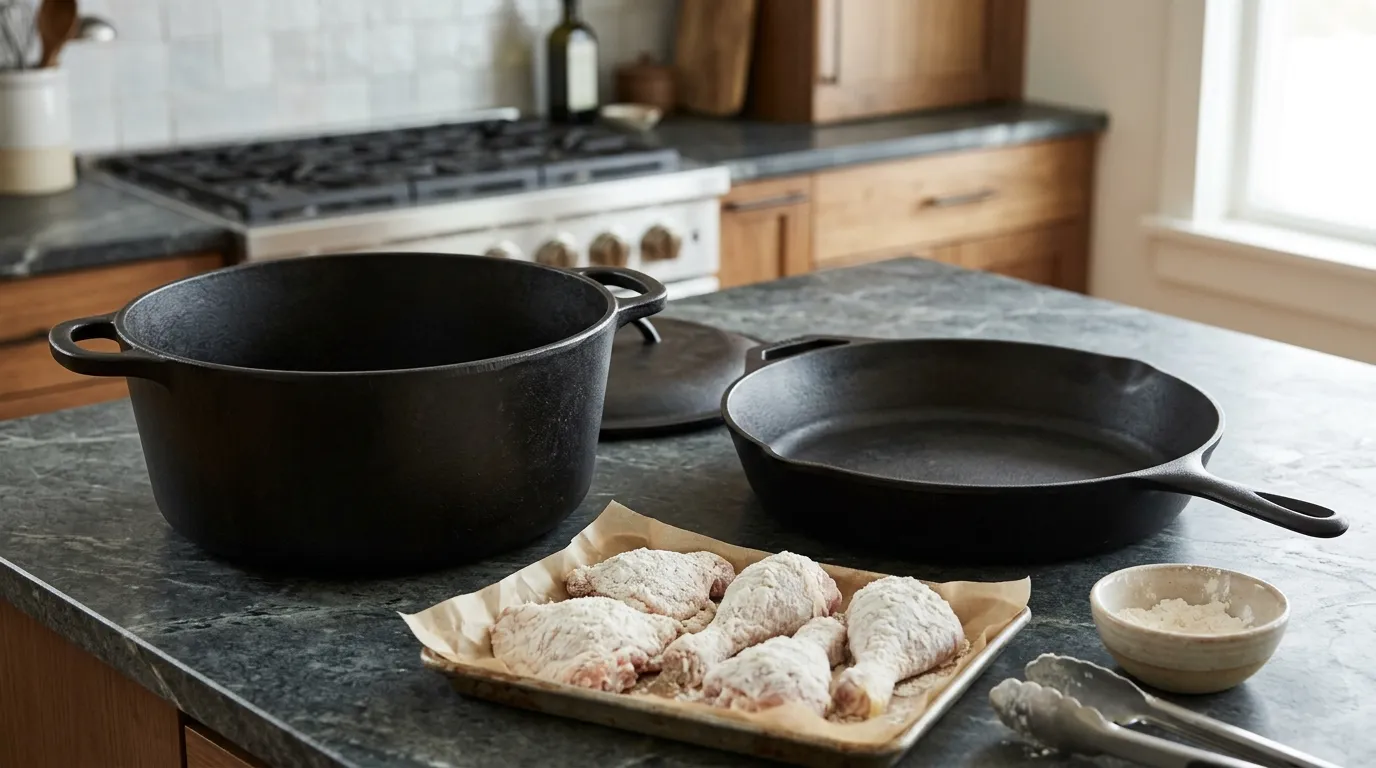
The best frying pan holds heat, gives the chicken enough space, and keeps hot oil under control. These features matter more than brand name or appearance.
1. Strong heat retention
When cold or room-temperature chicken enters hot oil, the oil temperature drops. A thin pan may lose heat fast. The crust can then absorb oil before it becomes crisp.
Cast iron and thick stainless steel recover heat more slowly but steadily. This helps keep the oil near the target range after each batch.
2. A heavy, flat base
A flat, heavy base spreads heat across the cooking surface. This reduces hot spots that can burn the breading on one piece while leaving another pale.
A warped or very thin pan can produce uneven results. The chicken may look brown in places but still have a soft crust elsewhere.
3. Enough room for the chicken
Crowding is one of the most common causes of soggy fried chicken. Each piece needs room for oil to move around it.
As a simple guide, leave a little space between pieces. If the chicken touches in the pan, cook it in batches.
4. Tall sides for oil control
Tall sides help contain splashes and make deeper frying safer. This is one reason a Dutch oven works well.
A low skillet is easier to load and turn, but it can send oil onto the stovetop. Use a splatter screen if needed, but do not cover the pan tightly. Trapped steam can soften the crust.
The best pan types for frying chicken
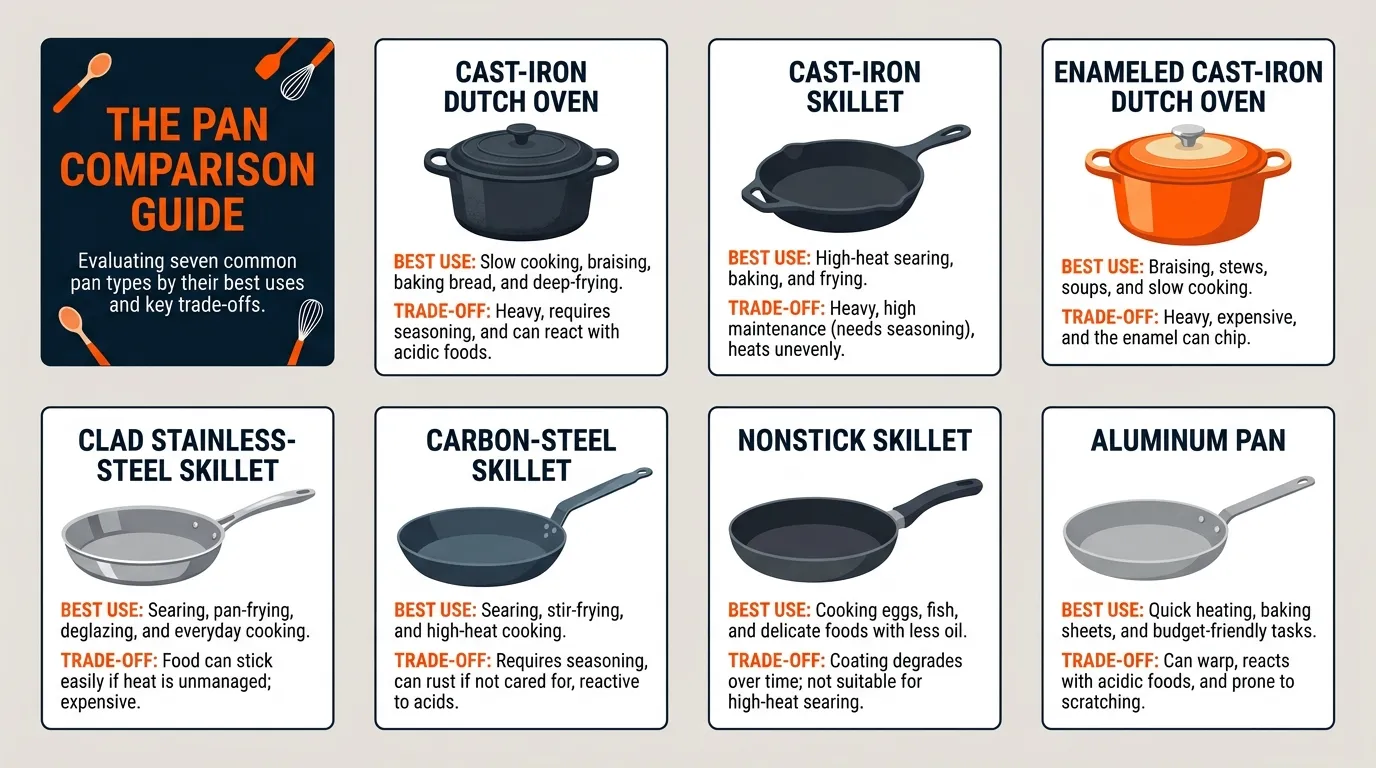
A cast-iron Dutch oven is the best all-around choice for deep-fried chicken. A cast-iron skillet is best for shallow frying. Stainless steel is a useful alternative when you want a lighter pan that does not need seasoning.
| Pan type | Best use | Main strengths | Main limits |
|---|---|---|---|
| Cast-iron Dutch oven | Deep frying | Holds heat, tall sides, stable | Heavy and slow to heat |
| Cast-iron skillet | Shallow frying | Wide surface, excellent browning | More splatter and temperature swings |
| Enameled cast-iron Dutch oven | Deep frying | Heat retention without bare-iron seasoning | Heavy; enamel can be damaged by rough use |
| Clad stainless-steel skillet | Shallow frying | Durable, nonreactive, easier to handle | Can develop hot spots; less heat retention |
| Carbon-steel skillet | Shallow frying | Lighter than cast iron, strong heat response | Needs seasoning and care |
| Nonstick skillet | Light pan-frying only | Easy cleanup | Not ideal for high-heat or deep frying |
| Aluminum pan | Quick cooking | Heats fast and is light | Loses heat quickly and may brown unevenly |
Cast-iron Dutch oven: best overall
A 5- to 7-quart cast-iron Dutch oven gives you enough depth for frying while keeping the sides high. It is the safest practical choice for cooks who want steady oil heat and less mess.
Bare cast iron can be used with frying oil, but dry it well after washing. A thin coat of oil helps protect the surface. Enameled cast iron does not need seasoning, but avoid dropping heavy tools into it or heating an empty pot for a long time.
Cast-iron skillet: best for shallow frying
A 12-inch cast-iron skillet works well for chicken pieces that are partly submerged in oil. This method is common for bone-in chicken and uses less oil than deep frying.
The chicken must be turned during cooking. Keep the oil level steady, and watch for oil pooling at one side if the stovetop or skillet is not level.
Stainless steel: best non-seasoned alternative
A heavy, clad stainless-steel skillet is a good choice if you do not want to maintain cast iron. Stainless steel does not react with acidic foods and does not require seasoning.
Its main weakness is heat control. Preheat the pan gradually, use a thermometer, and avoid turning the heat up sharply when the crust begins to brown.
Carbon steel: best lighter alternative
Carbon steel heats faster and weighs less than cast iron. Once seasoned, it can create a good sear and crisp crust.
It is less forgiving than a Dutch oven because its temperature changes more quickly. It also needs to be dried and lightly oiled after cleaning.
How to choose between a skillet and a Dutch oven
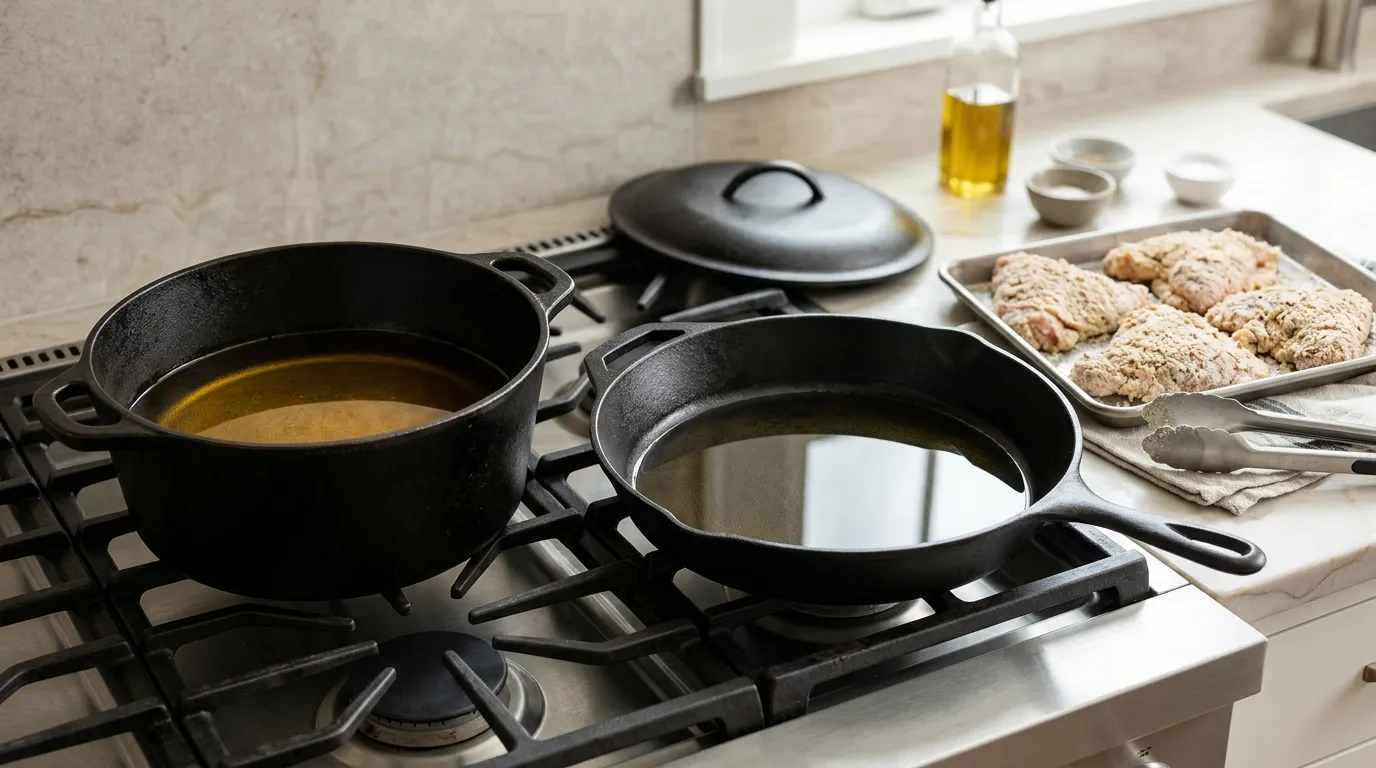
Choose the pan based on the amount of oil, chicken pieces, and cleanup you can manage.
Choose a Dutch oven if:
- You want the most stable oil temperature.
- You plan to deep-fry several batches.
- You want taller sides to reduce splatter.
- You are new to frying chicken.
- You want to fry large pieces such as thighs and drumsticks.
Choose a skillet if:
- You prefer shallow frying.
- You want to use less oil.
- You are cooking a small batch.
- You want a broad surface for turning pieces.
- You are comfortable watching oil temperature closely.
For many home cooks, the best setup is a 12-inch cast-iron skillet for shallow frying or a 5- to 7-quart Dutch oven for deeper frying. A small saucepan is not a good substitute. It can crowd the chicken and cause oil to rise dangerously fast.
How to fry chicken so the crust stays crispy
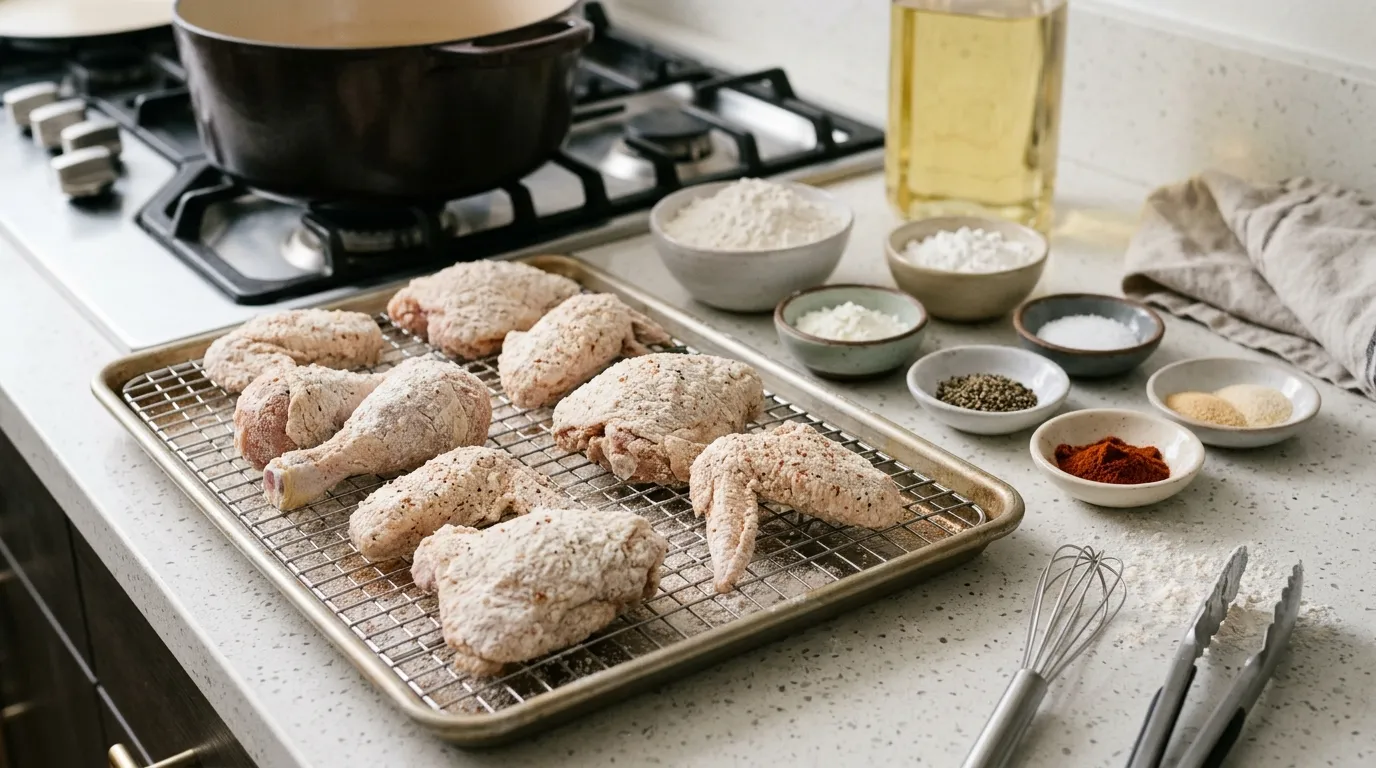
A good pan cannot fix wet breading or cold oil. Follow this method for a crisp crust.
1. Prepare the chicken
Pat the chicken dry before seasoning or coating it. Extra surface moisture creates steam and makes the coating less crisp.
If you use a buttermilk marinade, let excess liquid drip off before dredging. A thin, even layer of coating fries better than a thick, wet shell.
2. Build a dry coating
A basic coating may use:
- All-purpose flour
- Cornstarch
- Salt
- Black pepper
- Paprika
- Garlic powder
- Onion powder
Cornstarch can make a flour coating feel lighter and more brittle, but the exact amount is a recipe choice. Do not rely on a dry ingredient to replace correct oil temperature.
Press the coating onto the chicken. Then place the coated pieces on a rack for several minutes. This allows the flour to hydrate and adhere.
3. Add oil to the right level
For a Dutch oven, do not fill the pot more than halfway. Chicken displaces oil, and bubbling oil needs room to rise.
For a skillet, use enough oil to reach about halfway up the chicken pieces. The exact depth depends on the size of the pieces and the pan.
Use a high-smoke-point cooking oil, such as:
- Peanut oil, if no one has a peanut allergy
- Canola oil
- Vegetable oil
- Refined sunflower oil
Check the oil label and avoid mixing oils with very different smoke points.
4. Heat the oil gradually
Attach a deep-fry thermometer to the pan or use an instant-read thermometer carefully. Aim for roughly 325°F to 350°F, depending on the recipe and chicken size.
The oil often drops when chicken goes in. That is normal. Adjust the burner so the oil returns to the target range without smoking.
Smoke means the oil is too hot. Turn off the heat and move the pan away from the burner if needed. Never add water to hot oil.
5. Add chicken without crowding
Lower the chicken into the oil away from your body. Use tongs, and avoid dropping pieces from a height.
Place the thickest pieces in first if they need more time. Keep space between pieces. If the oil temperature drops sharply, remove one piece or cook smaller batches.
6. Turn the chicken when the crust sets
Once the bottom crust is firm and golden, turn the chicken with tongs. Avoid moving it too early. A loose crust can tear and leave bare spots.
Turn bone-in pieces only as needed. Frequent handling can knock off the coating.
7. Check internal temperature
The U.S. Department of Agriculture recommends cooking chicken to 165°F, measured with a food thermometer in the thickest part and away from bone. See the USDA’s safe minimum internal temperature chart.
Color is not a reliable safety test. Brown crust does not prove that the center is done.
8. Drain on a wire rack
Place cooked chicken on a wire rack set over a rimmed baking sheet. This lets air move under the crust.
Paper towels can absorb excess oil, but chicken sitting directly on paper may trap steam underneath. That steam can soften the bottom crust.
Do not cover the chicken tightly while it is hot. Covering holds moisture inside the coating.
Oil temperature and cooking time
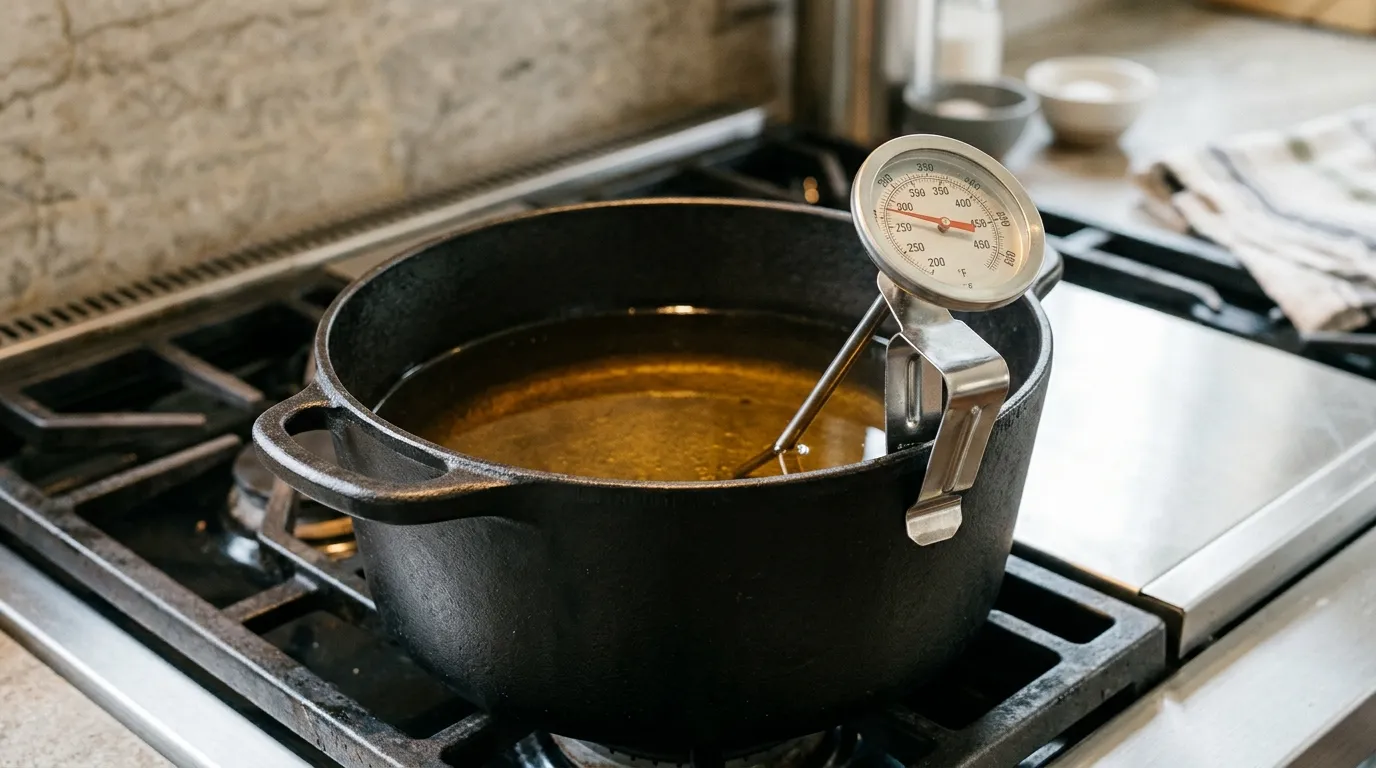
Oil temperature controls both texture and cooking speed. The numbers below are useful working ranges, not a promise for every recipe or piece size.
| Cooking condition | Likely result |
|---|---|
| Below about 325°F | Pale, greasy, soft crust |
| About 325°F–350°F | Good balance of browning and cooking |
| Above about 350°F | Dark crust with a risk of undercooked meat |
| Oil that smokes | Burnt flavor and unsafe overheating |
Bone-in chicken often needs more time than boneless pieces. Large breasts may brown before the center reaches 165°F. In that case, lower the heat and continue cooking, or finish the chicken in a moderate oven.
A hypothetical example: if oil begins at 350°F and drops to 315°F after adding chicken, do not immediately raise the burner to its highest setting. Let the pan recover while watching the thermometer. A sudden jump can push the oil past the target range and burn the coating.
Common problems and how to fix them
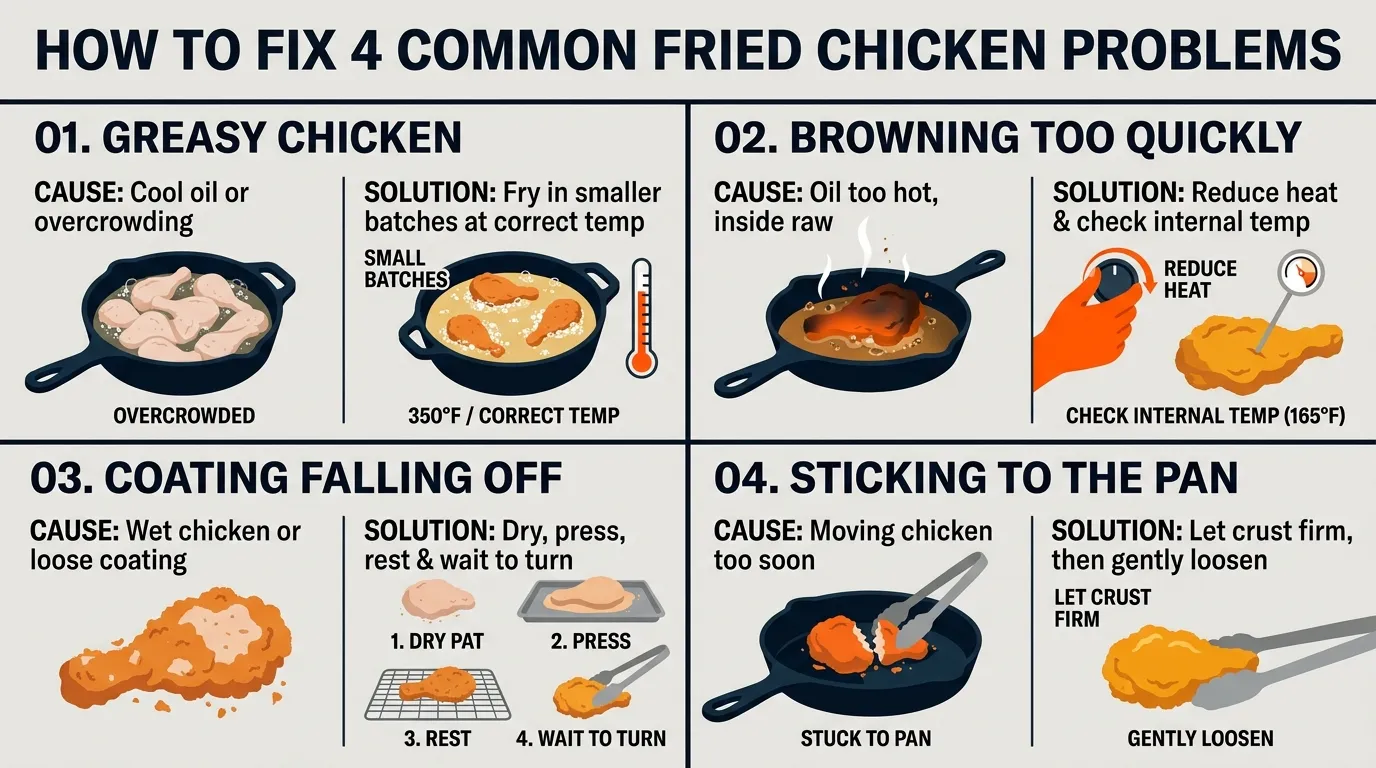
The chicken is greasy
Likely causes:
- Oil was too cool.
- The pan was crowded.
- The coating was very wet.
- The chicken drained on a flat surface.
Fix: Cook smaller batches, dry the chicken better, and keep the oil near the recipe’s target temperature. Drain on a rack.
The crust burns before the chicken is done
Likely causes:
- Oil was too hot.
- The pieces were too large.
- The coating had too much sugar or milk solids.
- The chicken was not cooked in batches.
Fix: Reduce the heat and check the internal temperature. If the crust is already dark, finish the chicken in a 325°F to 350°F oven until it reaches 165°F.
The coating falls off
Likely causes:
- The chicken was too wet.
- The coating did not rest before frying.
- The chicken was moved too soon.
- The oil was not hot enough.
Fix: Pat the chicken dry, press the coating on firmly, let it rest briefly, and turn it only after the crust sets.
The chicken sticks to the pan
Likely causes:
- The crust has not browned yet.
- The pan surface was not properly heated.
- The chicken was moved before the coating formed.
Fix: Give the crust time to firm up. Then loosen it gently with tongs. A well-seasoned cast-iron surface can help, but it does not eliminate sticking.
The oil foams or smells bad
Foam may come from moisture, loose flour, old oil, or food particles. Turn off the heat if the oil behaves unusually.
Let the oil cool fully before straining or discarding it. Never pour cooking oil down a sink drain. Put cooled oil in a sealed container and follow local disposal rules.
Safety rules for frying chicken at home
Hot oil can cause serious burns and fires. Keep these rules in place:
- Use a stable, heavy pan with a dry exterior.
- Do not fill a pot more than halfway with oil.
- Keep the handle turned away from the edge of the stove.
- Keep children and pets away from the cooking area.
- Keep water away from hot oil.
- Use long tongs and heat-resistant gloves when needed.
- Keep a lid nearby to cover a small grease fire.
- If oil catches fire, turn off the heat if you can do so safely and cover the pan with the lid.
- Never move a pan of burning oil.
- Never use water on a grease fire.
- Call 911 if the fire does not go out quickly.
For more fire guidance, consult the U.S. Fire Administration’s cooking fire safety advice.
Best pan for frying chicken: quick decision guide
- Best overall: Heavy cast-iron Dutch oven
- Best for shallow frying: 12-inch cast-iron skillet
- Best without seasoning: Clad stainless-steel skillet
- Best lighter option: Carbon-steel skillet
- Best for a small batch: 10- to 12-inch heavy skillet
- Best for beginners: Dutch oven with a clip-on thermometer
- Avoid for deep frying: Small pans, thin pans, glass cookware, and pans with loose handles
If you fry chicken often, buy the pan that matches your method rather than the pan with the largest capacity. A Dutch oven is worth choosing for deep frying and batch cooking. A cast-iron skillet is more practical when you want shallow frying and less oil.
Key takeaways
- A heavy cast-iron Dutch oven is the best all-around pan for crispy fried chicken.
- A 12-inch cast-iron skillet is ideal for shallow frying.
- Keep oil near 325°F to 350°F and watch the temperature after adding chicken.
- Do not crowd the pan.
- Drain chicken on a wire rack to protect the crust.
- Use a thermometer and cook chicken to 165°F.
- Never use water on a grease fire.
Frequently asked questions
Is cast iron better than stainless steel for frying chicken?
Cast iron usually holds heat better, which helps when cold chicken enters the oil. Stainless steel is lighter and easier to maintain, but it may need closer heat control. Both can work when the pan is heavy, the oil is hot, and the chicken is not crowded.
Can I fry chicken in a nonstick pan?
You can shallow-fry small pieces in a nonstick pan if the manufacturer allows the temperature and oil level. However, nonstick pans are not the best choice for deep frying or very high heat. A cast-iron or stainless-steel pan is more suitable for regular fried chicken.
Is a Dutch oven safe for deep frying?
Yes, a Dutch oven is commonly used for deep frying when it is stable, large enough, and not filled more than halfway with oil. Keep the pan on the stovetop, monitor the temperature, and never leave hot oil unattended.
Why does my fried chicken get crispy and then turn soft?
Steam is usually the cause. Chicken can soften when it is covered, placed directly on paper towels, or packed tightly with other pieces. Drain it on a wire rack and serve it soon after cooking.
Should I fry chicken in peanut oil?
Peanut oil can work well because refined peanut oil has a high smoke point and a mild flavor. Do not use it if anyone eating the chicken has a peanut allergy or if the oil’s source and refining process are unclear. Canola or vegetable oil can serve as alternatives.
Conclusion
The best pan for frying chicken crispy is a heavy cast-iron Dutch oven because it offers heat stability, tall sides, and enough depth for controlled frying. For a lighter, shallow-fried style, choose a 12-inch cast-iron skillet.
The final texture depends on more than the pan. Dry the chicken, use an even coating, keep the oil in the right range, cook in batches, and drain each piece on a rack. Start with the pan you already own if it is heavy, stable, and large enough to leave space around the chicken.