Microwaves dry out surfaces and overcook proteins, leaving tough, rubbery textures.
That quick hit captures the core reason. In this guide, I’ll break down why microwave food gets rubbery and how to fix it for good. I’ve tested methods in home kitchens and labs, and I’ll share the science, the shortcuts, and the small habits that make a big difference. If you care about texture, flavor, and safe reheating, you’re in the right place.
Why Microwave Food Gets Rubbery: How Microwaves Heat Food
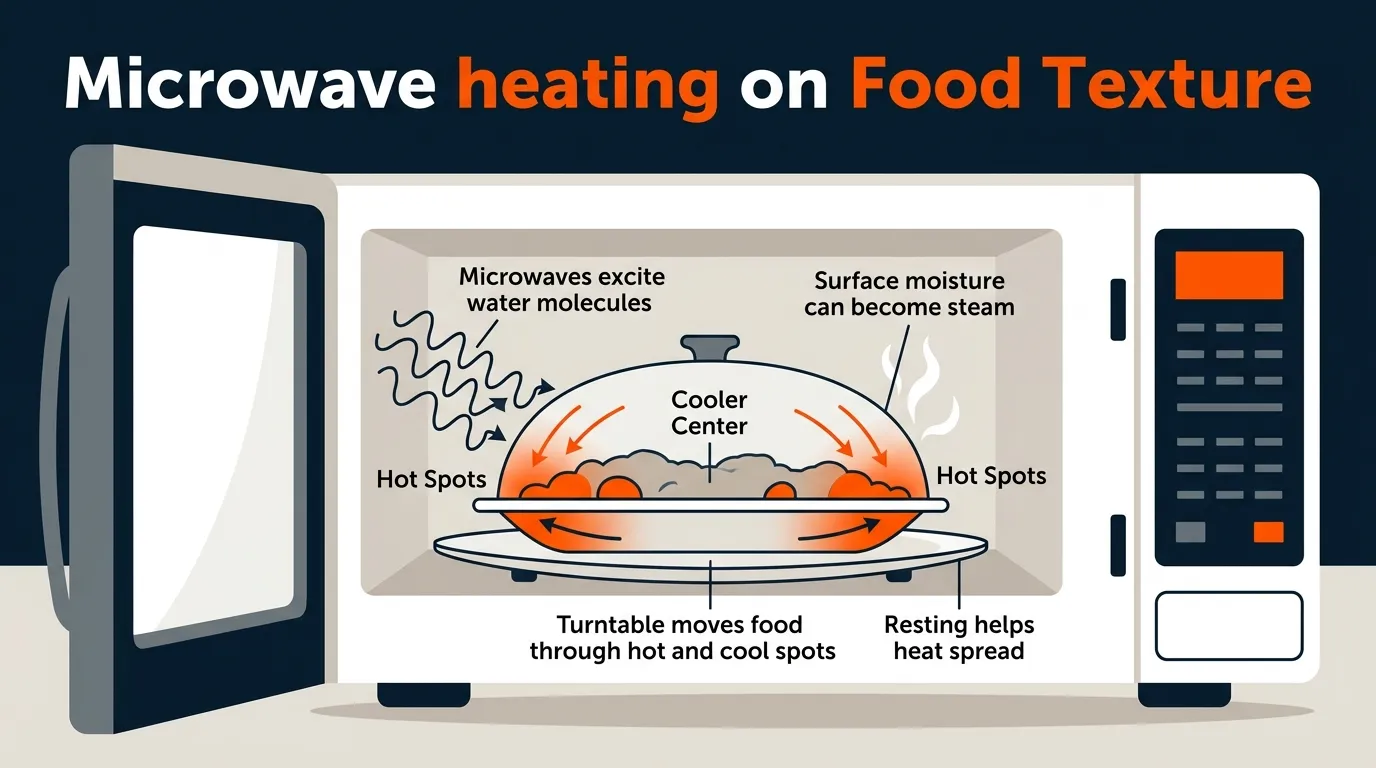
If you have asked why microwave food gets rubbery, the answer starts with how microwaves heat. Microwaves excite water molecules. That creates heat inside the food through fast vibration. The energy does not brown or crisp, so surfaces can dry fast.
Penetration is shallow, often about an inch or less. The rest heats by conduction. That is why edges can overcook while centers lag. Hot and cold spots form due to standing waves, even with a turntable.
Moisture movement is key. As surface water turns to steam, it escapes. Without a barrier, the surface dries and turns tough. A cover keeps steam in and protects texture
Why Microwave Food Gets Rubbery: Main Causes
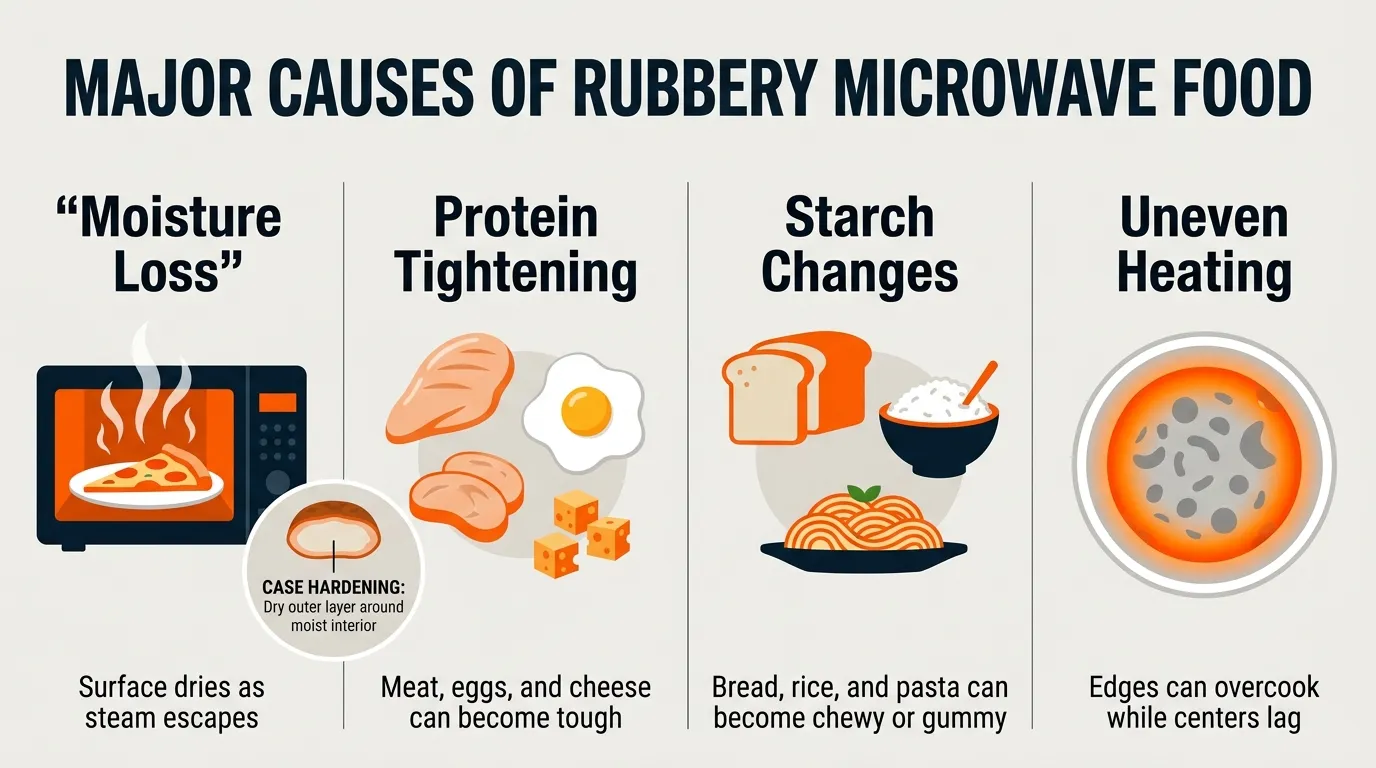
If you wonder why microwave food gets rubbery, think about moisture, proteins, and starch.
- Moisture loss at the surface. Steam escapes and leaves a dry, leathery layer. Salt and sugar speed moisture movement, so sauces can thicken and turn tacky.
- Protein tightening. Meat, eggs, and cheese tighten as they heat. Over 140–160°F, proteins squeeze out water. That makes chicken, shrimp, and omelets rubbery.
- Starch retrogradation. Cooked starch (bread, rice, pasta) sets as it cools. The starch chains realign and push out water. That makes bread chewy and pasta gummy.
- Uneven heating. Thick edges get blasted while the center warms slowly. Skipping rest time makes it worse. Heat needs a minute to spread and even out.
- Case hardening. The outer layer dries and forms a barrier. Inside stays steamy, outside turns tough. This is common with dense items like lasagna slices.
Food science studies confirm these effects. Lower power, added moisture, and covers reduce them. That is the heart of texture control.
Foods Most Prone When Asking Why Microwave Food Gets Rubbery
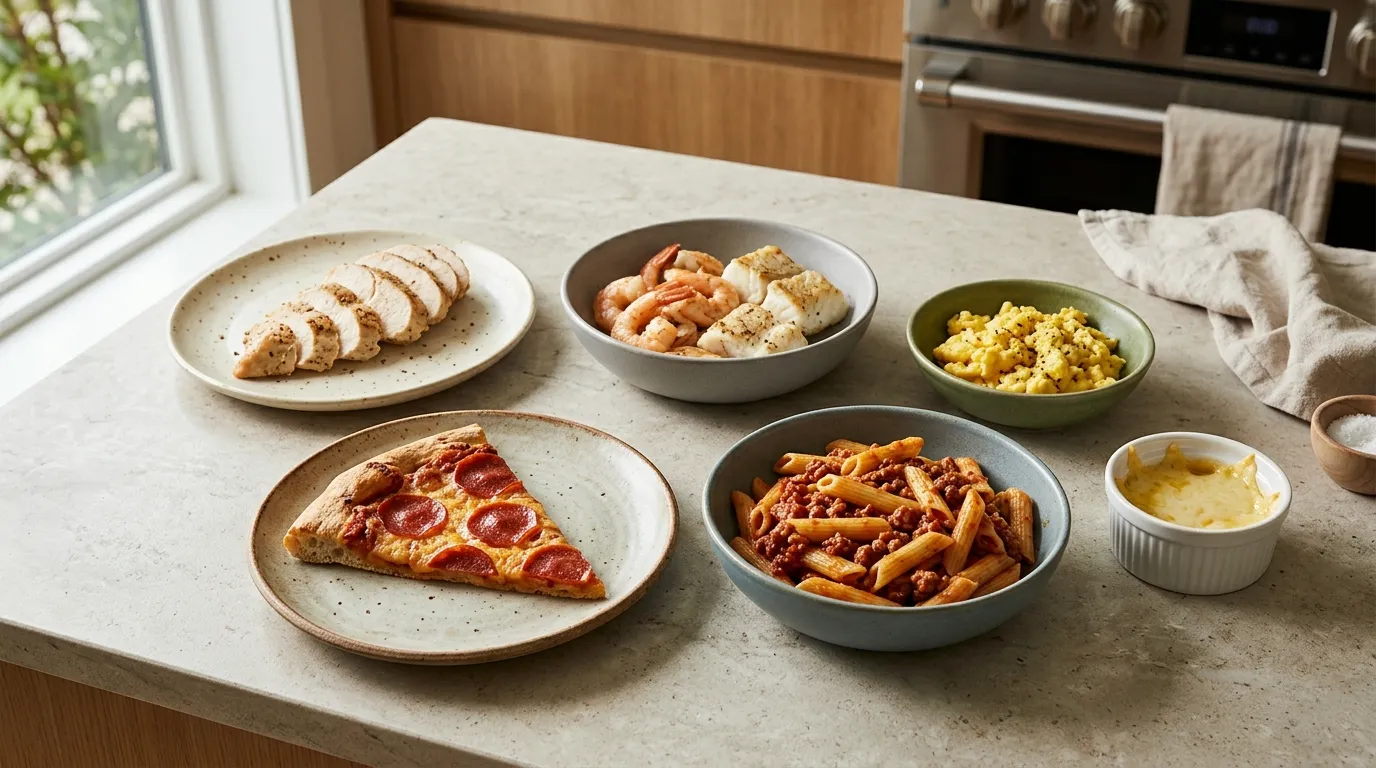
If you ask why microwave food gets rubbery, some foods are repeat offenders. They need extra care.
- Boneless chicken breast. Very lean, dries fast. Slice thin, add broth, and use low power.
- Shrimp and fish. Cook in seconds. Stop early and let carryover heat finish.
- Eggs. Proteins set fast. Use 30–50% power and short bursts with stirring.
- Bread, tortillas, and pizza crust. Starch resets and turns tough. Reheat with moisture or crisp in a pan after.
- Pasta and noodles. Sauces evaporate and starch gets sticky. Add water or milk and stir halfway.
- Cheese. Fat melts but proteins can seize. Warm gently and let it rest.
Practical Fixes: How To Prevent Rubbery Microwave Food
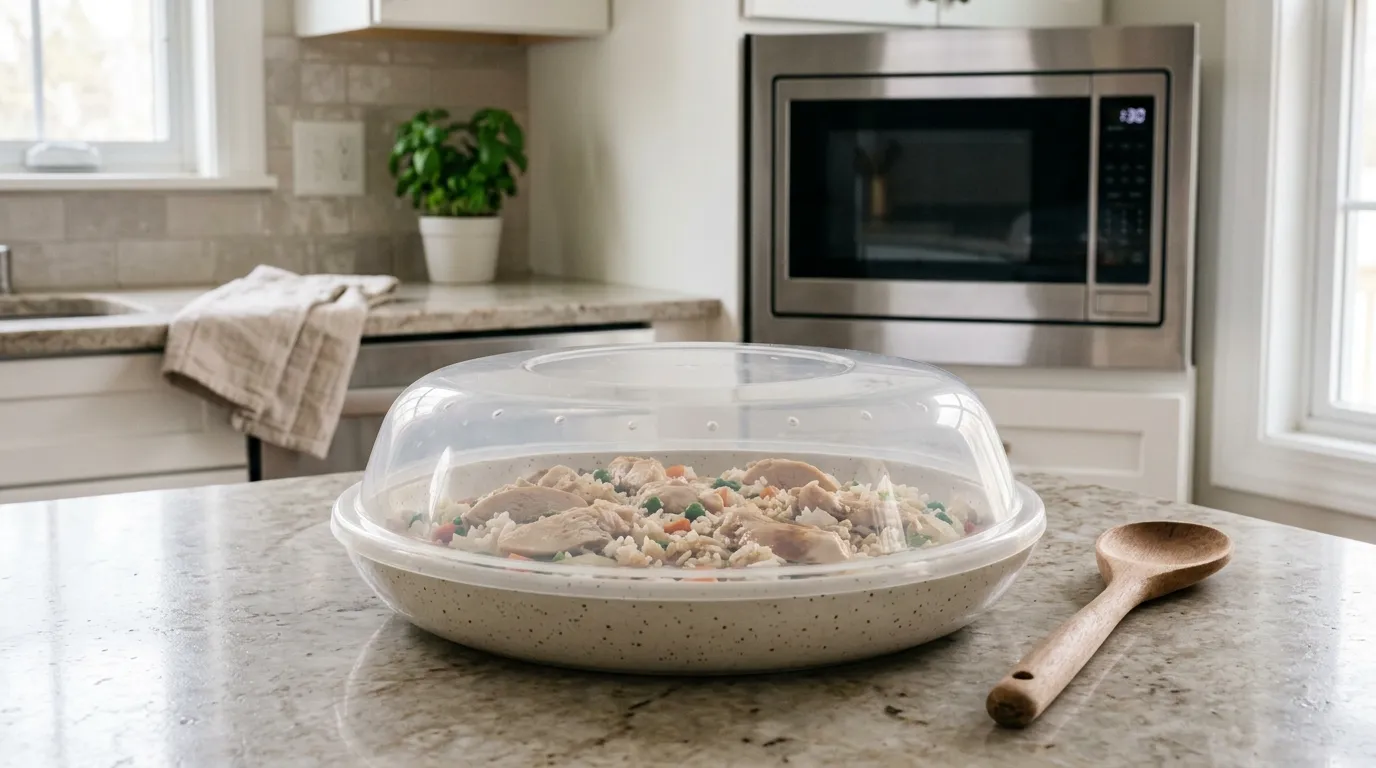
If you are tired of asking why microwave food gets rubbery, use these habits every time. They are simple and they work.
- Lower the power. Use 30–50% power for most reheats. Gentle heat means fewer dry edges.
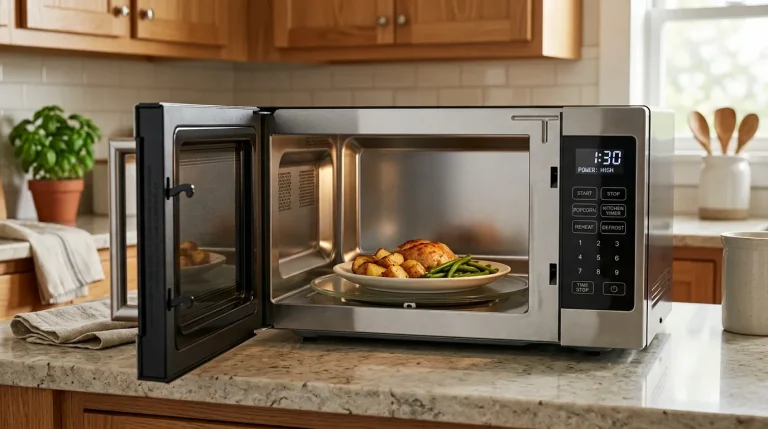
- Cover and vent. Use a microwave-safe lid, silicone cover, or damp paper towel. Trap steam, but leave a small vent to prevent sogginess.
- Add moisture. Spoon on broth, water, milk, or sauce. A teaspoon per portion is enough.
- Stir, flip, and rotate. Pause halfway. Move edges to the center for even heating.
- Cut smarter. Slice meat thin and even. Arrange food in a ring with space in the middle.
- Rest time. Let food sit 1–3 minutes. Heat spreads, and texture evens out. This single step explains much of why microwave food gets rubbery when skipped.
- Use the right container. Wide, shallow dishes heat better than deep bowls.
- Crisp with a finish. For crusts, finish in a skillet, air fryer, or toaster oven for 2–3 minutes.
Reheating Playbook For Popular Dishes
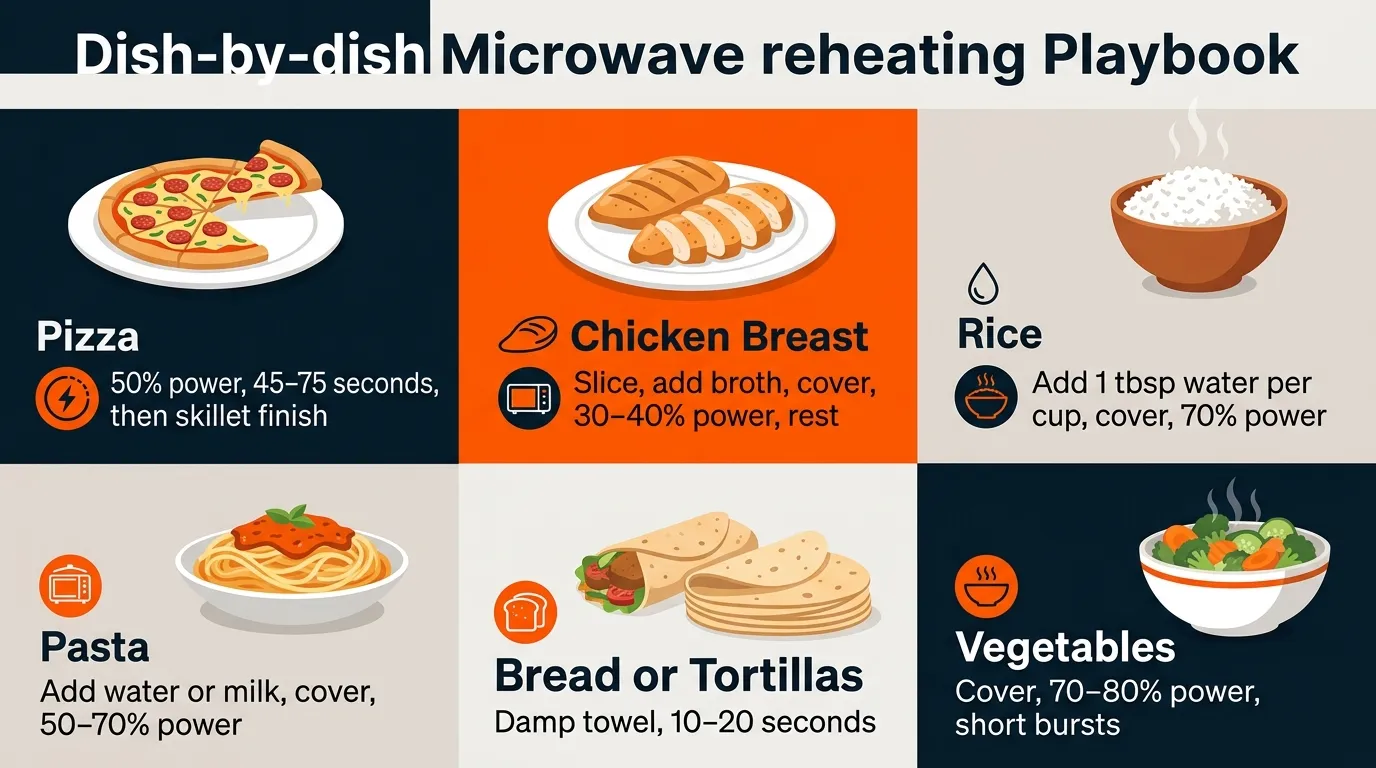
If you still wonder why microwave food gets rubbery, try these dish-by-dish moves. They are tested and fast.
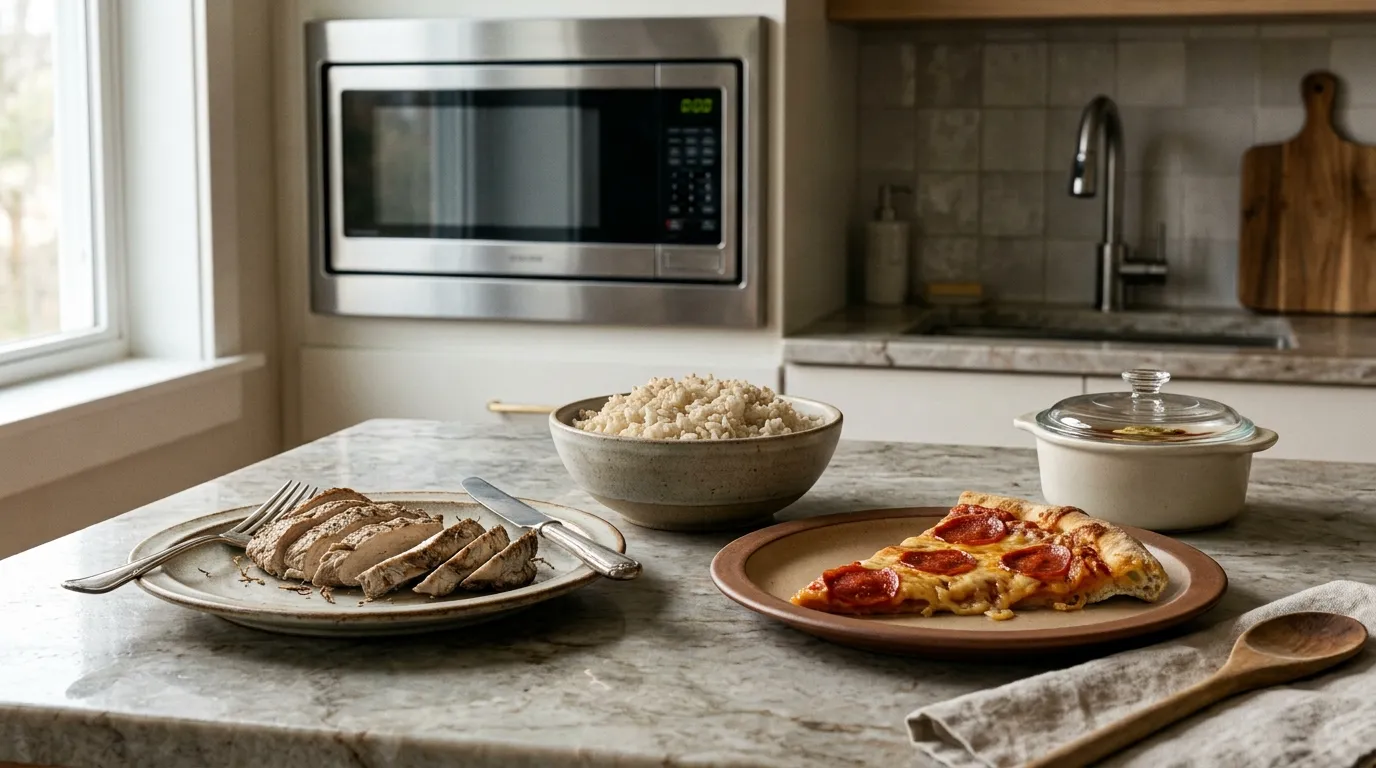
- Pizza. Use 50% power for 45–75 seconds, plate on a paper towel, and add a small cup of water in the microwave. Finish in a hot skillet for 1–2 minutes to crisp.
- Chicken breast. Slice, sprinkle with broth, cover, 30–40% power for 1–2 minutes. Rest 2 minutes before eating. This stops the classic rubbery bite.
- Rice. Break up clumps, add 1 tablespoon water per cup, cover, 70% power for 60–90 seconds. Fluff and rest.
- Pasta. Add a splash of water or milk, cover, 50–70% power for 60–120 seconds. Stir halfway, then finish with a little oil or butter.
- Bread or tortillas. Wrap in a damp towel, 10–20 seconds on high. Eat right away before starch sets again.
- Veggies. Cover with a vented lid, 70–80% power, short bursts. Add oil or butter after warming for better texture.
These steps cut the main reasons why microwave food gets rubbery. They also improve flavor, not just texture.
Testing And Tuning Your Microwave
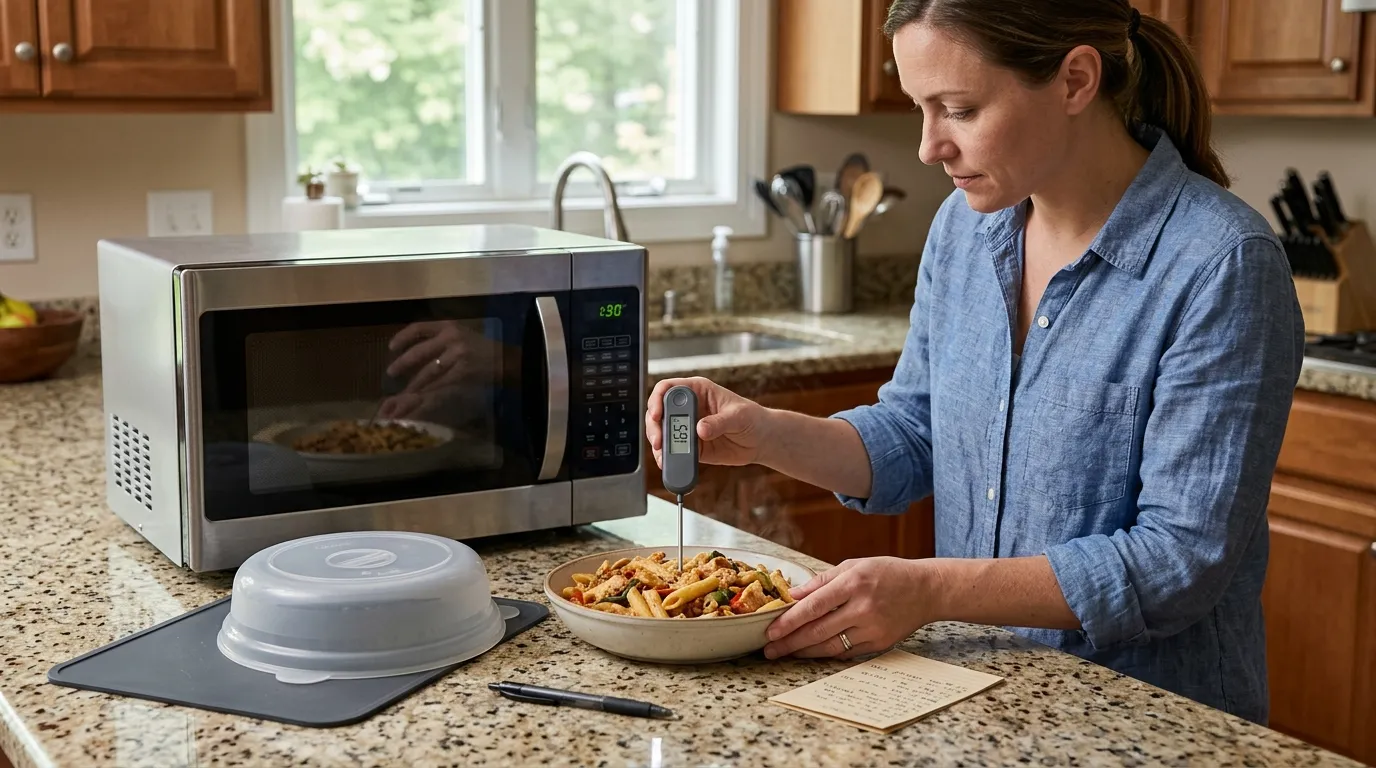
If you ask why microwave food gets rubbery, your microwave’s wattage may be part of it. Stronger units need lower power and shorter times.
- Find your wattage. Look at the label or manual. If unknown, time how long 1 cup of water takes to boil. About 2 minutes means high wattage.
- Calibrate your defaults. Note the times and power levels that keep your go-to meals juicy. Tape a small chart inside a cabinet.
- Upgrade your tools. A vented cover, a silicone mat, and a crisper tray help a lot. A basic instant-read thermometer guards against overcooking.
Consistency fixes many issues tied to why microwave food gets rubbery. Tune once, then repeat.
Common Myths About Microwaves And Texture
If you still ask why microwave food gets rubbery, clear out the myths.
- Microwaves cook from the inside out. Not really. They heat the outer layer first, and then heat moves inward by conduction.
- Microwaves ruin nutrients. Short, gentle heating can preserve vitamins better than long stove cooking. Use little water and do not overheat.
- A cup of water fixes everything. It can reduce moisture loss nearby, but it will not make crusts crisp. Use a cover and finish in a pan when you need crunch.
- Plastic wrap is always unsafe. Use microwave-safe wrap, keep it off the food, and vent it. Or use a silicone lid to be safe.
Facts beat frustration and cut down on why microwave food gets rubbery in daily life.
My Experience And Lessons Learned
If you wonder why microwave food gets rubbery, I have made those mistakes too. Early in my career, I blasted chicken on high and got tire-like slices. A chef friend had me try 30% power with broth under a lid. It was night and day.
I ran side-by-side tests for pizza, rice, and pasta. The winners always used moisture, lower power, and rest time. My big lesson is simple. Texture is a moisture game. Control steam and heat pace, and you control chew.
Frequently Asked Questions of Why Microwave Food Gets Rubbery
Why does chicken get rubbery in the microwave?
Lean meat has little fat to protect it, so it overcooks fast. Slice it thin, add broth, cover, use 30–40% power, and rest.
How do I stop bread from turning chewy?
Wrap bread in a damp towel and heat for 10–20 seconds. Eat right away, since starch resets as it cools.
Is a lower power level really better for reheating?
Yes. Lower power reduces surface drying and lets heat spread. That prevents the overcooked edge and undercooked center problem.
Does a microwave-safe cover make a difference?
A cover traps steam so food stays moist, but vent it to avoid soggy spots. It solves much of why microwave food gets rubbery.
Why does cheese turn rubbery?
Cheese proteins tighten when overheated. Warm at 30–50% power and stop as soon as it softens.
Do microwaves heat evenly with a turntable?
More evenly, but not perfect. Stirring, flipping, and rest time still matter for even heat.
Can adding a cup of water keep pizza from getting rubbery?
It can help reduce drying, but it will not crisp the crust. Pair the microwave with a quick skillet finish.
Conclusion
Rubbery microwave food comes from fast surface drying, tight proteins, set starch, and uneven heat. The fix is simple: lower power, add moisture, cover and vent, stir or flip, and rest. Shape food for even heating and finish crisp items in a pan or toaster oven.
Try one dish today with these steps and note the change. Then save your best times and power levels as your personal cheat sheet. If this helped, subscribe for more smart kitchen tips or leave a comment with your own test results.