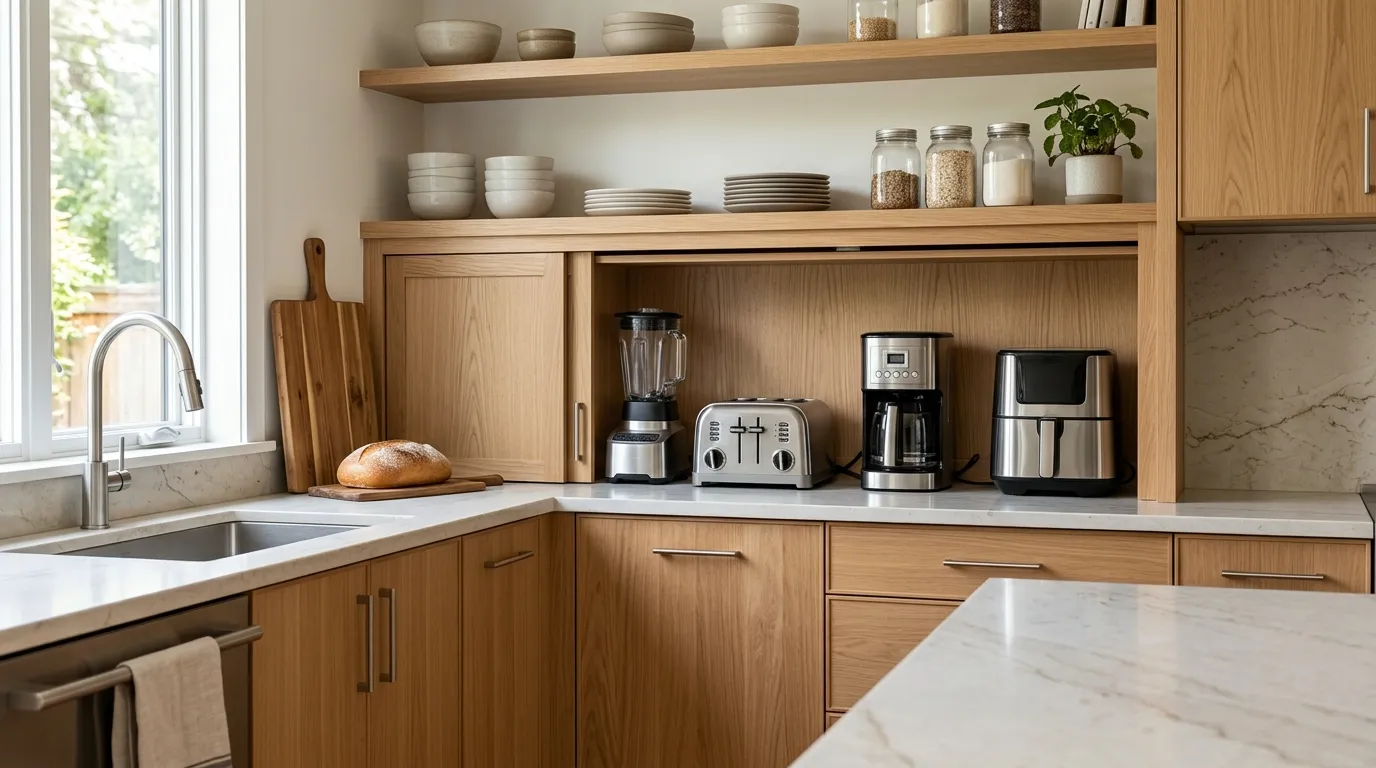
Smart kitchen gadget storage ideas keep tools visible, protected, and easy to return after every meal.
A well-organized kitchen is not about hiding every appliance. It is about giving each gadget a clear home. The best kitchen gadget storage ideas save counter space, reduce clutter, and make cooking feel easier. From drawer dividers to rolling carts, this guide shares practical methods that work in small and large kitchens alike. I will also cover safety, cleaning, common mistakes, and simple upgrades you can try today.
Why Kitchen Gadget Storage Matters
Kitchen gadgets can make cooking faster, but they can also create daily mess. A blender, air fryer, hand mixer, toaster, and food processor may all need different storage plans. When these tools sit in random places, cabinets become hard to use and counters quickly fill up.
Good kitchen gadget storage ideas improve three things:
- Access: You can find the right tool without digging through a cabinet.
- Safety: Heavy or sharp items stay stable and protected.
- Flow: Your kitchen supports the way you cook.
Think of your kitchen like a small workshop. A baker needs easy access to a mixer and measuring tools. A coffee lover needs a neat station for a grinder, kettle, and mugs. A busy family may need fast access to a toaster and air fryer.
Storage also protects your investment. Dust, moisture, heat, and falls can damage electrical gadgets. Keeping appliances away from the sink and stovetop lowers the risk of water exposure and heat damage. Always follow the care and placement instructions from the manufacturer.
In my own kitchen organizing projects, I have learned that the best storage system is not always the prettiest one. A simple open shelf often works better than a stylish cabinet if the gadget is used every day.
Start With a Kitchen Gadget Storage Audit
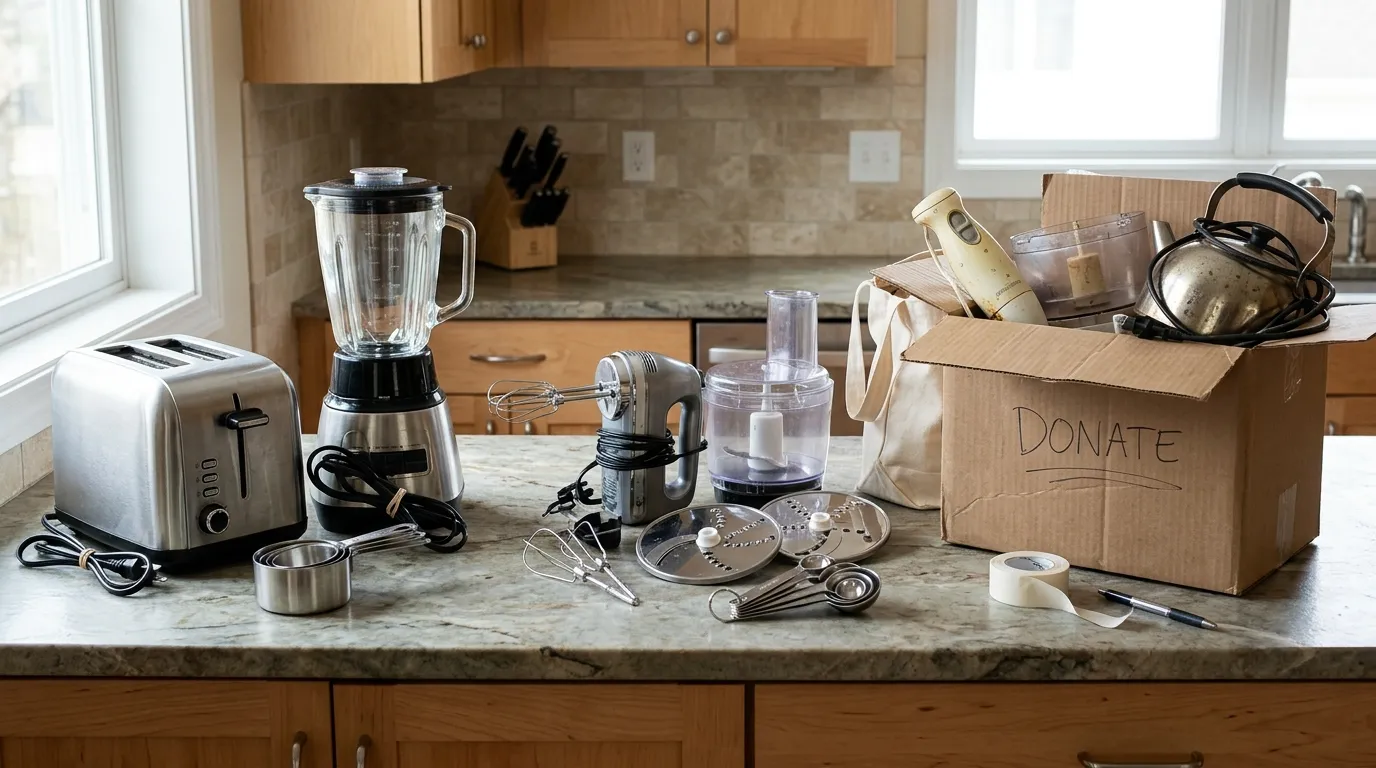
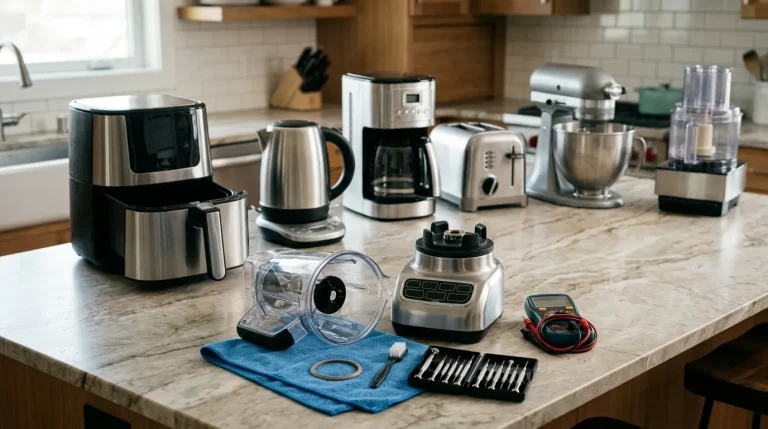
Before buying bins or shelves, study what you already own. Many people try to solve clutter by adding more storage. In reality, the first step is often removing items that no longer work or fit their routine.
Place every kitchen gadget on a table or clean counter. Group similar items together, such as baking tools, coffee tools, food prep tools, and small appliances.
Then ask these questions:
- Do I use this item at least once a month?
- Does another gadget do the same job?
- Is it safe and in good working order?
- Does it have all its parts?
- Does it fit my current cooking habits?
- Would I buy it again today?
Create three groups:
- Keep and use often
- Keep and use sometimes
- Donate, recycle, repair, or discard
Do not place broken electrical appliances in the regular trash unless local rules allow it. Many communities offer special recycling for small electronics. Remove batteries from gadgets before recycling them, when possible.
Measure your cabinets, drawers, shelves, and counter areas. Note the height, width, depth, and door swing. This small step prevents a common mistake: buying a storage product that looks useful online but does not fit at home.
My biggest storage lesson has been to measure twice. A narrow cabinet may hold a toaster but not an air fryer. A deep drawer may fit a blender base but leave no room for its cord.
Use Drawers for Small Kitchen gadgets
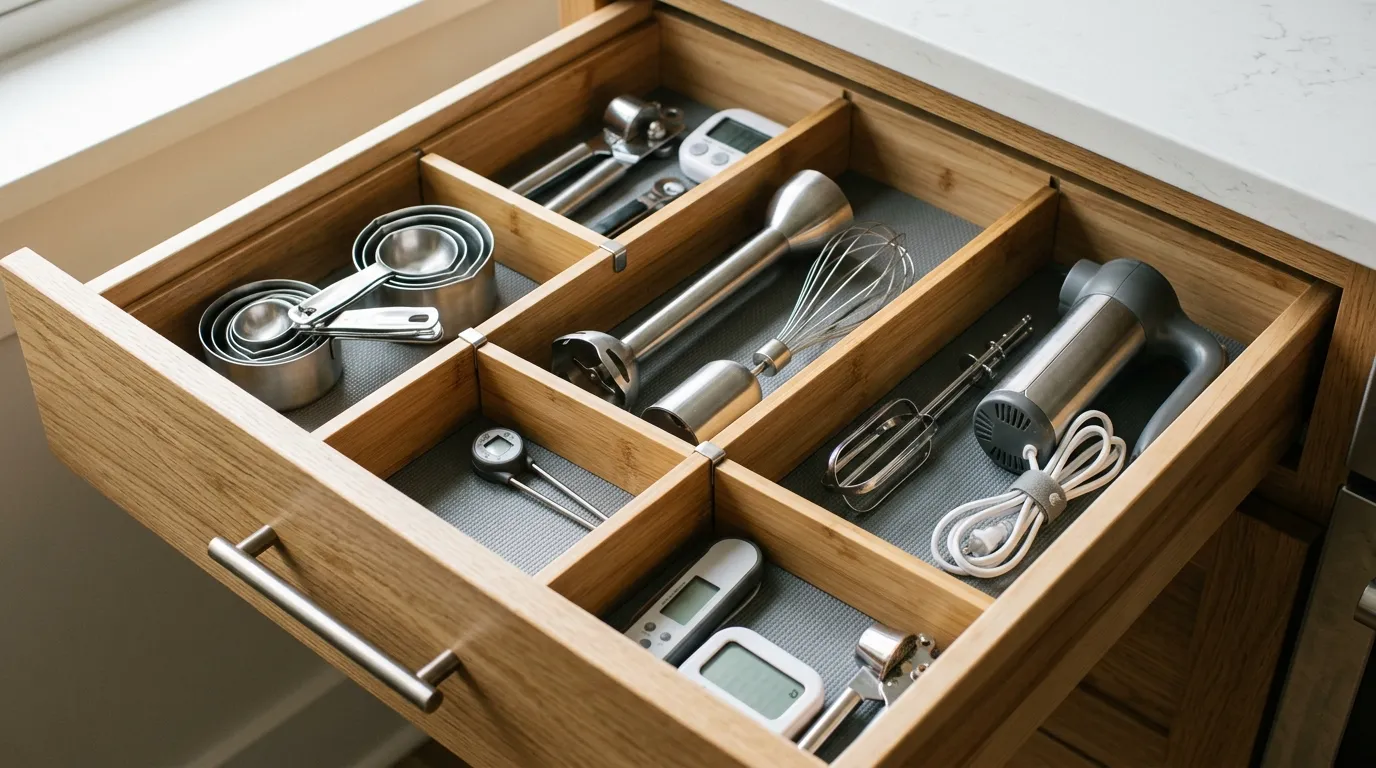
drawers are among the most useful spaces for kitchen gadget storage ideas. They keep tools out of sight while allowing you to see everything from above. This works well for compact items such as immersion blenders, electric whisks, thermometers, and handheld frothers.
Use drawer dividers to create simple zones. Adjustable bamboo, plastic, or metal dividers can separate gadgets by type. Choose sturdy dividers that stay in place when the drawer opens.
Helpful drawer zones include:
- Coffee tools
- Baking tools
- Food thermometer and timers
- Measuring devices
- Small cutting tools
- Appliance cords and attachments
Avoid placing heavy appliances in a shallow drawer. The drawer may become hard to open, and the weight can damage the runners. Heavy items belong in deep drawers or low cabinets.
Keep cords loose and easy to remove. Tight wrapping can stress the cord near the plug. Use soft reusable ties instead of hard plastic bands that may pinch the cable.
A drawer mat can reduce sliding and noise. Choose a washable mat that does not trap moisture. Clean the drawer often, especially when storing tools used with flour, oil, or spices.
Store Small Appliances in Cabinets
Cabinets are ideal for appliances you use weekly but do not need on the counter all day. This includes food processors, rice cookers, slow cookers, sandwich makers, and hand mixers.
Place heavy appliances on lower shelves. Lifting a large appliance from an upper shelf can cause strain or a fall. Keep lighter items at eye level, but avoid stacking them so high that they become unstable.
Try these kitchen gadget storage ideas inside cabinets:
- Use a shelf riser to create two levels.
- Add a pull-out shelf for heavy appliances.
- Store appliance bowls beside, not inside, the main unit.
- Keep attachments in a labeled container.
- Place the most-used gadget near the front.
- Use a vertical rack for flat accessories and trays.
Do not store damp gadgets in closed cabinets. Moisture can lead to odors, rust, or electrical problems. Let all parts dry fully before putting them away.
If you stack appliances, place the heaviest item at the bottom. Do not stack a device if the manufacturer warns against it. Some appliances have vents that must remain clear.
I once stored a food processor bowl under several pans. It was technically organized, but reaching it became such a chore that I stopped using the processor. Storage should reduce effort, not add another small obstacle.
Create a Dedicated Appliance Garage
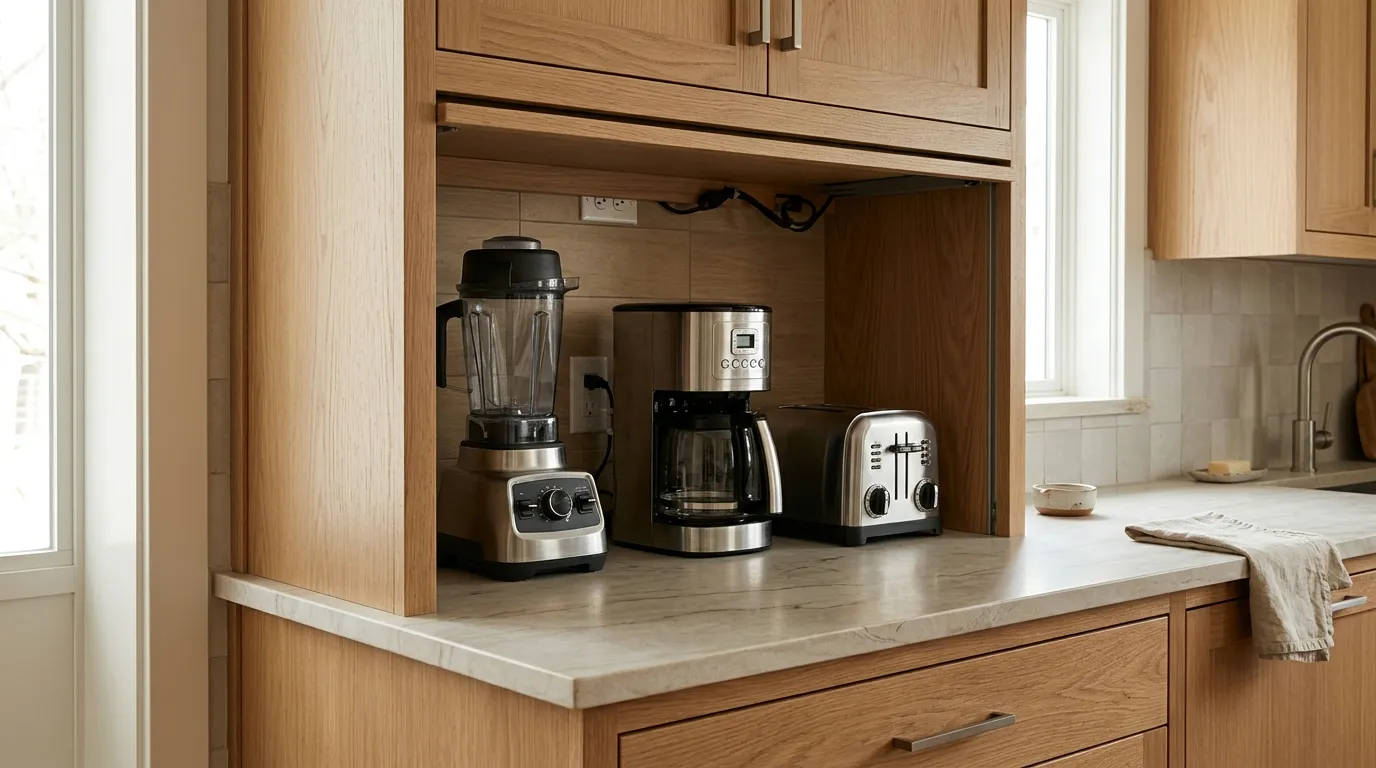
An appliance garage is a cabinet or shelf area that hides small appliances while keeping them ready to use. It is often placed below upper cabinets or along a counter corner.
This setup works well for:
- Toasters
- Coffee makers
- Blenders
- Electric kettles
- Stand mixers
- Air fryers
A lift-up door can hide appliances without taking up floor space. A sliding door can also work, but it needs enough room to move freely. Keep the area well ventilated when an appliance produces heat.
Never operate an appliance inside a closed cabinet unless the product instructions clearly allow it. Heat and steam need a safe path out. For coffee makers, kettles, and toasters, move the appliance into an open area before use.
A dedicated appliance garage is most useful when it has power access nearby. Avoid running cords across walkways or under rugs. Use a qualified electrician if you need a new outlet or built-in power solution.
This is one of the kitchen gadget storage ideas that can improve both appearance and routine. The counter looks calm, but the appliance remains close at hand.
Make the Most of Vertical Space
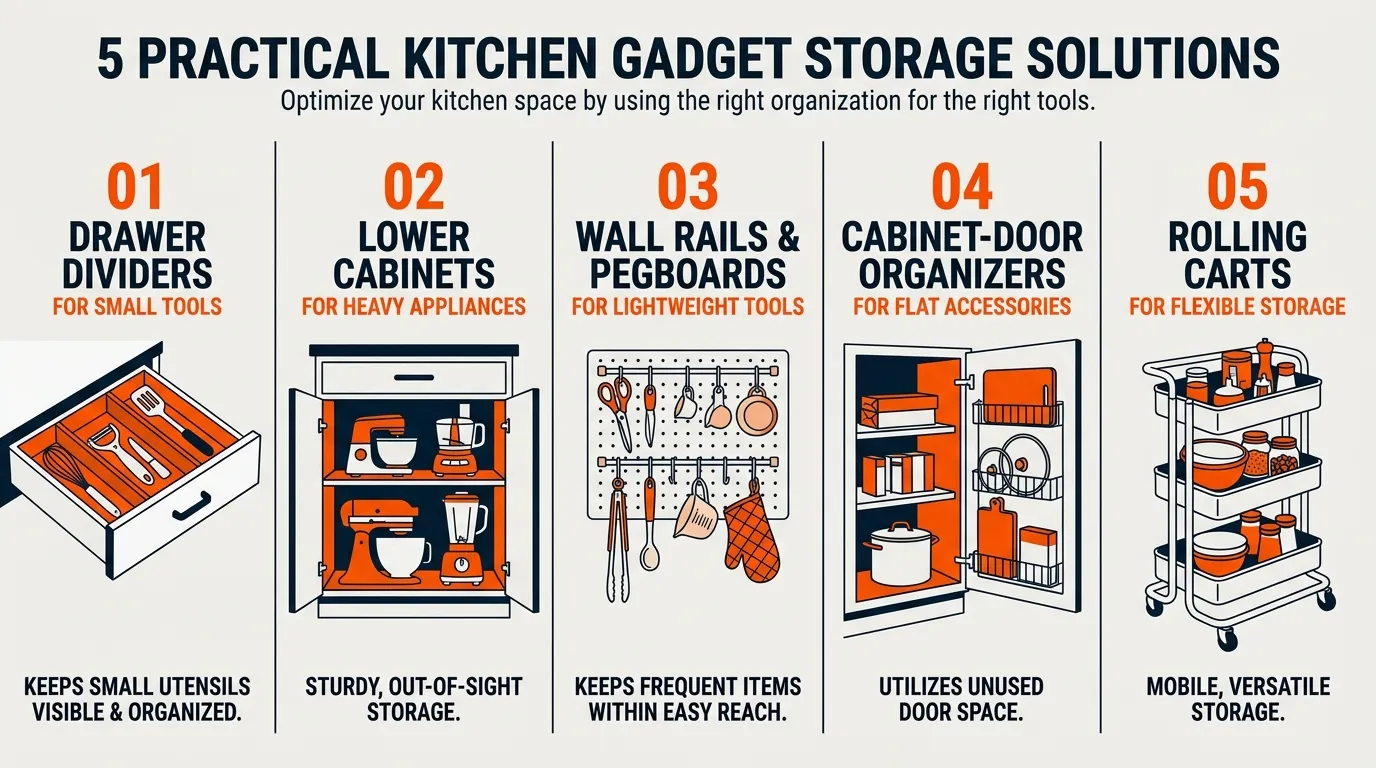
When floor and counter space are limited, look up. Vertical storage uses wall space, cabinet doors, and the sides of cabinets without taking over the work area.
Consider these options:
- Install a pegboard for lightweight tools.
- Add a wall rail with hooks.
- Mount a magnetic strip for suitable metal tools.
- Use a narrow shelf above the coffee station.
- Hang measuring cups inside a cabinet door.
- Add a tiered shelf to a tall cabinet.
Check the weight limit before mounting anything. Use hardware suited to the wall type, especially for tile, drywall, or masonry. Heavy appliances should not hang from weak adhesive hooks.
Cabinet door organizers can hold flat and light items. They are useful for blender lids, measuring spoons, food processor discs, and small cutting boards. Make sure the door still closes without pressing against the stored items.
Vertical storage makes items visible, but it can also make a kitchen look busy. Group similar tools and leave some open space. A little breathing room makes the system easier to use and clean.
Try a Rolling Cart for Flexible Storage
A rolling cart is a smart choice for renters, small kitchens, and cooks who need extra workspace. It can hold gadgets, ingredients, cookware, or serving items.
Choose a cart with:
- Strong wheels with locking brakes
- A stable frame
- Easy-to-clean shelves
- Enough depth for your appliances
- A top surface for temporary prep
Use the top level for lighter, frequently used tools. Place heavy appliances on the bottom shelf. Lock the wheels before using the cart as a work surface.
A cart can also create a mobile coffee bar or baking station. Move it near the dining room when serving drinks, then return it to the kitchen afterward.
Avoid placing hot appliances on a wooden or plastic cart without checking the heat rating. Steam and heat can damage some surfaces. A heat-safe mat may help, but manufacturer guidance should come first.
For many homes, a rolling cart is among the most affordable kitchen gadget storage ideas. It adds space without a remodel and can move when your needs change.
Organize Cords, Lids, and Attachments
Small parts often create more clutter than the appliances themselves. Blender lids, food processor blades, mixer beaters, and power cords can become tangled or misplaced.
Use a separate container for each appliance family. A labeled bin can hold attachments for one food processor. Another can hold mixer beaters and dough hooks.
Good organization methods include:
- Use soft cord ties.
- Label bins on the front.
- Store blades in protective sleeves.
- Keep lids upright in a divider.
- Place manuals in a digital folder.
- Match each attachment to its appliance.
Sharp blades need extra care. Store them in a case, sleeve, or container where fingers cannot easily reach the cutting edge. Do not toss blades loosely into a drawer.
Keep cords away from water and heat. Inspect them from time to time for cuts, fraying, exposed wires, or loose plugs. Stop using a damaged cord until it is properly repaired or replaced.
A clear label can save several minutes during a busy meal. It also helps other people in the home return items to the correct place.
Design Storage for Small Kitchens
Small kitchens need storage that supports more than one purpose. A cutting board can cover a sink for temporary prep. A rolling cart can hold appliances and serve as an extra work surface. A deep drawer can store both a hand mixer and its attachments when organized well.
Use these kitchen gadget storage ideas in a compact space:
- Keep daily appliances in one easy-access zone.
- Store seasonal or rare-use items higher up.
- Use the sides of cabinets for narrow tools.
- Choose nesting bowls and stackable containers.
- Replace bulky single-use tools with multipurpose options.
- Keep the counter clear around the main prep area.
Do not fill every empty space. Overstuffed storage makes each item harder to remove and return. Leave enough room to lift an appliance without knocking over nearby items.
If you rent, choose removable solutions such as tension shelves, freestanding carts, and nonpermanent organizers. Ask permission before drilling into cabinets or walls.
A small kitchen does not need to feel cramped. It needs clear zones, simple rules, and storage that matches your real habits.
Improve Countertop Appliance Storage
Some gadgets deserve a permanent counter spot. A coffee maker used every morning may become annoying if it must be unpacked daily. The same may be true for a toaster or electric kettle.
Choose permanent countertop items based on use, size, and safety. Keep them near the area where they work best. For example, place a coffee grinder near the coffee maker, but keep both away from direct splashes.
Use trays to group related items. A coffee tray can hold the machine, grinder, scoop, and canister. This makes cleaning easier because you can move the group at once.
Leave clearance around vents and controls. Do not push heat-producing appliances against walls or beneath low cabinets unless the instructions allow it. Keep cords away from burners, wet areas, and sharp edges.
Countertop storage should feel intentional. If five appliances crowd the counter, choose the two or three that support your daily routine and store the rest nearby.
Follow Safety and Cleaning Rules
Storage is part of kitchen safety. A neat cabinet can still be unsafe if it holds damp tools, overloaded outlets, or unstable stacks.
Keep these rules in mind:
- Unplug appliances before cleaning or storing them.
- Let heated parts cool before putting them away.
- Keep electrical bases away from water.
- Store sharp attachments in protective covers.
- Keep heavy items below shoulder height.
- Do not block appliance vents.
- Check cords and plugs for damage.
- Keep gadgets away from children when needed.
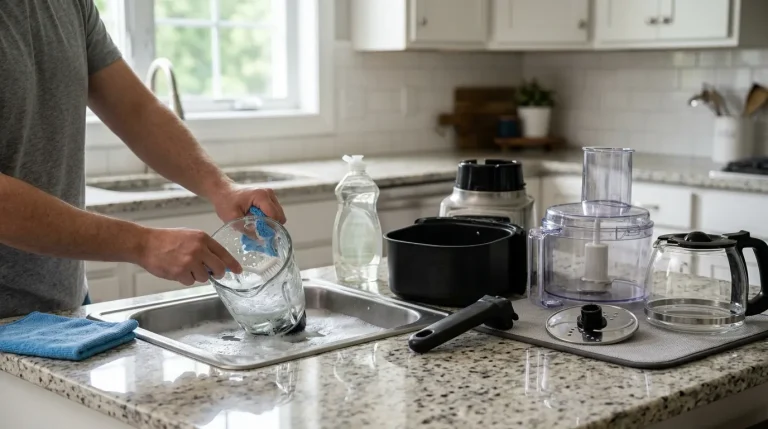
Clean gadgets based on their materials and instructions. Many removable parts can go in a dishwasher, but not every plastic, blade, seal, or coated part is dishwasher safe. Electrical bases should never be submerged.
Food residue can grow bacteria and create odors. Wash parts that touch food soon after use, then dry them fully. This is especially important for blender seals, food processor bowls, and milk frothers.
Research on household food safety consistently supports clean hands, clean tools, and proper drying. Storage cannot replace cleaning, but it can make cleaning easier by giving every dry part a clear home.
Common Storage Mistakes to Avoid
Even attractive kitchen gadget storage ideas can fail when they ignore daily behavior. The most common mistake is storing items based on appearance instead of use.
Avoid these problems:
- Hiding daily tools in hard-to-reach cabinets
- Stacking heavy appliances too high
- Mixing sharp blades with loose utensils
- Keeping wet parts in closed spaces
- Buying organizers before measuring
- Saving broken gadgets “just in case”
- Overfilling drawers and shelves
- Ignoring manufacturer instructions
- Running cords through unsafe areas
Another mistake is creating too many storage categories. If every item has a different rule, the system becomes tiring. Use broad groups that are easy to remember.
Do not copy a storage system from a large kitchen if your home has limited space. The best solution depends on your appliances, cooking style, mobility, budget, and available cabinets.
When I test an organizing method, I use it for at least a week before making it permanent. If an item keeps landing on the counter, that is useful information. The system may need to move closer to where the gadget is used.
A Simple Plan to Organize Your Gadgets
You can organize a kitchen in one afternoon by following a clear sequence. Work in small groups rather than emptying every cabinet at once.
- Gather your kitchen gadgets in one safe area.
- Remove broken, duplicate, and unused items.
- Group gadgets by task and frequency of use.
- Measure the storage spaces you plan to use.
- Place daily appliances in the easiest locations.
- Store heavy items low and sharp parts safely.
- Add dividers, bins, shelves, or hooks as needed.
- Label containers for attachments and cords.
- Clean the storage area before loading it.
- Test the system for one week.
After a week, notice what feels easy and what feels awkward. Move items that do not fit your routine. Organization is not a one-time performance. It is a small system that should change as your cooking habits change.
Set a monthly reminder to check for damaged cords, missing parts, and gadgets you no longer use. This keeps clutter from returning.
Frequently Asked Questions About Kitchen Gadget Storage Ideas
What is the best way to store small kitchen appliances?
Store frequently used appliances in an easy-access cabinet, drawer, or countertop zone. Keep heavy items low, protect cords, and leave space around vents and controls.
How do I store kitchen gadgets in a small kitchen?
Use vertical wall space, cabinet door organizers, deep drawers, and rolling carts. Keep daily-use items close and move rare-use gadgets to higher or less convenient storage.
Should kitchen appliances be stored on the counter?
Daily-use appliances may stay on the counter if they do not block work space or create a safety risk. Store them away when they are used rarely or when the counter becomes crowded.
How should I organize appliance attachments?
Keep attachments in labeled containers near the matching appliance. Store sharp blades in protective sleeves or cases, and keep small parts dry before placing them away.
Can I store a toaster or air fryer in a cabinet?
You can store these appliances in a cabinet when they are cool, clean, and dry. Do not operate them inside a closed cabinet unless the manufacturer clearly says it is safe.
How can I prevent kitchen gadget cords from becoming tangled?
Use soft reusable ties and store each cord with its appliance. Avoid tight bends, and replace cords that show fraying, cuts, or exposed wires.
Conclusion
The most useful kitchen gadget storage ideas make cooking easier, not more complicated. Start by sorting your appliances, measuring your space, and placing daily-use items where your hands naturally reach. Use drawers for small tools, cabinets for larger appliances, vertical storage for narrow spaces, and carts for flexible room.
Safety matters as much as appearance. Keep gadgets dry, protect sharp parts, avoid heat and water, and follow product instructions. Begin with one drawer or cabinet today, test the system for a week, and adjust it to fit your real life. Share your favorite storage solution or explore more practical kitchen organization guides for your next improvement.