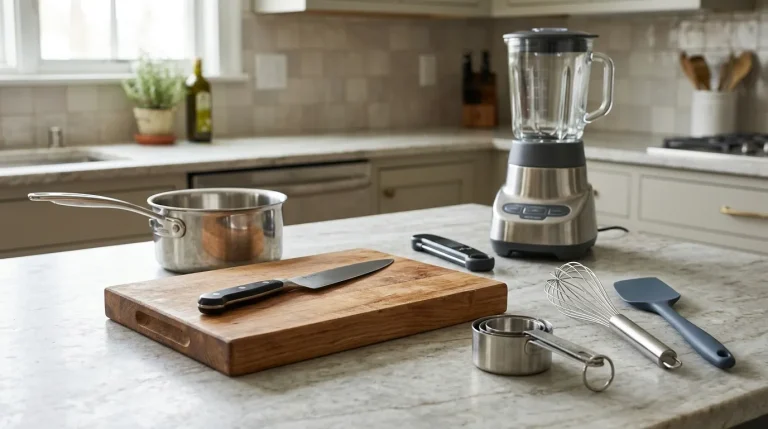
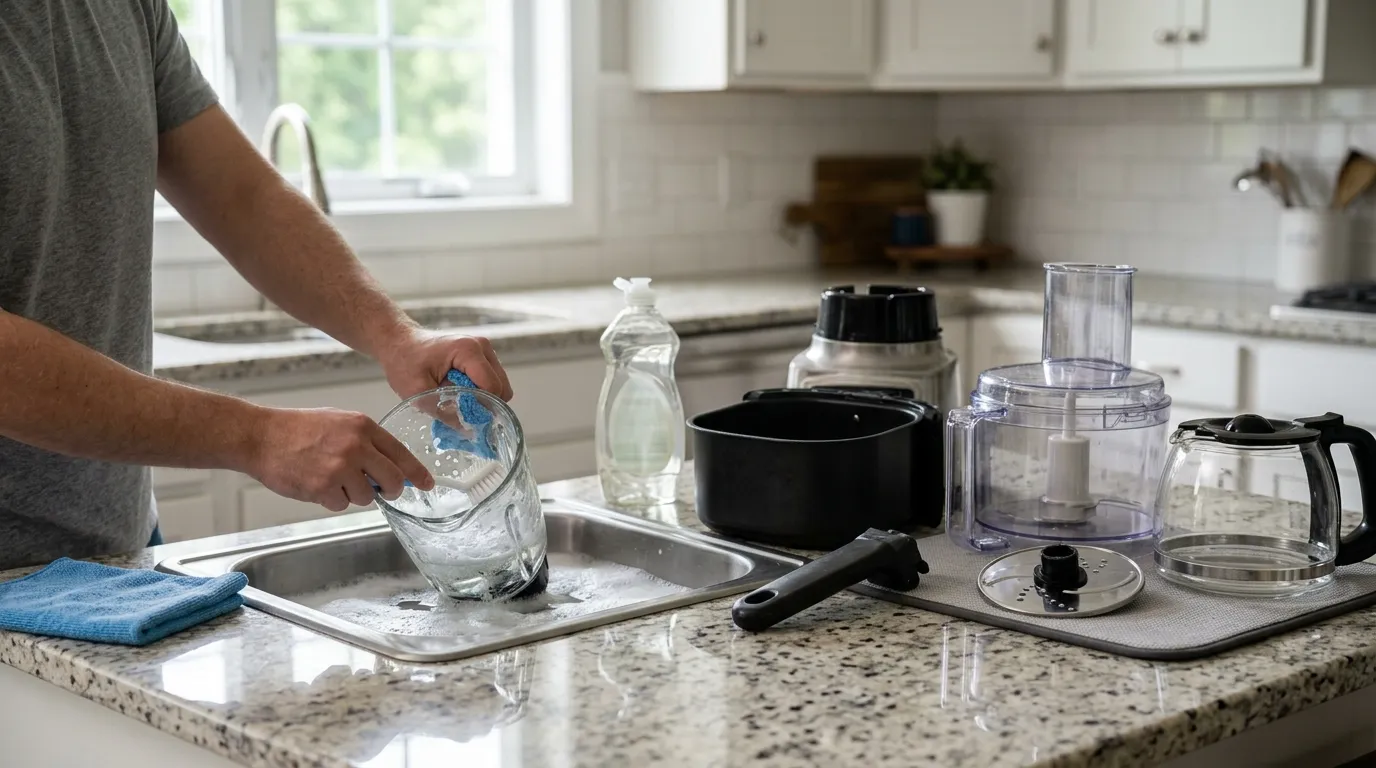
A kitchen gadget cleaning guide helps remove grease, food germs, odors, and hidden buildup safely.
A clean kitchen gadget works better, lasts longer, and helps protect your food from harmful germs. After testing and cleaning many everyday tools, I have learned that the best kitchen gadget cleaning guide is not about using the strongest soap. It is about using the right method for each material, motor, blade, seal, and food stain. This guide explains safe daily cleaning, deep cleaning, common mistakes, and simple routines you can use at home.
Why Kitchen Gadget Cleaning Matters
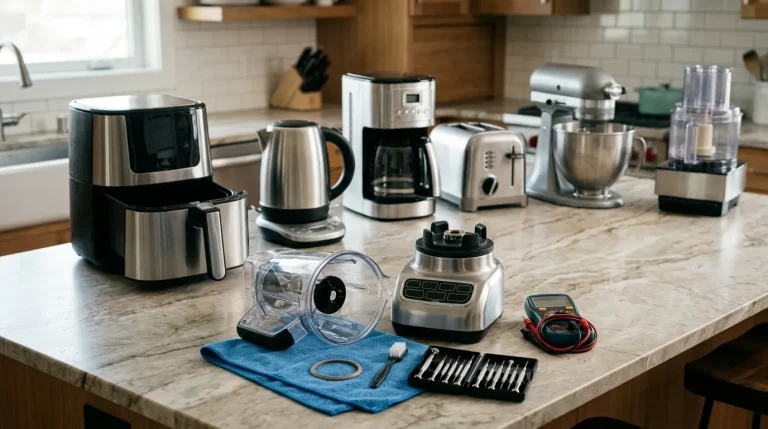
Kitchen gadgets touch food, hands, oils, and water each day. Blender jars, air fryer baskets, coffee makers, can openers, and food processors can collect residue in small gaps. These areas may look clean while still holding grease, crumbs, or old food.
A good kitchen gadget cleaning guide helps you clean those hidden spots without damaging the device. It also reduces odors and lowers the chance of cross-contamination between raw and ready-to-eat foods.
The U.S. Food and Drug Administration recommends washing hands, tools, and food-contact surfaces often. Hot, soapy water is usually enough for routine cleaning. Disinfecting may be needed after contact with raw meat, poultry, seafood, or eggs.
Cleaning also protects your investment. Food oils can make plastic cloudy, dull metal, and weaken rubber seals. A few minutes of care can help a gadget stay useful for years.
Before You Clean Any Kitchen Gadget

Read the care instructions before using water, heat, or a cleaning product. Some parts are dishwasher-safe, while others can warp, rust, or lose their protective coating.
Unplug powered gadgets before cleaning. Never place a motor base, cord, plug, or control panel under running water. Instead, wipe these parts with a damp cloth and dry them at once.
Use this simple safety check:
• Unplug the gadget before taking it apart.
• Remove loose food with a paper towel or soft brush.
• Check the manual for dishwasher and soaking instructions.
• Keep sharp blades pointed away from your hands.
• Do not mix bleach with vinegar, ammonia, or other cleaners.
• Dry all parts fully before putting the gadget back together.
In my own kitchen, the biggest mistake was rushing to wash a food processor after making dough. A small piece of dough dried under the blade hub. Now I rinse sticky parts right away, before they turn hard like glue.
Basic Supplies for Cleaning Kitchen Gadgets
You do not need a large collection of special products. A few gentle tools can handle most kitchen gadget cleaning tasks.
Keep these items nearby:
• Mild dish soap
• Warm water
• Microfiber cloths
• Soft sponge
• Small nylon brush
• Old toothbrush
• Bottle brush
• Wooden toothpicks
• Baking soda
• White vinegar for mineral scale
• Clean, dry towels
Avoid steel wool and rough scouring pads on plastic, nonstick surfaces, stainless steel, and coated baskets. They can leave scratches where food and germs may collect.
Baking soda can help lift odors and mild grease. Vinegar can help dissolve mineral deposits, but it is not a complete disinfectant. Use each product for the right job rather than treating one cleaner as a cure-all.
A Simple Kitchen Gadget Cleaning Guide

Most small appliances follow the same five-step cleaning process. This method works for many tools, but always check the manufacturer’s instructions first.
1. Unplug and disassemble
Remove removable bowls, lids, blades, filters, trays, and seals. Take pictures if the parts are confusing. This makes reassembly easier and prevents a seal from being placed upside down.
2. Remove loose food
Wipe away crumbs, oil, and wet food before adding water. A dry paper towel often removes more mess than a wet sponge.
3. Wash removable parts
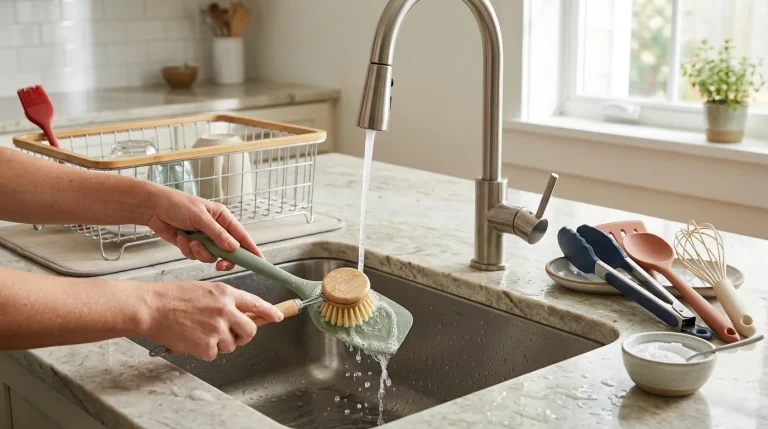
Wash food-contact parts in warm water with mild dish soap. Use a soft brush around threads, grooves, vents, and rubber rings.
4. Wipe the motor base
Use a slightly damp cloth on the base. For sticky spots, add a drop of dish soap to the cloth. Never pour water into openings.
5. Rinse, dry, and reassemble
Soap left behind can affect taste and create a film. Rinse well, dry every part, and let pieces air-dry before storage.
This kitchen gadget cleaning guide works best when cleaning starts soon after use. Fresh food residue is soft. Old residue often needs soaking, brushing, and extra time.
How to Clean Common Kitchen Gadgets
Different gadgets have different risks. Blades need safe handling, heating appliances need full drying, and small filters may need special care.
Blenders
Rinse the jar after use. Add warm water and a small drop of dish soap, then run the blender for a short time if the manual allows it. Unplug the base, remove the jar, and rinse it well.
Clean under the blade assembly with a soft brush. Do not place your fingers near sharp blades, even when the blender is unplugged. Check the gasket for food and odor buildup.
For dried smoothies or sauces, soak the removable jar and lid in warm, soapy water. Do not soak the motor base.
Food processors
Remove the pusher, bowl, lid, blade, and slicing discs. Use a soft brush around the blade shaft and lid lock. Dough and cheese often hide under the central hub.
Handle blades by the plastic center or outer edge. Dry metal blades quickly to help prevent rust. Never use a loose blade in a crowded sink where someone may reach into the water.
Air fryers
Unplug the air fryer and let it cool fully. Wash the basket and tray with warm, soapy water unless the manual says they are dishwasher-safe.
Wipe the inside with a soft, damp cloth. Use a soft brush for crumbs near the heating element. Do not spray cleaner into the heating area, and do not submerge the main unit.
For baked-on grease, soak the basket in warm water with dish soap. Avoid harsh tools that may damage a nonstick coating. A damaged coating is a reason to replace the basket.
Coffee makers
Empty the carafe and filter basket after each use. Wash both with warm, soapy water and let them dry with the lid open.
Mineral scale can build up inside the water path. Follow the manufacturer’s descaling instructions. Some machines use a commercial descaler, while others allow a vinegar solution.
After descaling, run fresh water through the machine as directed. If a vinegar smell remains, run another rinse cycle. Never assume that a clean-looking water reservoir is free from buildup.
Electric kettles
Rinse the kettle and wipe the outside after use. For mineral scale, fill it with the amount of water recommended by the manual and use an approved descaling method.
Do not wet the electrical connection or base. Let the kettle cool before emptying it. Rinse several times after descaling so your next drink does not taste sour.
Toasters
Unplug the toaster and let it cool. Empty the crumb tray and wipe it with a dry or slightly damp cloth.
Turn the toaster upside down over a sink or trash can and shake it gently. Do not insert knives, forks, or metal tools into the slots. Crumbs near heating wires can create a fire risk, so regular crumb removal matters.
Stand mixers
Unplug the mixer before removing the bowl, beater, whisk, or dough hook. Wash removable parts according to the manual. Some aluminum beaters may darken in a dishwasher.
Wipe the mixer head and base with a damp cloth. Use a toothpick or soft brush around the beater shaft. Dry the attachment hub before storing the mixer.
Can openers
Electric can openers can collect food near the cutting wheel. Unplug the unit and remove the cutting mechanism if the design allows it.
Wash removable parts with warm, soapy water. Wipe the main body without soaking it. Dry the cutting wheel fully to help prevent rust and unpleasant odors.
Deep Cleaning and Sanitizing Kitchen Gadgets

Cleaning removes food, grease, and dirt. Sanitizing lowers the number of germs to a safer level. These are not exactly the same process.
For most daily kitchen tasks, careful washing with warm, soapy water is enough. Sanitizing becomes more important after a gadget touches raw meat, poultry, seafood, eggs, or food linked to illness.
Follow this order:
- Remove visible food and grease.
- Wash with warm, soapy water.
- Rinse with clean water.
- Apply a food-safe sanitizer if the product label allows it.
- Allow the part to air-dry.
Do not use household disinfectant sprays on food-contact parts unless the label clearly says they are safe for that use. Follow the contact time on the label. Wiping a product off too soon may reduce its effect.
A dishwasher’s sanitizing cycle can help when the gadget parts are labeled dishwasher-safe. Still, the dishwasher cannot clean a sealed motor base or hidden food trapped under a gasket.
How Often Should You Clean Kitchen Gadgets?
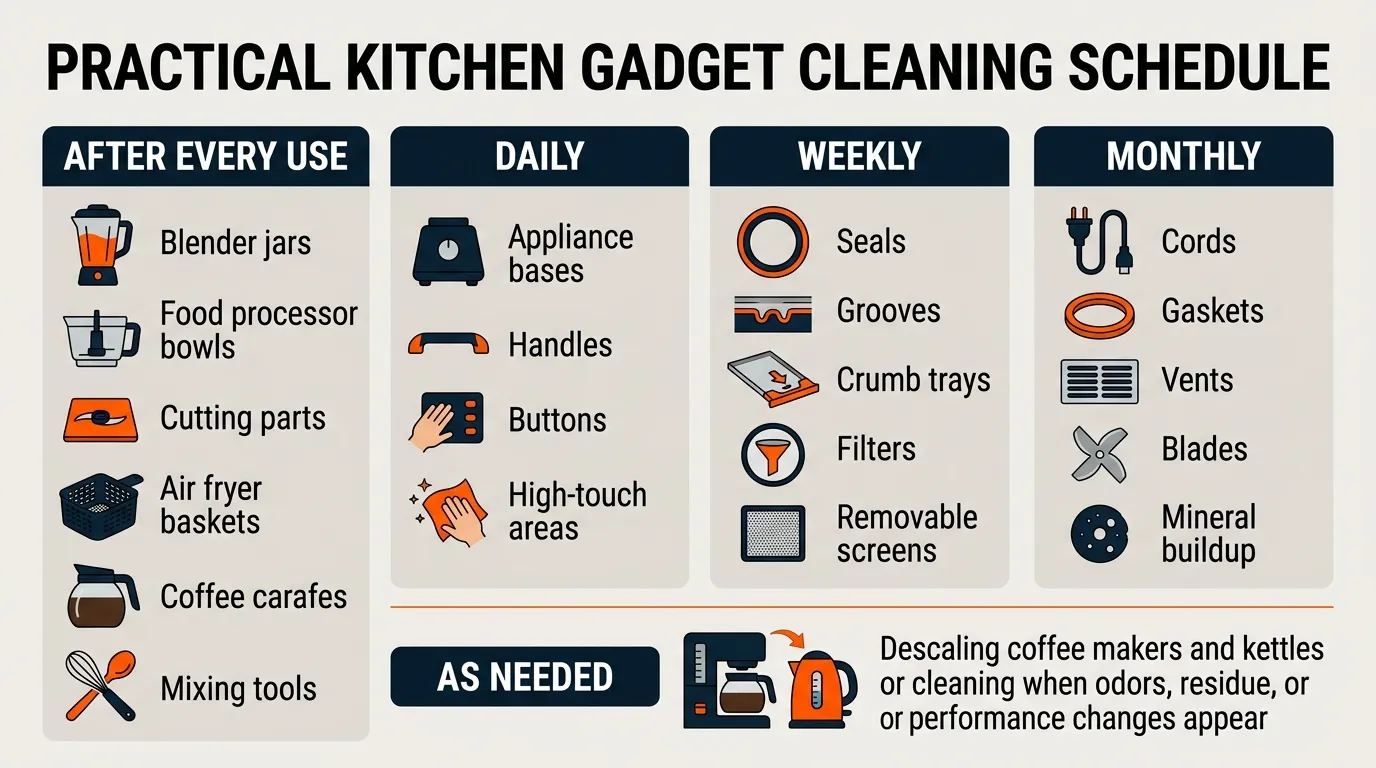
The right schedule depends on the gadget and the food it touches. A tool used with raw chicken needs faster and more careful cleaning than one used only for dry bread crumbs.
Use this practical schedule:
• After every use: Wash blender jars, food processor bowls, cutting parts, air fryer baskets, coffee carafes, and mixing tools.
• Daily: Wipe appliance bases, handles, buttons, and high-touch areas.
• Weekly: Deep-clean seals, grooves, crumb trays, filters, and removable screens.
• Monthly: Inspect cords, gaskets, vents, blades, and mineral buildup.
• As needed: Descale coffee makers and kettles when you see white deposits or notice slower performance.
If a gadget smells sour, feels sticky, leaves food residue, or runs less smoothly, clean it even if the calendar says it is not time. Smell is often an early warning sign.
Common Cleaning Mistakes to Avoid
Many appliance problems begin with simple cleaning errors. The following mistakes can shorten the life of a kitchen gadget or create a safety risk.
• Soaking the motor base: Water can reach electrical parts and cause damage.
• Cleaning blades with bare fingers: A blade can cut even when it looks dull.
• Using too much soap: Soap film can affect taste and attract more residue.
• Mixing cleaners: Chemical reactions can produce dangerous fumes.
• Using abrasive pads: Scratches can damage nonstick coatings and plastic surfaces.
• Storing parts while wet: Moisture encourages odors, mold, and corrosion.
• Ignoring rubber seals: Seals often trap food and hold smells.
• Reassembling too soon: Damp parts can trap moisture inside the appliance.
• Assuming dishwasher-safe means maintenance-free: Some parts still need manual cleaning around grooves and seals.
I once stored a blender lid while it was still damp. The next day, the lid smelled musty. Since then, I leave lids and seals apart until they are fully dry. That small habit made a noticeable difference.
How to Remove Odors, Grease, and Stains
Persistent odors usually come from oil or food trapped in a gasket, seam, filter, or blade hub. Take the gadget apart as far as the manual allows. Wash each removable part and let it air-dry in a bright, open area.
For light odors, make a paste with baking soda and a little water. Apply it to a removable, nonporous part, let it sit briefly, and rinse well. Do not use baking soda on delicate coatings without checking the care instructions.
For grease, warm water and dish soap work best. A second wash may be safer than a stronger chemical. For mineral scale, use a manufacturer-approved descaler or vinegar method.
Stains may not always be removable. Tomato, turmeric, and coffee can color plastic even after the surface is clean. A stain does not always mean the part is unsafe, but cracks, deep scratches, peeling coatings, or lasting odors may signal that replacement is wiser.
Storage Tips for Cleaner Gadgets
Good storage keeps clean parts from becoming dirty again. Store removable pieces where air can move around them. Do not seal a damp blender jar or close a wet coffee maker lid.
Try these habits:
• Store blades in a protective cover or safe drawer.
• Keep gaskets flat unless the manual says otherwise.
• Leave air fryer baskets slightly open while they finish drying.
• Store clean attachments away from raw food tools.
• Keep cords loose rather than tightly bending them.
• Avoid stacking wet plastic parts.
• Keep manuals nearby for care and replacement details.
A clean storage area is part of a complete kitchen gadget cleaning guide. Cleaning only the gadget while placing it on a dirty shelf solves only half the problem.
When to Replace a Kitchen Gadget Part
Cleaning cannot fix every problem. Replace a part when it has deep cracks, broken seals, exposed wires, severe rust, peeling nonstick coating, or damage that affects safe operation.
Replace blender gaskets when they stay loose, split, or leak. Replace cracked food processor bowls and damaged power cords at once. A dull blade may sometimes be replaced without buying a new appliance.
Do not keep using a gadget that sparks, smells like burning plastic, overheats, or trips a circuit breaker. Unplug it and contact the manufacturer or a qualified repair service.
Manufacturer replacement parts are usually safer than generic parts that do not fit well. A poor seal can leak food into the motor base or create a cleaning problem that keeps returning.
A Fast Weekly Kitchen Gadget Cleaning Routine
A short routine can prevent large cleaning jobs. Set aside 15 to 20 minutes once a week for gadgets that receive regular use.
- Unplug each appliance.
- Remove bowls, trays, lids, blades, filters, and seals.
- Wash removable parts in warm, soapy water.
- Brush grooves, vents, threads, and attachment points.
- Wipe bases and cords with a damp cloth.
- Check for cracks, rust, loose seals, and unusual odors.
- Dry every part fully.
- Reassemble and store the gadgets safely.
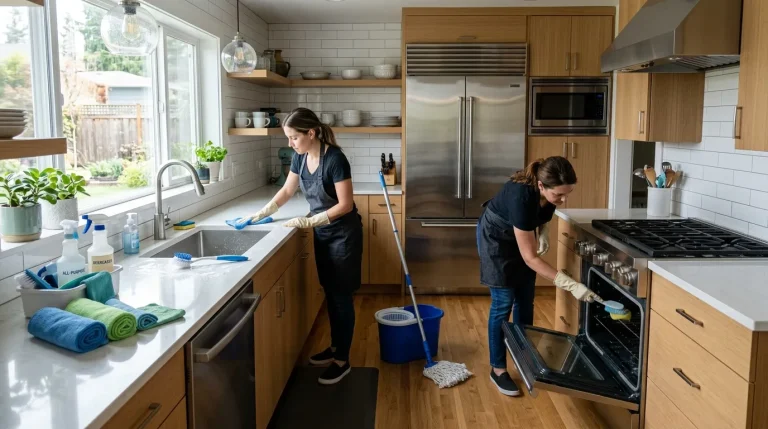
This kitchen gadget cleaning guide is easier to follow when you clean by task instead of by appliance. Wash all removable parts first, wipe all motor bases next, then dry and inspect everything at the end.
Frequently Asked Questions About Kitchen Gadget Cleaning Guide
Can I put every kitchen gadget in the dishwasher?
No. Only place parts in the dishwasher when the manufacturer labels them dishwasher-safe. Motor bases, wooden pieces, delicate seals, and some aluminum attachments can be damaged by heat or water.
How do I clean a kitchen gadget with a motor?
Unplug the gadget and remove all detachable parts. Wipe the motor base with a damp cloth and mild soap, then dry it immediately; never submerge or spray the base.
Is vinegar safe for cleaning kitchen appliances?
Vinegar can help remove mineral scale from some coffee makers and kettles, but it is not right for every material or machine. Follow the manual, use the correct dilution, and rinse well afterward.
How can I remove a bad smell from a blender?
Wash the jar, lid, gasket, and blade area with warm, soapy water. A short baking soda treatment may help with odor, but replace the gasket if the smell remains trapped in damaged or porous material.
How often should kitchen gadgets be deep-cleaned?
Deep-clean removable seals, grooves, filters, and vents about once a week when the gadget is used often. Clean sooner after preparing raw meat or whenever you notice grease, residue, odors, or slow performance.
Should I sanitize kitchen gadgets after every use?
Routine washing is usually enough for normal food preparation. Sanitize food-contact parts when they touch raw animal products or when the product label and local food safety guidance recommend it.
Conclusion
A reliable kitchen gadget cleaning guide combines safe washing, careful drying, regular inspection, and proper storage. Clean removable parts after use, protect motor bases from water, handle blades with care, and follow the manufacturer’s instructions for dishwashers and descaling.
Small habits make the biggest difference. Rinse food before it dries, clean seals and grooves, and replace damaged parts instead of forcing them back into service. Start with one gadget today, then build a simple weekly routine. Share your best cleaning tip or explore more practical kitchen care guides for a cleaner, safer home.