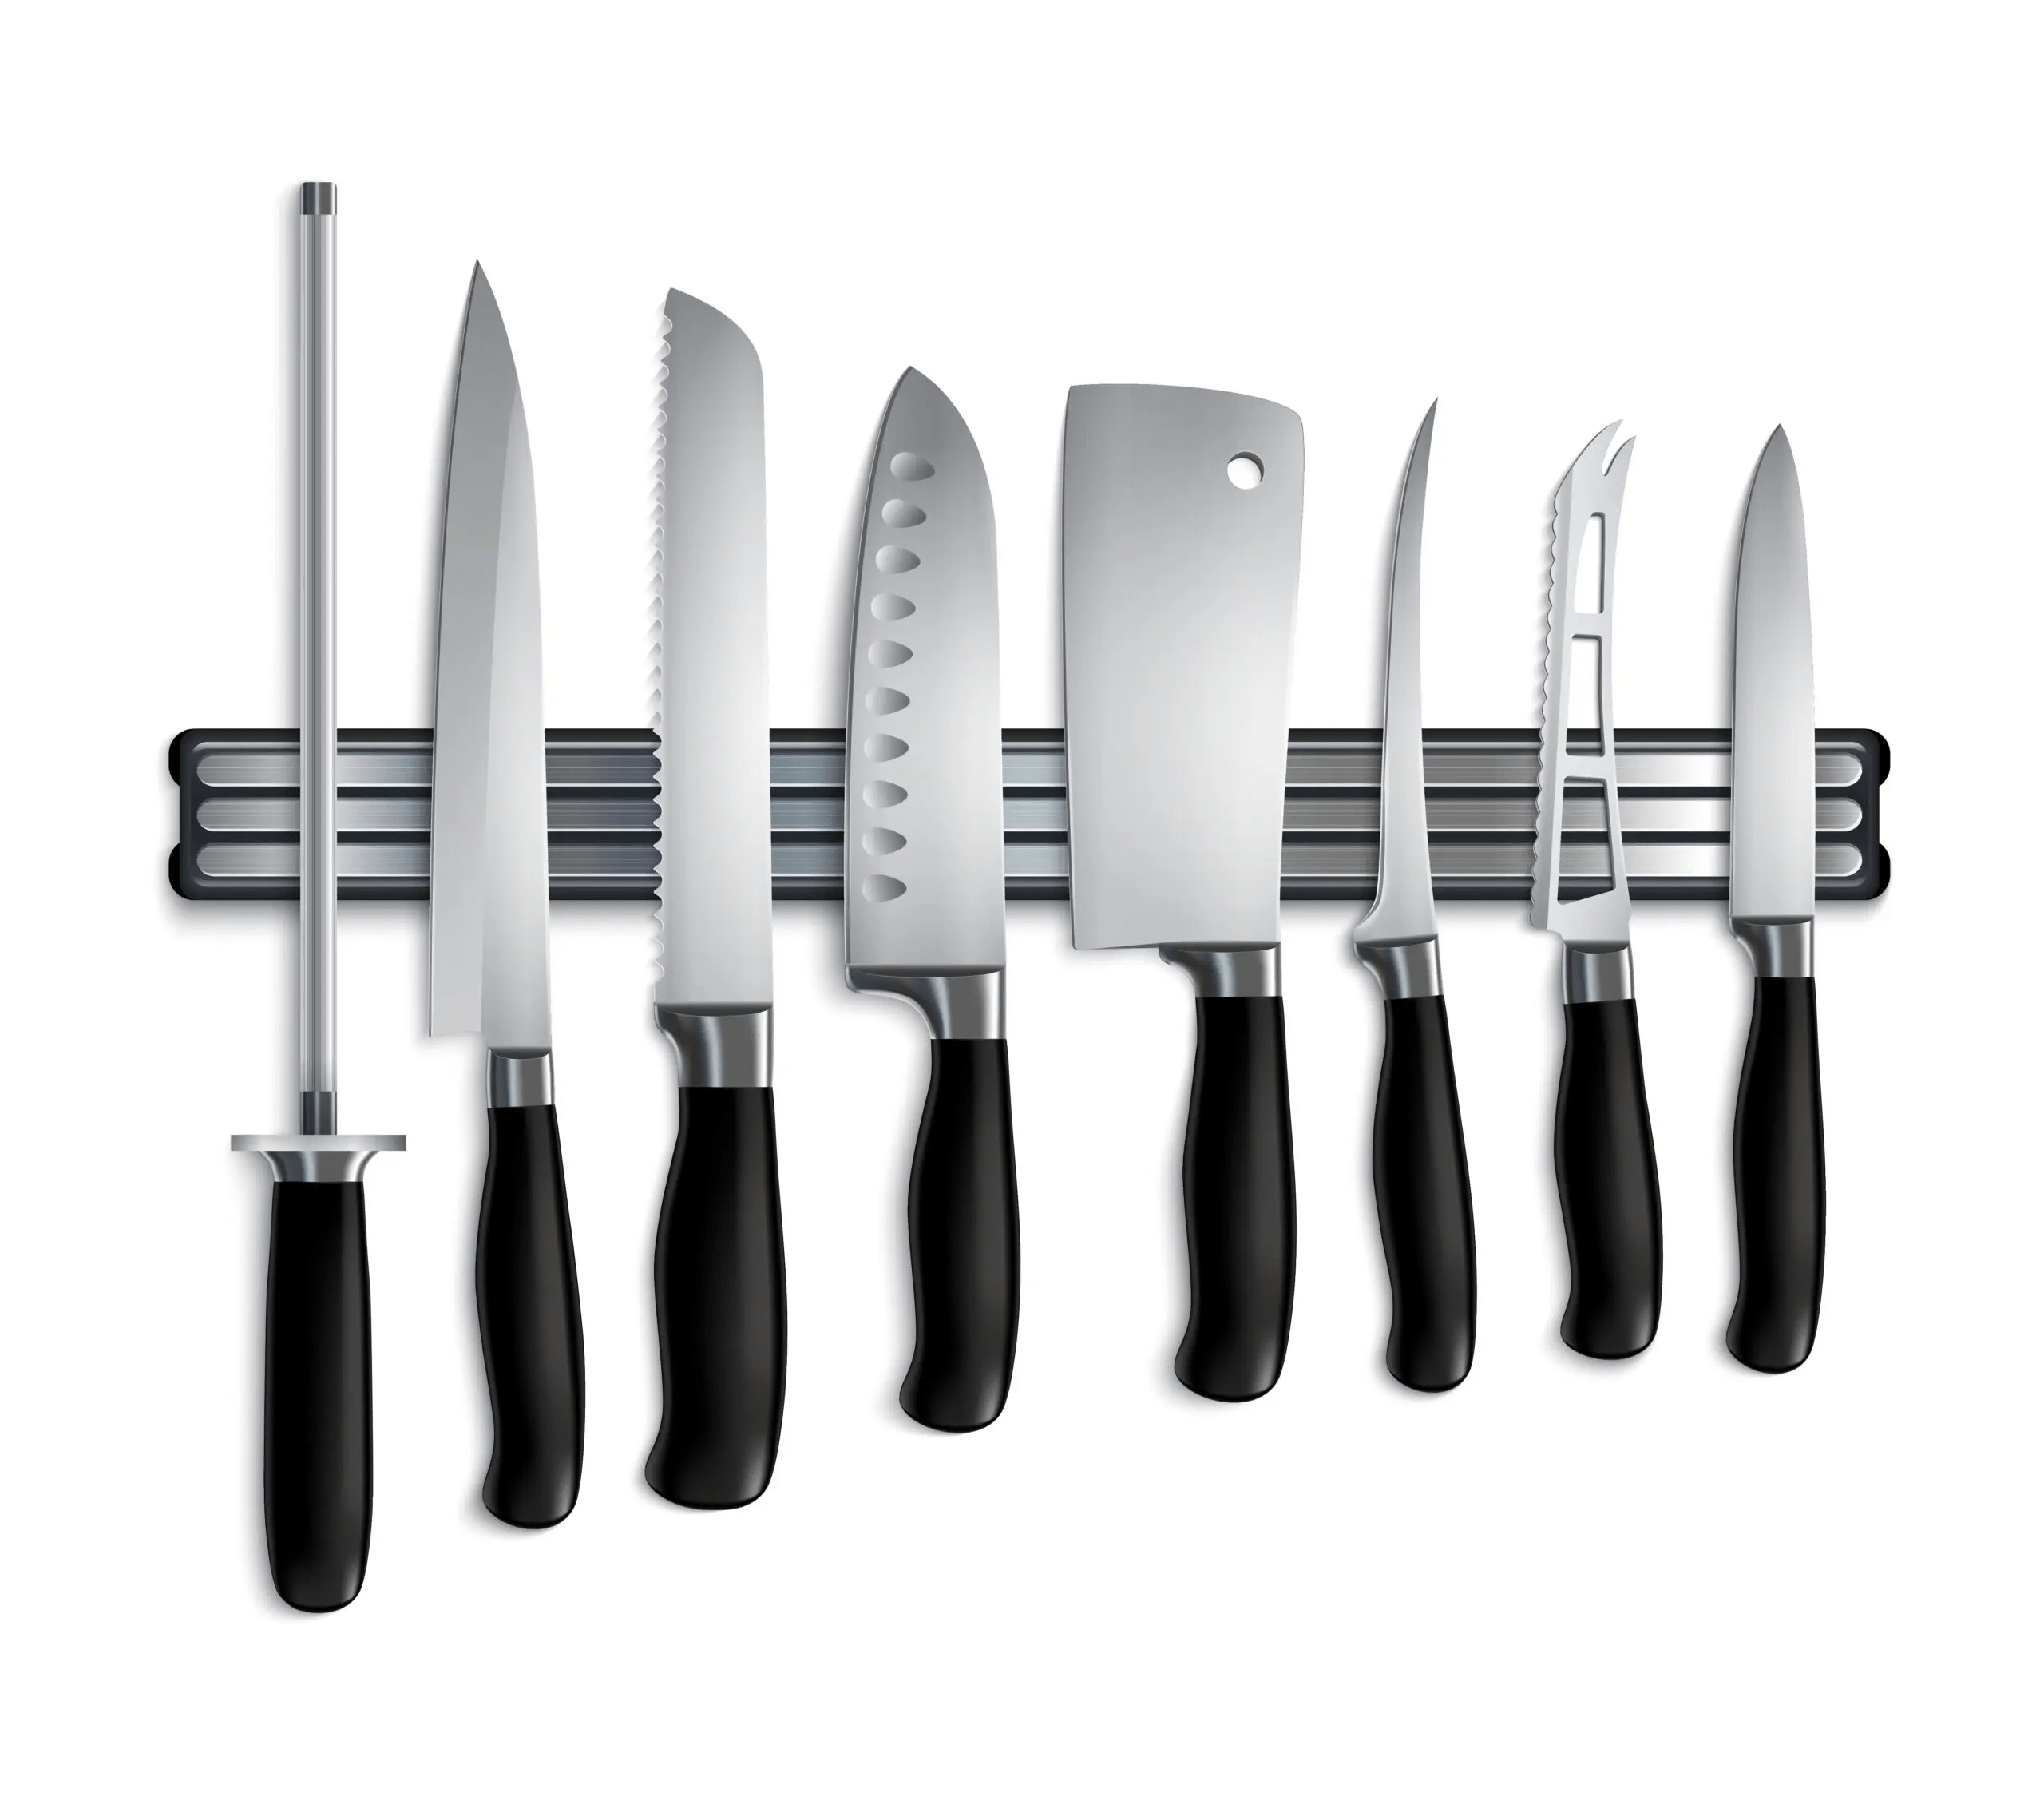
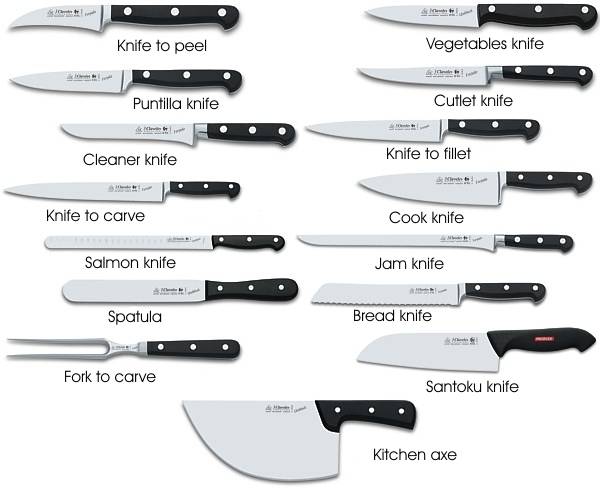
Chef’s, paring, santoku, utility, bread, carving, boning, fillet, cleaver, and nakiri knives.
If you want different types of kitchen knives explained in a clear, expert way, you are in the right place. I’ve used these blades on fast-paced lines and in home kitchens. I will show you how each knife works, where it shines, and how to choose what fits your hands, your food, and your budget. Read on for different types of kitchen knives explained with real examples, simple tips, and solid facts.

Why knife types matter
The right blade saves time, keeps you safe, and makes food taste better. With different types of kitchen knives explained, you will match tasks to tools and cut with control. That means cleaner slices, fewer slips, and less waste.
I learned this the hard way. I once carved a roast with a dull utility knife. It shredded the meat and slowed service. The right slicer would have fixed it fast.

The core set: knives you will use most
This is the heart of different types of kitchen knives explained. Start with a small set that covers 90 percent of jobs. Then add specialty blades as you grow.
Chef’s knife
Use it for chopping, slicing, dicing, and mincing. The curved belly rocks on the board. A 6 to 10 inch blade fits most hands.
Tips:
- Pick a length that feels safe to you.
- Keep it sharp and let the weight do the work.
Santoku
Great for thin, straight cuts on veg, fish, and boneless meat. It is shorter, with less curve and a flat edge. Many have granton dimples to reduce sticking.
Tips:
- Use a gentle push cut.
- Pair it with a paring knife for small tasks.
Utility knife
This sits between chef’s and paring. It handles sandwiches, fruit, and small veg. Think of it as your quick grab blade.
Tips:
- Keep it razor sharp for clean tomato cuts.
- Store with a guard to protect the narrow edge.
Paring knife
Best for peeling, trimming, and detail work. A 3 to 4 inch blade is easy to steer in hand.
Tips:
- Choke up on the handle for control.
- Avoid prying; it can snap the tip.
Serrated or bread knife
Long and toothy for crusty loaves, cakes, and thick-skinned fruit. It saws without crushing.
Tips:
- Use a light, steady stroke.
- Also great for ripe tomatoes and melons.
Carving or slicing knife
Long, thin blade for roasts, brisket, and fish sides. It makes smooth, even slices.
Tips:
- Slice across the grain.
- Use long strokes to avoid tearing.
Boning knife
Curved or straight narrow blade. It traces bones on pork, poultry, and beef. Semi-flex is a good all-round pick.
Tips:
- Cut along, not into, the bone.
- Wear a cut glove until you build skill.
Fillet knife
Thin and flexible for fish. It glides under skin and along pin bones.
Tips:
- Chill fish for cleaner cuts.
- Wipe the blade often to keep grip.
Cleaver or butcher knife
Heavy and broad for joints and hard veg. A Chinese chef’s knife looks like a cleaver but is thin and nimble.
Tips:
- Do not chop bone with a thin veg cleaver.
- Use a soft board to protect the edge.
Nakiri
A Japanese veg knife with a tall, flat edge. It gives straight cuts and paper-thin slices.
Tips:
- Use a straight push or pull.
- Great for cabbage, herbs, and matchsticks.
With different types of kitchen knives explained in this way, you can build a set that suits daily cooking without clutter.
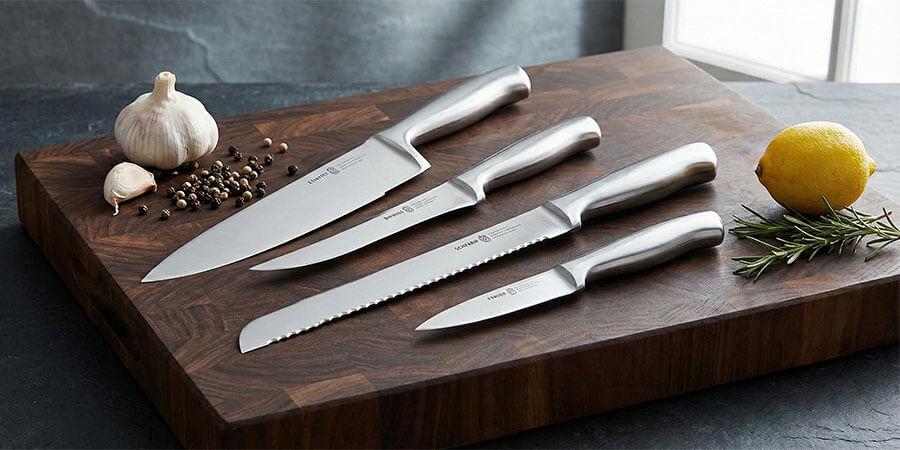
Blade materials and steel basics
Material shapes edge life, sharpness, and care. Here are the key options with different types of kitchen knives explained in plain terms.
- Stainless steel resists rust and needs less care. It is great for busy homes. Edge life varies by grade.
- High carbon steel gets very sharp and sharpens fast. It can stain and rust. Dry it well and oil lightly.
- Powder metallurgy steel holds an edge longer. It costs more but works hard in pro settings.
- Damascus refers to layered patterns. It is often stainless over a hard core. Look at the core steel first, not the pattern.
- Ceramic is very hard and light. It can chip if twisted or dropped. It needs special tools to sharpen.
Hardness is often shown as HRC. More HRC can mean better edge holding. It can also feel brittle if too high. Aim for a balance you can maintain.
Edge styles and grinds
How the edge is shaped affects feel and food release. Here are different types of kitchen knives explained through edge design.
- Double bevel is common in Western knives. It is easy to sharpen and steer.
- Single bevel is found in some Japanese blades. It makes very precise cuts. It suits right or left hand only per grind.
- Flat grind is simple and strong. It is easy to sharpen at home.
- Hollow grind gets very sharp and thin. It can feel delicate on hard foods.
- Convex grind is tough and slides well. It needs careful sharpening to keep the curve.
- Serrated edges shine on crust and skins. They are harder to sharpen. Use a rod or send out.
Edge angles matter. Most Western knives sit near 15 to 20 degrees per side. Many Japanese knives aim near 10 to 15 degrees per side. Keep the same angle as you sharpen to avoid a wide, dull bevel.
Knife anatomy made simple
Understanding parts helps you choose and use with confidence. Think of different types of kitchen knives explained like a small map.
- Tip for detail cuts.
- Belly for rocking chops.
- Heel for tough items.
- Spine for strength and safe guiding.
- Bolster adds balance and guards fingers.
- Choil is the open space near the heel.
- Tang is the metal inside the handle.
- Scales are the handle pieces.
- Pins and rivets hold the handle.
- Balance point sits near the pinch grip.
Grip near the balance with a pinch. Your cuts will feel lighter and safer.

Care, sharpening, and honing
Your knife is only as good as its edge. Here is different types of kitchen knives explained through upkeep that lasts.
- Honing realigns the edge. Use a steel or ceramic rod a few strokes per session.
- Sharpening removes metal to form a new edge. Use water stones, guided systems, or send to a pro.
- Strop on leather to refine and deburr. It boosts bite and polish.
Simple care habits:
- Wash by hand and dry at once.
- No dishwashers. Heat and jets are harsh.
- Use wood or plastic boards, never glass or stone.
- Oil carbon steel lightly.
From my line-cook days, a weekly 1000 and 3000 grit stone session kept service smooth. Ten minutes saved me from slow cuts and sore wrists.
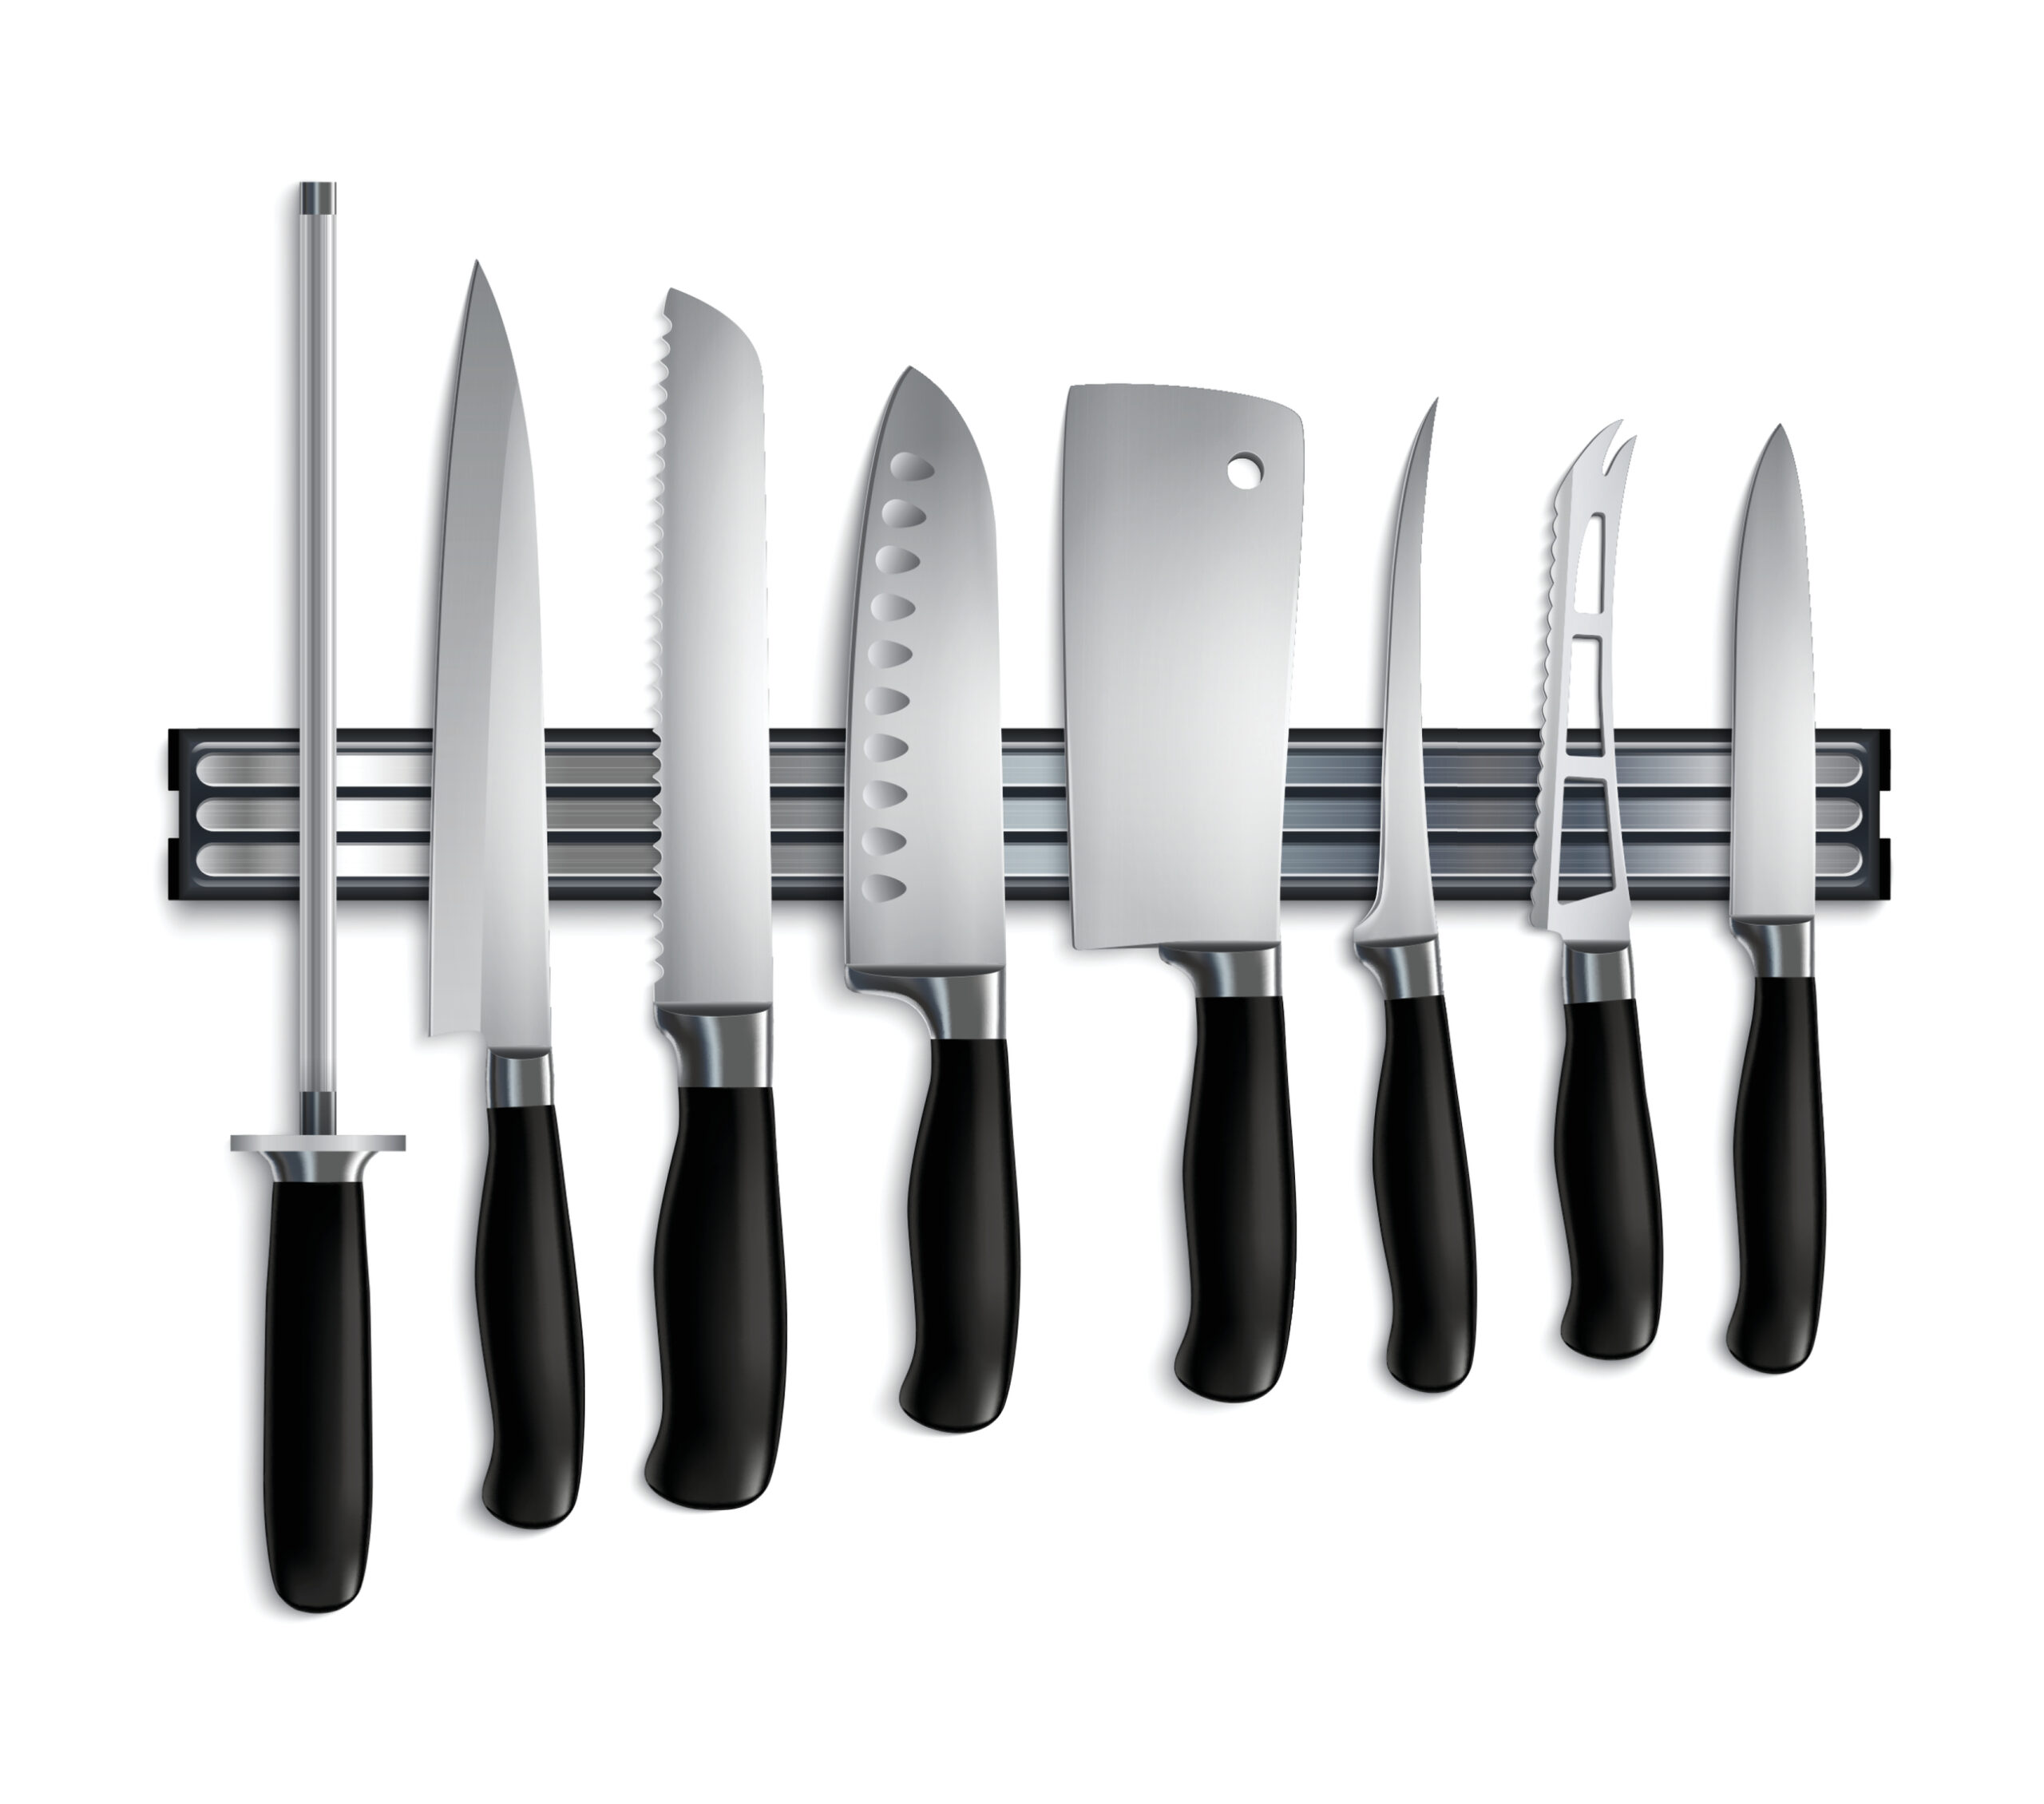
Storage, safety, and hygiene
A safe home for your edge is a safe kitchen for your hands. Here are different types of kitchen knives explained with storage and clean habits.
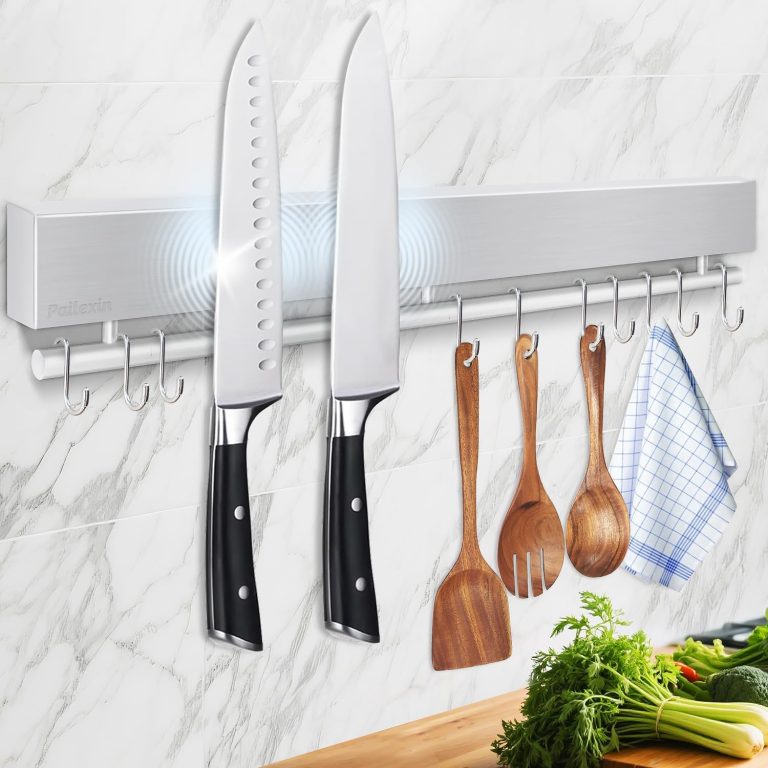
- Use a magnetic strip that is gentle and strong. Lay the spine first, then roll the blade on.
- Choose a block or in-drawer tray that fits blade height.
- Use edge guards if you keep knives in a drawer or a roll.
- Keep raw meat boards and veg boards apart.
- Wipe handles and bolsters where food hides.
If you drop a knife, step back and let it fall. Never try to catch it.
Buying guide: how to choose your set
With different types of kitchen knives explained, you can shop with purpose. Start small and invest where you feel the gain.
Start here:
- Chef’s or santoku as your main blade.
- Paring for detail.
- Bread knife for crust and cakes.
Then add:
- Utility if you prep lots of fruit or sandwiches.
- Boning or fillet for meat and fish work.
- Nakiri if you slice a lot of veg.
Fit and comfort:
- Try a pinch grip. If the spine or choil bites, skip it.
- Balance should sit near your pinch.
- For small hands, a 6 to 8 inch chef’s knife feels great.
Budget tips:
- Spend most on your main knife.
- Mid-tier stainless can perform well with good sharpening.
- Look for fair return policies and free sharpening the first year.
I test by slicing a ripe tomato, a potato, and herbs. If it glides without mushing or tearing, it passes.
Common mistakes and pro tips
Learning from errors is part of different types of kitchen knives explained with real use.
Mistakes to avoid:
- Using a chef’s knife on bone or frozen food.
- Twisting the blade to pry cans or jars.
- Storing loose in a drawer.
Pro tips:
- Pinch grip for control. Keep your guide hand in a claw.
- Let the knife travel. Do not force the cut.
- Dry the spine and handle as well as the edge.
- Sharpen little and often. It saves steel and time.
A lesson I learned fast: a dull blade is more dangerous. It slips and bites fingers. A sharp knife cuts food, not you.
Build a smart set for your cooking style
Let us tie different types of kitchen knives explained to real menus.
If you cook simple weeknight meals:
- Chef’s or santoku, paring, bread.
If you cook lots of roasts and grills:
- Chef’s, slicer, boning, bread.
If you cook mostly veg and salads:
- Santoku or nakiri, paring, utility.
If you fish or hunt:
- Chef’s, fillet, boning, compact sharpener.
If you bake:
- Bread, offset serrated, paring.
Match your tools to your food and your hands. That is how your knives will help you cook more and stress less.
Frequently Asked Questions of different types of kitchen knives explained
What are the three knives every home cook needs?
A chef’s or santoku, a paring knife, and a bread knife. This trio covers nearly all prep from veg to roasts to loaves.
How often should I sharpen my knives?
Light home cooks can sharpen every two to three months. Hone before each use and sharpen sooner if slicing starts to feel rough.
What cutting board is best for edge life?
End-grain wood and quality plastic boards are gentle on edges. Avoid glass, marble, or ceramic boards because they dull fast.
Can I put my knives in the dishwasher?
Do not. Heat, detergent, and jets damage edges and handles. Wash by hand and dry right away.
What steel is best for beginners?
Quality stainless is low care and forgiving. It balances edge holding with easy upkeep for most home kitchens.
Are Damascus knives better?
The pattern looks nice but performance depends on the core steel. Judge by steel type, heat treat, and grind, not the pattern.
What length chef’s knife should I buy?
Most people like 8 inches for balance and reach. Smaller hands may prefer 6 inches; pros often use 9 to 10 inches.
Conclusion
You now have different types of kitchen knives explained from edge to handle. Focus on a few core blades, keep them sharp, and store them safe. Choose materials and shapes that match your food and your hands.
Start with one upgrade you will use every day. Practice a steady pinch grip and a gentle push cut. Ready to level up? Explore our next guides, ask a question, or share your go-to setup in the comments.