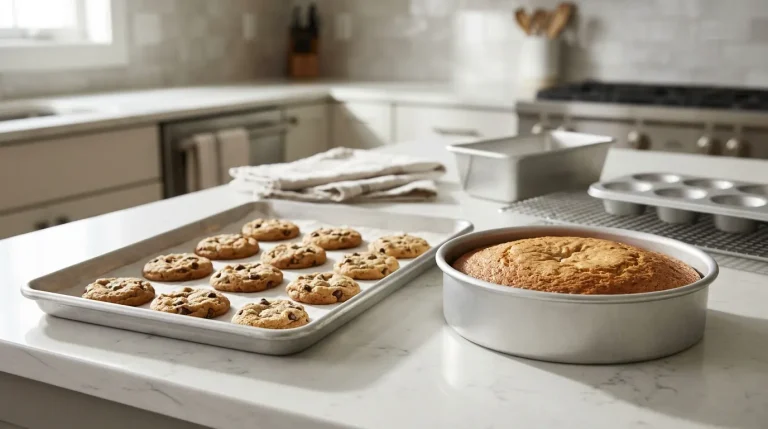
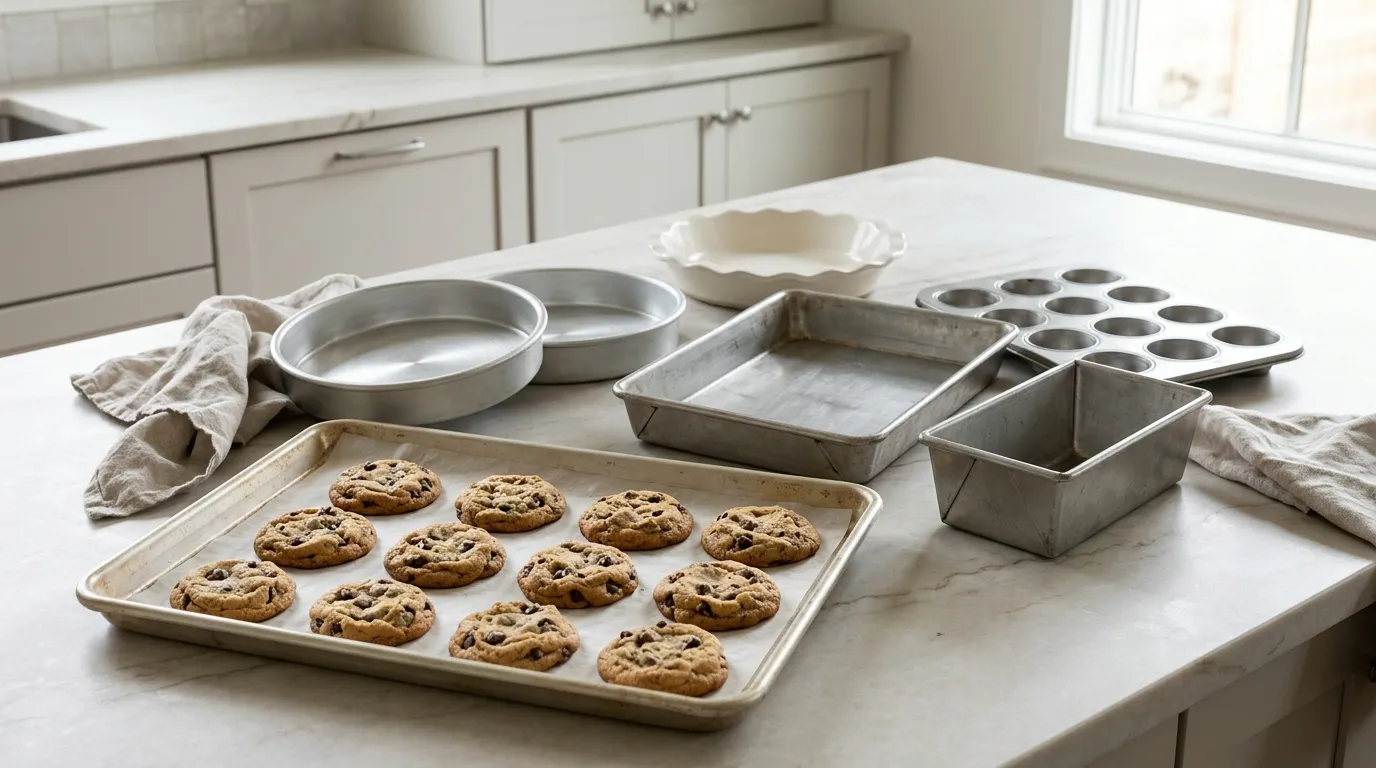
The best bakeware for daily baking is usually a small set of sturdy, light-colored aluminum pans. Choose a rimmed half-sheet pan for cookies and roasting, 8- or 9-inch round pans for cakes, a 9-by-13-inch pan for bars and casseroles, and a metal loaf pan for quick bread. Add a glass or ceramic pie dish if you often bake pies.
The right pan helps food bake evenly, release cleanly, and brown at the right speed. The wrong pan can cause burnt edges, pale centers, stuck cake, or a cracked dish. This guide explains which bakeware works best for common tasks in U.S. kitchens and how to choose safe, useful pieces without buying a crowded cabinet full of pans.
What makes bakeware good for daily use?
Good daily bakeware should heat evenly, resist warping, clean with little effort, and match the food you make most often. It should also fit your oven, storage space, recipes, and budget.
Look for these traits:
- Even heat: The pan should not create very hot spots.
- Useful size: Common U.S. recipe sizes are easier to replace and use.
- Strong construction: A sturdy rim helps prevent bending.
- Safe handles: Wide edges are easier to grip with oven mitts.
- Easy release: Smooth surfaces and parchment paper both help.
- Clear care rules: The maker should state oven, dishwasher, and temperature limits.
- Good storage: Stackable pans save space.
“Best” does not mean the most expensive. It means the pan that fits the task with the fewest problems.
A thin pan may heat fast but warp. A thick pan may hold heat well but take longer to respond. A dark pan may brown food more quickly than a shiny, light pan. These differences matter more than a brand name.
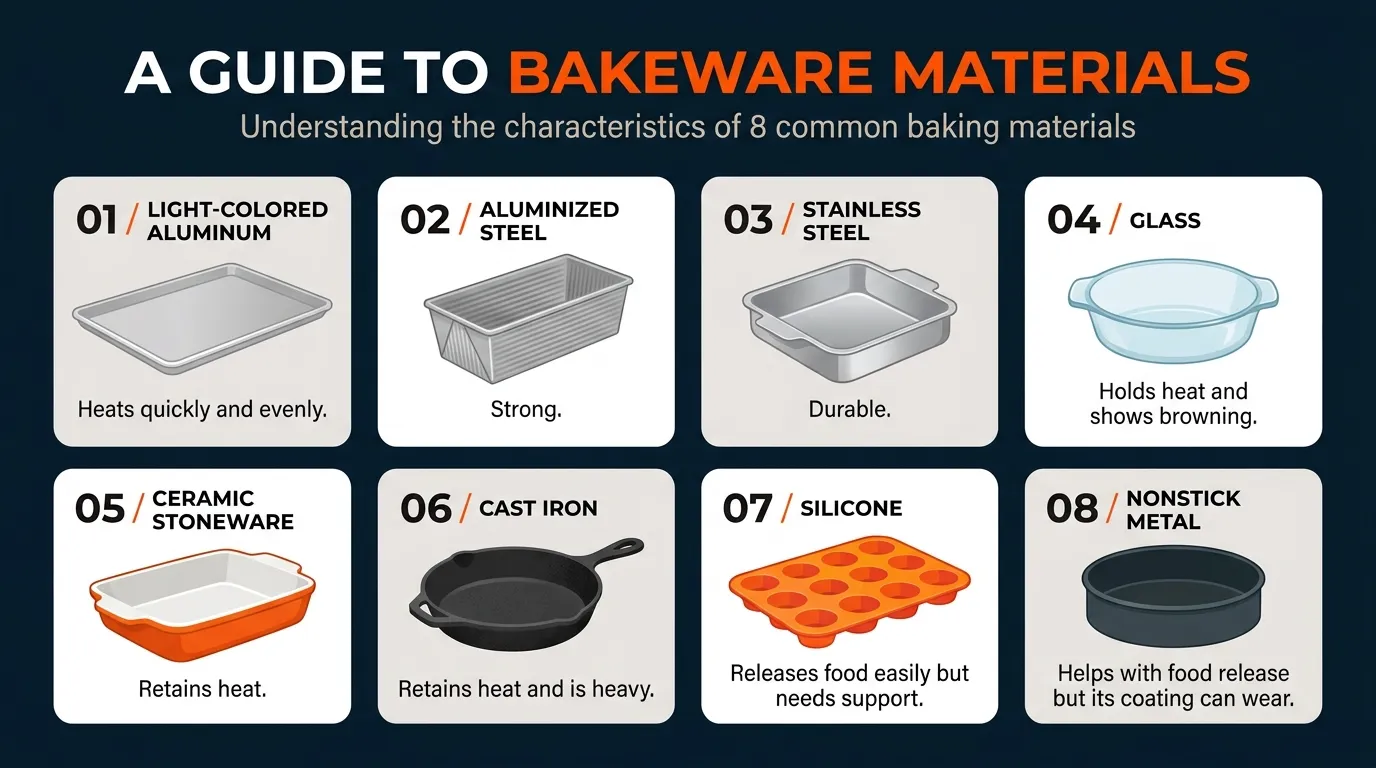
The main bakeware materials
| Material | Main strength | Main limit | Best daily uses |
|---|---|---|---|
| Light-colored aluminum | Fast, even heating | Can stain or scratch; may react with some acidic foods | Cookies, cakes, biscuits |
| Aluminized steel | Strong and fairly even heating | May cost more; care varies by coating | Sheet pans, cake pans |
| Stainless steel | Durable and rust resistant | Often heats less evenly than aluminum | Loaf pans, mixing and baking tasks |
| Glass | Lets you see browning; holds heat well | Can break from thermal shock | Pies, casseroles, baked pasta |
| Ceramic stoneware | Holds heat and looks good at the table | Heavy; may heat slowly | Pies, cobblers, casseroles |
| Cast iron | Excellent heat retention | Heavy and needs care | Cornbread, skillet cookies, deep baking |
| Silicone | Flexible and easy to release | Needs support; may brown less | Muffins, molded items |
| Nonstick metal | Easy food release | Coating can wear or scratch | Cakes, muffins, loaf breads |
These are general material traits. A specific pan can perform differently based on thickness, shape, coating, and design.
The best bakeware set for most U.S. kitchens
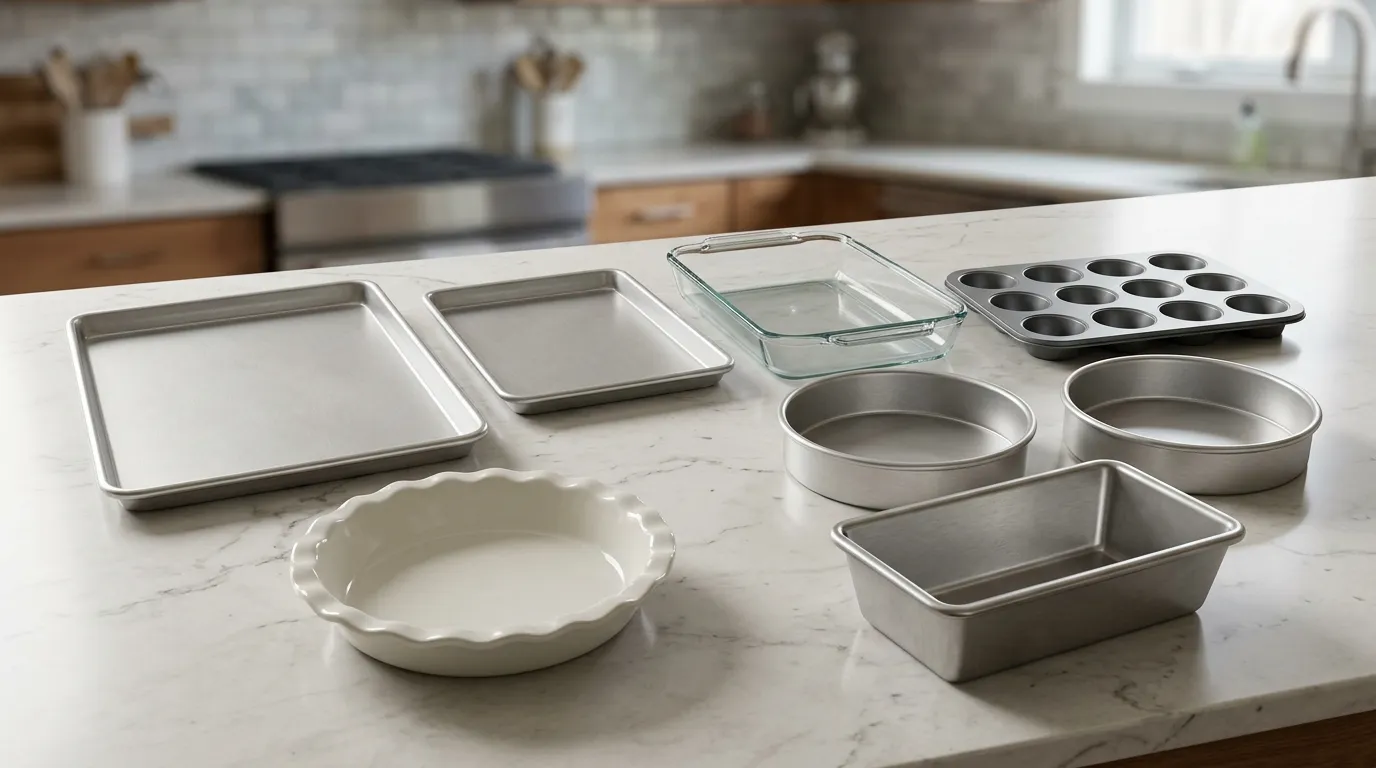
A useful starter set has six to eight pieces. It covers most cookies, cakes, quick breads, pies, brownies, and roasted foods without taking over your kitchen.
1. Rimmed half-sheet pan
A rimmed half-sheet pan is the most useful daily pan for many home bakers. In the United States, a full commercial sheet pan is about 18 by 26 inches, while a half-sheet pan is commonly about 13 by 18 inches. Check the exact size before buying because dimensions can vary.
Use it for:
- Cookies
- Biscuits
- Roasted vegetables
- Sheet-pan dinners
- Granola
- Bacon
- Toasted nuts
- Freezer food
Choose a pan with a rolled rim and enough depth to catch juices. A light-colored aluminum or aluminized-steel model is a strong all-purpose choice.
Do not confuse a half-sheet pan with a smaller jelly-roll pan. Both have rims, but their dimensions and depths may differ. Match the pan to the recipe.
2. Quarter-sheet pan
A quarter-sheet pan is useful when a half-sheet feels too large. It works well for small batches, toaster ovens that allow the size, roasting a few vegetables, and baking for one or two people.
Before using one in a toaster oven, measure the oven rack and interior. Some toaster ovens have curved walls or heating elements that sit close to the pan.
3. Round cake pans
Two matching 8-inch or 9-inch round metal cake pans are better than one if you make layer cakes. Matching pans help the layers bake at the same rate.
Choose light-colored metal for a more predictable bake. Dark nonstick pans can brown the sides and edges faster. If a recipe gives a pan size, use that size when possible. Changing the diameter changes the batter depth and baking time.
4. 9-by-13-inch baking pan
A 9-by-13-inch pan is a daily workhorse. It is useful for:
- Brownies
- Bar cookies
- Sheet cakes
- Lasagna
- Enchiladas
- Baked pasta
- Cobblers
- Roasted dishes
A metal pan usually gives faster edge browning. Glass and ceramic hold heat longer and may continue cooking the food after it leaves the oven. Follow the recipe maker’s guidance when switching materials.
5. Loaf pan
A 9-by-5-inch loaf pan is common for sandwich bread, banana bread, pound cake, and meatloaf. Some recipes use an 8½-by-4½-inch pan instead. These sizes are not interchangeable in every recipe.
A smaller loaf pan makes a deeper loaf. That can lengthen baking time and leave the center underdone if you use the wrong size. Measure the inside of the pan rather than relying only on the outside dimensions.
6. Muffin pan
A standard 12-cup muffin pan handles muffins, cupcakes, egg bakes, and small savory portions. Metal pans give more browning than silicone. Silicone cups release well but may need a rigid metal tray beneath them.
A light metal muffin tin is a balanced choice for daily use. Use paper liners when the batter is sticky or when you want easier cleanup.
7. Pie dish
A 9-inch pie dish is a sensible U.S. kitchen standard, but depth varies. A deep-dish pie plate holds more filling and may need a different crust or longer bake.
Choose:
- Glass if you want to see the bottom crust.
- Ceramic if you value heat retention and serving appeal.
- Metal if you want quick heat response and strong browning.
A pie shield or strip of foil can protect the crust edge if it browns before the filling is done.
Which bakeware is best for each daily baking task?
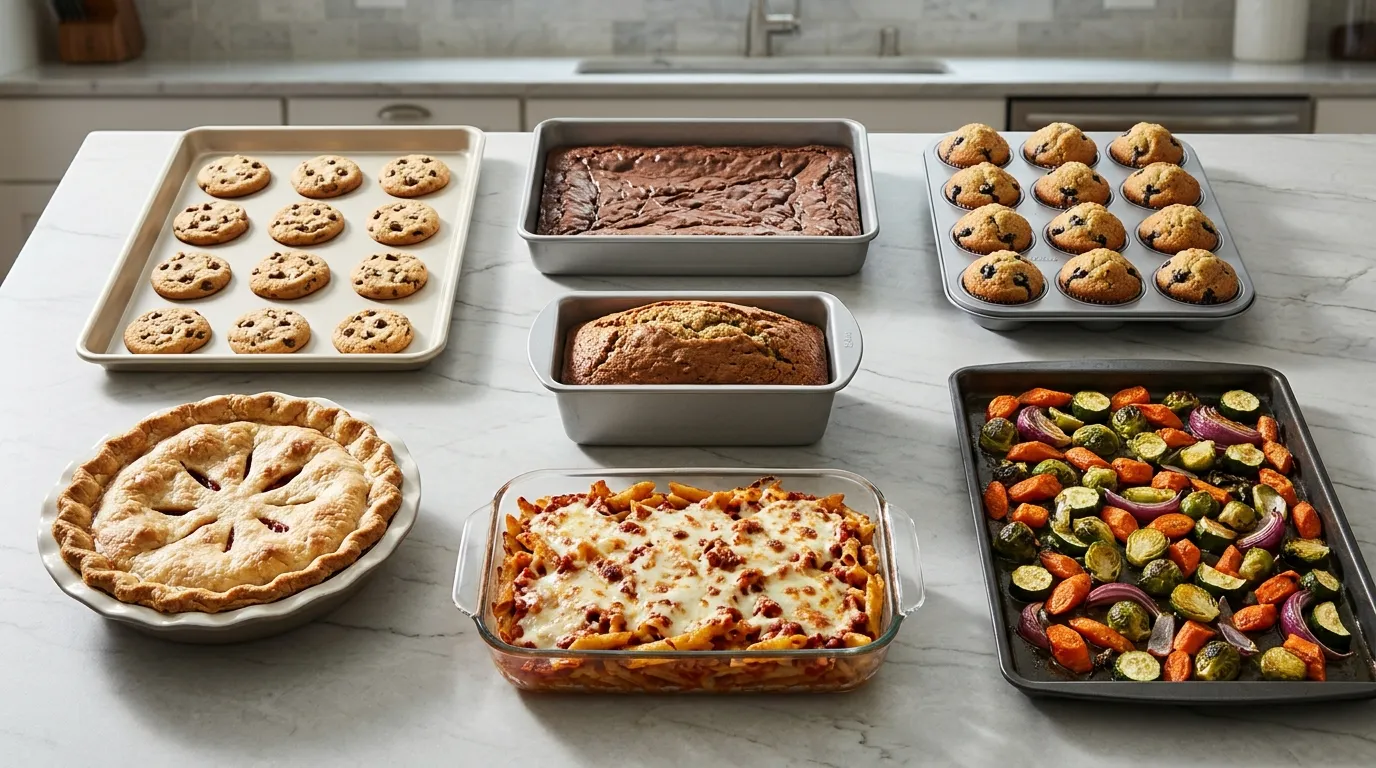
The best choice changes with the food. Cookies need a broad, flat surface. A loaf needs deep side support. A pie needs a dish that holds filling and supports the crust.
| Baking task | Best general choice | Why it works |
|---|---|---|
| Drop cookies | Light aluminum rimmed sheet pan | Promotes even baking and easy handling |
| Sugar cookies | Light metal sheet pan | Gives more predictable edge color |
| Brownies | Metal 9-by-13-inch pan | Helps edges set and brown |
| Sheet cake | Metal 9-by-13-inch pan | Responds quickly to oven heat |
| Layer cake | Two matching round metal pans | Supports even layers |
| Banana bread | Metal loaf pan | Gives firm side support and good browning |
| Muffins | Light metal muffin pan | Browns sides better than flexible silicone |
| Pie | Glass, ceramic, or metal pie dish | Each offers a different browning pattern |
| Casserole | Glass or ceramic baking dish | Holds heat and moves from oven to table |
| Biscuits | Sheet pan or cast-iron skillet | Sheet pans give crisp edges; skillets give darker sides |
| Roasted vegetables | Rimmed sheet pan | Allows airflow and catches oil |
| Cornbread | Cast-iron skillet or metal pan | Strong heat retention supports crust formation |
For cookies and biscuits
Use a light-colored metal sheet pan. The broad surface spreads heat and gives cookies room to expand.
Avoid placing cold dough on a hot pan unless the recipe calls for it. A hot pan can melt butter before the dough sets. That may cause thin cookies and dark edges.
Use parchment paper when you want easier release. Parchment also reduces direct contact between the dough and pan, which can slightly change browning.
For cakes and brownies
Use the exact pan size listed in the recipe when possible. Batter depth affects the center, edges, and baking time.
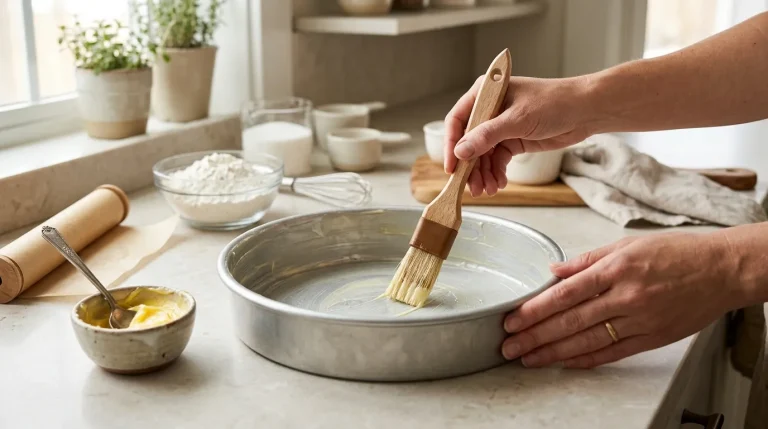
For cakes, prepare the pan as directed. This may mean greasing, flouring, or lining the bottom with parchment. For brownies, parchment with an overhanging edge can make lifting and cutting easier.
If you switch from a light metal pan to a dark pan, watch the edges closely. The food may brown sooner. Do not assume that every dark pan requires the same temperature change; follow the recipe and the pan maker’s instructions.
For quick breads
Use a loaf pan that matches the recipe. Fill it only to the level the recipe recommends. A pan that is too small can cause overflow, while one that is too large can produce a short, dry loaf.
Check the center with a wooden pick or the recipe’s stated doneness test. A browned top does not always mean the middle is baked.
For pies and fruit desserts
Glass and ceramic dishes hold heat well, but they also respond more slowly than thin metal. They can be useful for pies and cobblers, especially when you want to serve the dessert in the same dish.
Never move a hot glass or ceramic baking dish directly onto a wet, cold, or very hard surface. Use a dry, heat-safe trivet. Also avoid sudden temperature changes, such as placing a hot dish into cold water.
For casseroles and baked pasta
Glass and ceramic are convenient because they can go from oven to table. Their weight also makes them stable when filled.
Check the care instructions before using a dish under a broiler or on a stovetop. A dish labeled oven-safe is not automatically safe for direct flame, a burner, or every broiler setting.
Aluminum, glass, ceramic, silicone, or nonstick: Which should you choose?
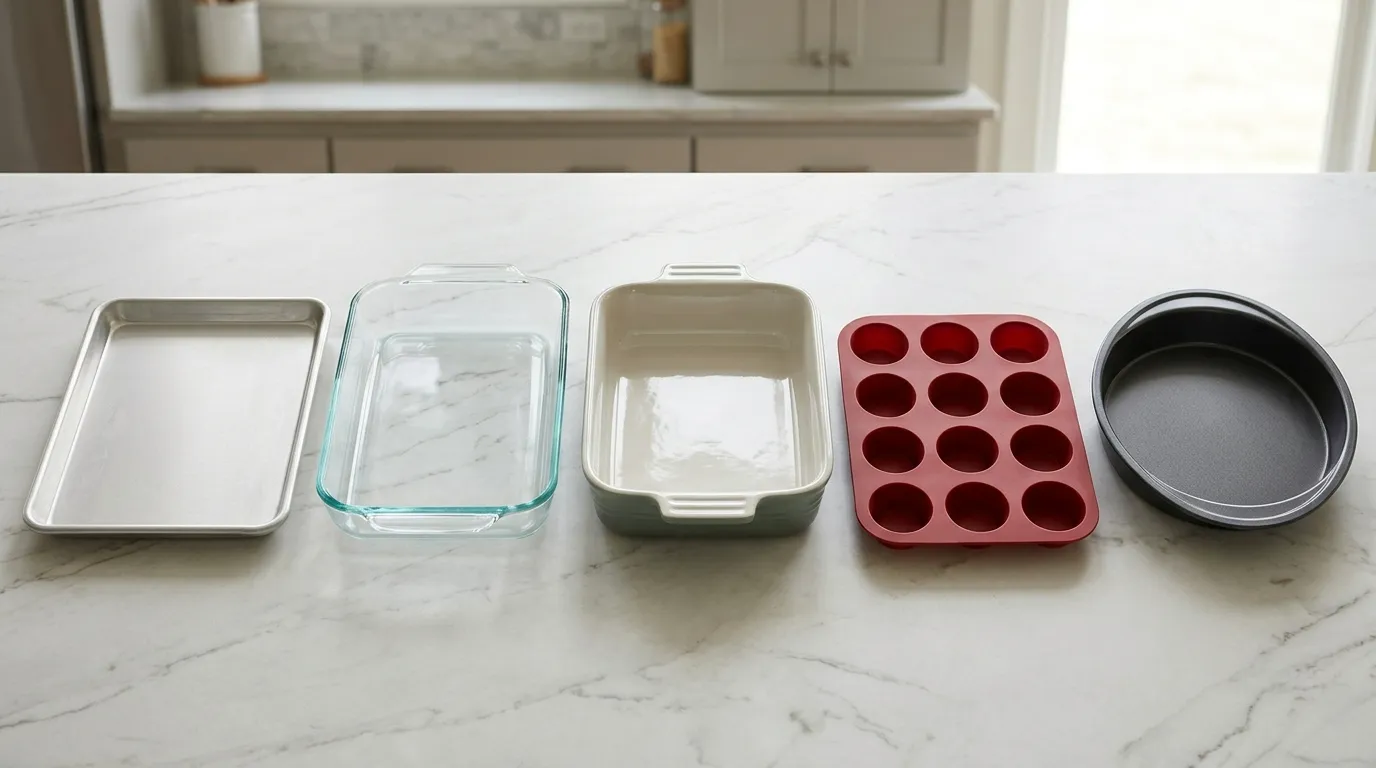
For most daily baking, light metal is the best starting point. It offers a good balance of even heating, quick response, and low cost.
Choose aluminum when you bake often
Light aluminum pans are popular because they heat quickly and spread heat well. They are especially useful for cookies, cakes, biscuits, and sheet-pan foods.
Uncoated aluminum can discolor over time. Avoid harsh cleaners and metal tools that can scratch the surface. If a recipe contains strongly acidic ingredients, such as citrus or tomato, check the pan maker’s guidance and consider parchment or a coated pan.
Choose glass when you want visibility and heat retention
Glass lets you watch the bottom and sides of a pie or casserole. It also stays hot for a while after removal from the oven.
Its key weakness is thermal shock. Follow the manufacturer’s instructions for preheating, chilling, freezing, and cleaning. Inspect the dish for chips or cracks before use.
Choose ceramic for serving and steady heat
Ceramic bakeware works well for pies, gratins, cobblers, and casseroles. It looks good at the table and holds heat well.
It is heavier and can take longer to heat. Do not assume that a decorative ceramic dish has the same heat limits as a purpose-made baking dish.
Choose silicone for release and easy storage
Silicone molds are flexible and often release muffins or shaped desserts with little sticking. They also take up little storage space.
Silicone bends, so place it on a rigid sheet pan before filling. This prevents spills and makes transport safer. Silicone may not brown food as well as metal, and temperature limits vary by product.
Choose nonstick for easy release
Nonstick metal can help cakes, muffins, and loaves release with less effort. It is useful when you bake delicate or sticky foods.
Use the temperature limit printed by the manufacturer. Avoid metal utensils, abrasive scrubbers, and empty preheating if the care guide warns against them. Replace a pan when the coating is peeling, badly scratched, or flaking.
How to choose bakeware without wasting money
Start with the foods you make at least twice each month. Buy the pan that solves the most common problem first.
Use this simple order:
- Buy a rimmed half-sheet pan.
- Add a 9-by-13-inch pan.
- Add a loaf pan or muffin pan based on your baking habits.
- Add two matching round cake pans if you make cakes.
- Add a pie dish if pies or fruit desserts are common.
- Add specialty pans only after you use a recipe that needs one.
Before buying, check:
- Interior dimensions
- Pan depth
- Material and coating
- Oven temperature limit
- Broiler compatibility
- Dishwasher guidance
- Whether it fits your oven rack
- Whether it stacks with your current pans
- Warranty and replacement availability
Avoid buying a large boxed set just because it contains many shapes. Some sets include unusual sizes that do not match common recipes.
A smaller set of strong, standard-size pans is often more useful than a large set with thin metal and awkward sizes.
Bakeware safety and care
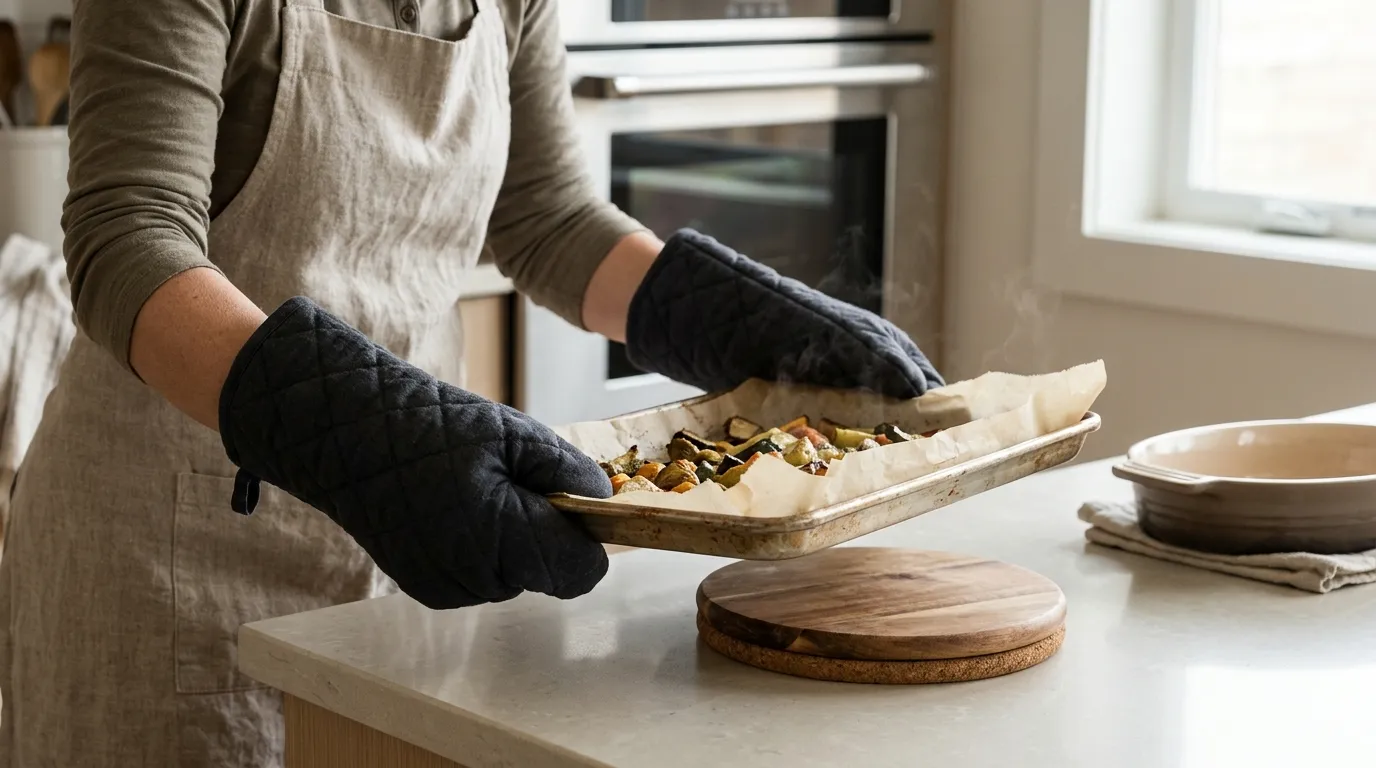
Use bakeware only within the maker’s stated limits. “Oven-safe” does not mean “safe for every heat source.”
Follow these habits:
- Preheat the oven as the recipe directs.
- Use dry oven mitts when moving hot pans.
- Do not place hot glass or ceramic on a wet or cold surface.
- Do not use chipped, cracked, or badly warped bakeware.
- Keep silicone molds on a rigid tray.
- Use utensils that match the pan’s surface.
- Wash coated pans with mild soap and a soft sponge.
- Dry metal pans well to reduce rust.
- Do not use a pan under a broiler unless the instructions allow it.
- Keep food away from direct contact with peeling nonstick coating.
- Check the manufacturer’s temperature limit before using parchment or silicone accessories.
For food safety, do not judge doneness by color alone. Use the recipe’s test, such as a clean wooden pick, a firm center, or a food thermometer when appropriate. The U.S. Department of Agriculture provides food-safety guidance for dishes that contain meat, eggs, and other perishable ingredients.
Common bakeware mistakes and how to fix them
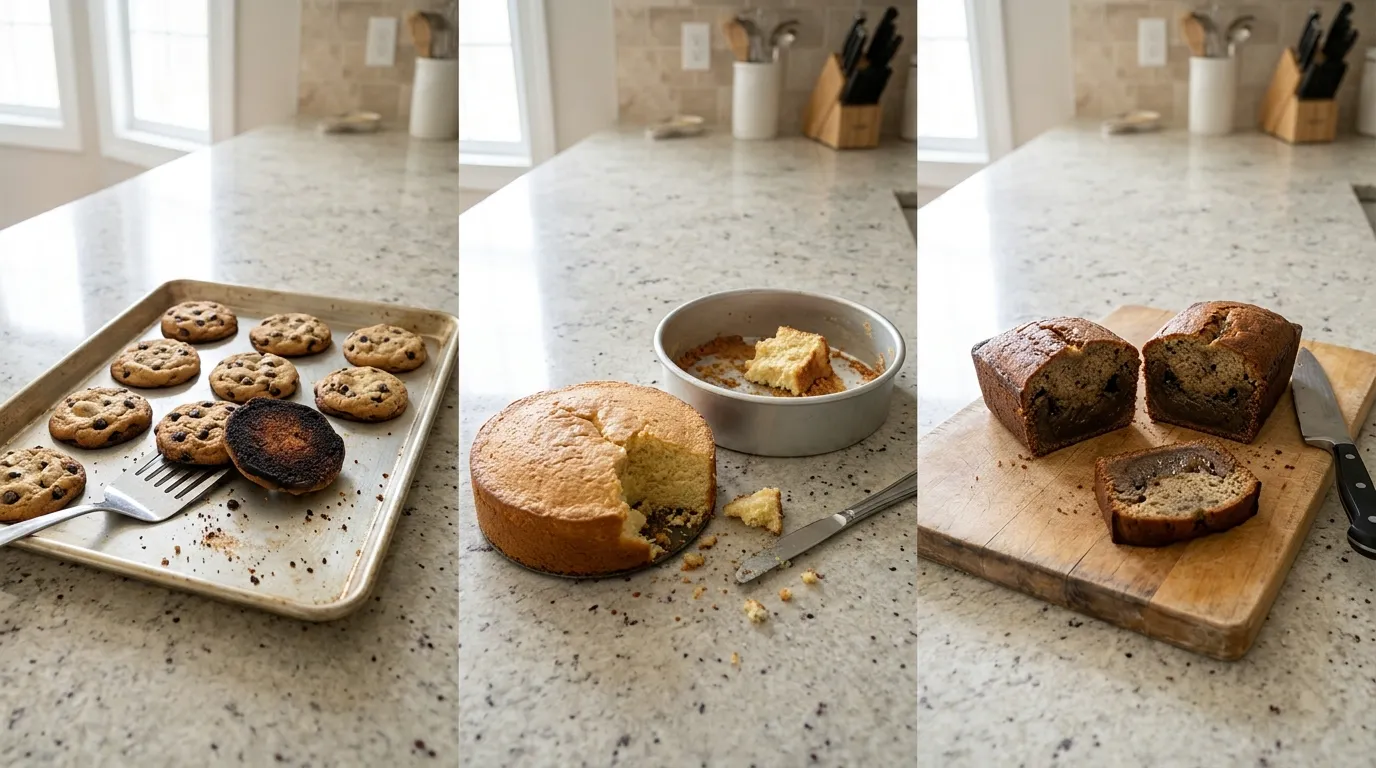
The bottom burns before the center cooks
Possible causes include a dark pan, a low oven rack, an incorrect pan size, or an oven that runs hot.
Move the rack to the position named in the recipe. Check the oven with an oven thermometer if results are often too dark or too fast. Use the listed pan size before changing temperature.
Cookies spread too much
Butter may be too warm, the dough may need chilling, or the pan may be hot. A greased pan can also encourage spreading.
Use a cool sheet pan for each batch unless the recipe says otherwise. Chill the dough if directed. Parchment can make release easier and reduce direct pan contact.
Cake sticks to the pan
The pan may not have been prepared fully, or the cake may have cooled too long before removal.
Follow the recipe’s release steps. Run a thin knife around the edge only when appropriate, and use parchment on the bottom for many cakes.
A loaf cracks or stays wet in the middle
The pan may be too small, the batter may be overmixed, or the oven may be too cool. A deep loaf can brown before the center sets.
Confirm the pan size. Test the center near the recipe’s stated finish time. If the top is dark but the center is wet, cover the top loosely with foil only if the recipe supports that step.
A glass dish cracks
Thermal shock is a likely cause. Sudden temperature changes, hidden damage, or use beyond the maker’s limits can raise the risk.
Stop using any cracked dish. Review the care instructions and avoid moving hot glass onto cold or wet surfaces.
A simple daily-baking setup
For most U.S. home kitchens, this combination covers the widest range of tasks:
- One light-colored rimmed half-sheet pan
- One quarter-sheet pan if you bake small batches
- One 9-by-13-inch metal or glass baking pan
- Two matching 8- or 9-inch round cake pans
- One 9-by-5-inch loaf pan
- One standard 12-cup metal muffin pan
- One 9-inch pie dish
- Parchment paper
- A cooling rack that fits the sheet pan
If space is limited, start with the half-sheet pan, 9-by-13-inch pan, loaf pan, and muffin pan. Add the rest as your recipes require them.
Frequently asked questions
Is metal or glass better for baking?
Metal is usually more responsive and often gives stronger browning. Glass holds heat longer and lets you see the food. Choose metal for cookies and many cakes; choose glass for pies and casseroles when the recipe supports it.
What is the best all-purpose baking pan?
A rimmed half-sheet pan is the best all-purpose choice for many kitchens. It works for cookies, biscuits, roasting, granola, and sheet-pan meals. It cannot replace a deep pan for cakes, loaves, or casseroles.
Are dark pans bad for baking?
No. Dark pans can work well, but they may brown edges and bottoms faster than light pans. Watch the food closely and follow the recipe and manufacturer guidance.
Can silicone bakeware go directly on the oven rack?
It depends on the product, but a rigid sheet pan is safer for handling and support. Always follow the silicone maker’s temperature and placement instructions.
How often should bakeware be replaced?
Replace bakeware when it is cracked, badly warped, rusted through, or has damaged nonstick coating. A lightly stained aluminum pan can still work well if it remains flat and sound.
Conclusion
The best bakeware for daily baking tasks is a practical mix of standard-size pans, not a large collection of specialty shapes. Start with a light-colored rimmed half-sheet pan, a 9-by-13-inch pan, a loaf pan, and a muffin pan. Add matching cake pans and a pie dish when your recipes call for them.
Choose material based on the task: light metal for even browning, glass or ceramic for pies and casseroles, silicone for flexible release, and nonstick metal when easy cleanup matters most. Check each product’s care instructions, use the correct pan size, and replace damaged bakeware before it becomes unsafe.