Coat the pan with fat, cover every corner, then add flour or parchment.
Greasing your pan is a tiny step with huge payoff. I’ve baked in hot, busy kitchens and at home, and I’ve tested every method and mishap. In this guide, you’ll learn how to grease baking pan properly for cakes, brownies, breads, and sticky Bundt beauties. Follow along for pro tips, simple science, and foolproof steps you can use today.
Source: crazyforcrust.com
Why Greasing Your Pan Matters
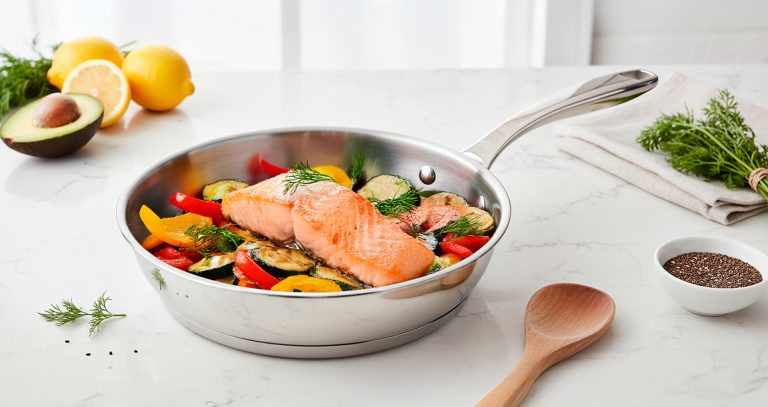
Greasing creates a thin barrier between batter and metal. That barrier slows sticking, reduces tearing, and keeps crusts even. Flour or parchment adds grip so the batter can rise and release cleanly. When you know how to grease baking pan properly, your bakes look sharp and taste better.
Butter gives flavor and browning, but the milk solids can act like glue if used alone. Oil and shortening are pure fat and hold up well. Parchment stops sticking on the base and helps with clean lifts. Match the method to the pan and recipe for best results.

Source: tasteofhome.com
Tools and Ingredients for Perfect Pan Release
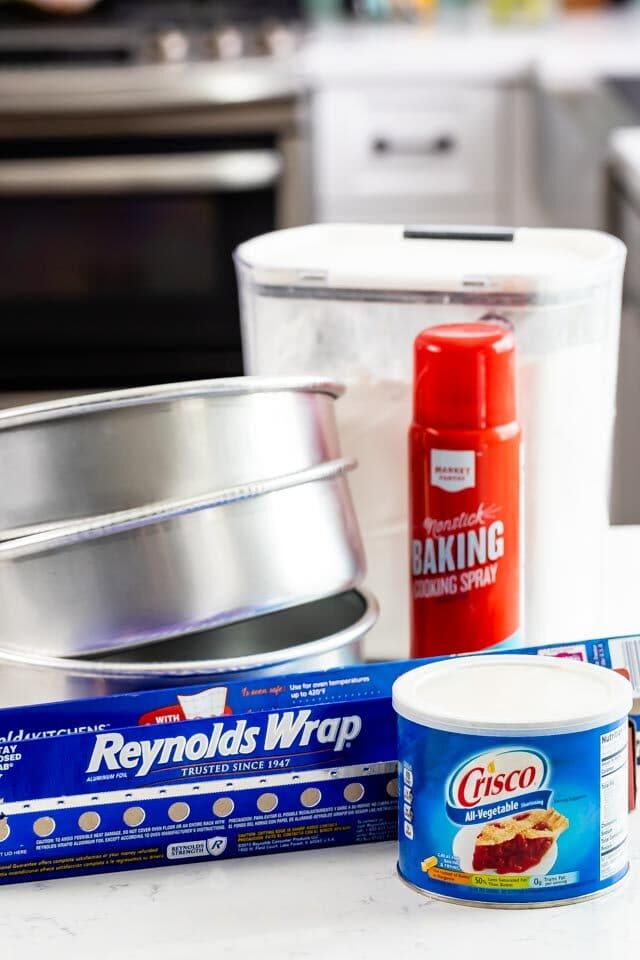
You do not need fancy gear. A few smart tools make it easy and clean.
Essentials to keep on hand:
- Fats: unsalted butter, neutral oil, shortening, or ghee for high heat and clean flavor.
- Sprays: baking spray with flour works well for detailed pans like Bundt molds.
- Dry coat: all-purpose flour for light batters, cocoa powder for chocolate cakes to avoid white streaks.
- Liners: parchment sheets, rounds, and strips for sides.
- Tools: pastry brush, paper towel, or your clean fingers for corners and seams.
When learning how to grease baking pan properly, think coverage. You want a thin, even film. No pools. No dry spots. A brush helps with ridges and patterned molds.
Source: angesdesucre.com
Step-by-Step: How to Grease Baking Pan Properly
Use this simple flow for most cakes, quick breads, and bars.
- Prep the pan
- Make sure the pan is cool and dry. Moisture fights the fat and causes sticking.
- Cut a parchment round or sling now if you plan to line.
- Choose your fat
- For flavor, use softened butter. For extra release, use oil or shortening.
- For intricate pans, use baking spray with flour or make cake goop (see tips below).
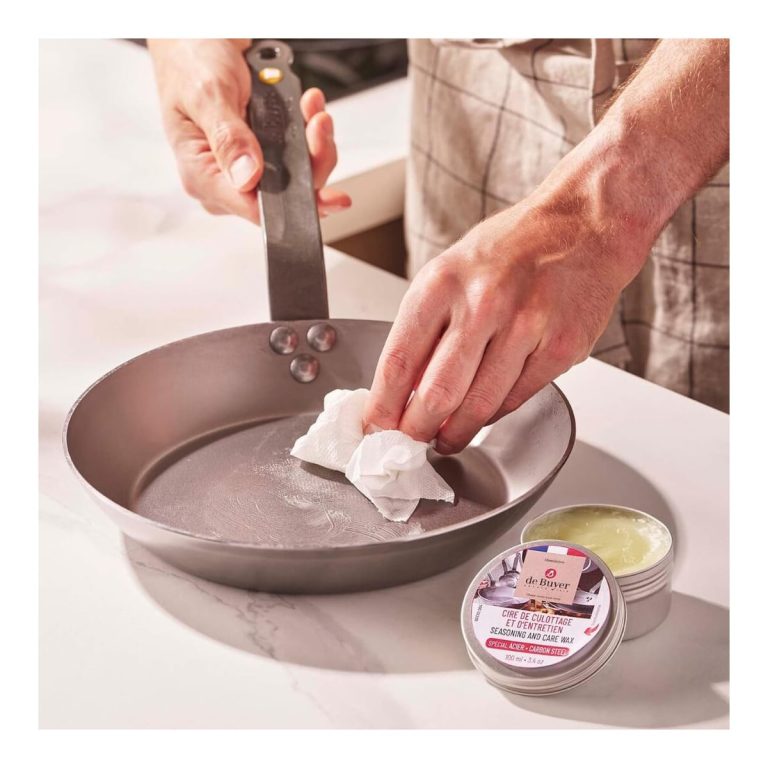
- Apply a thin, even layer
- Use a pastry brush or a paper towel. Get corners, edges, and the rim.
- For tall pans, run a vertical swipe up the sides to help the batter climb.
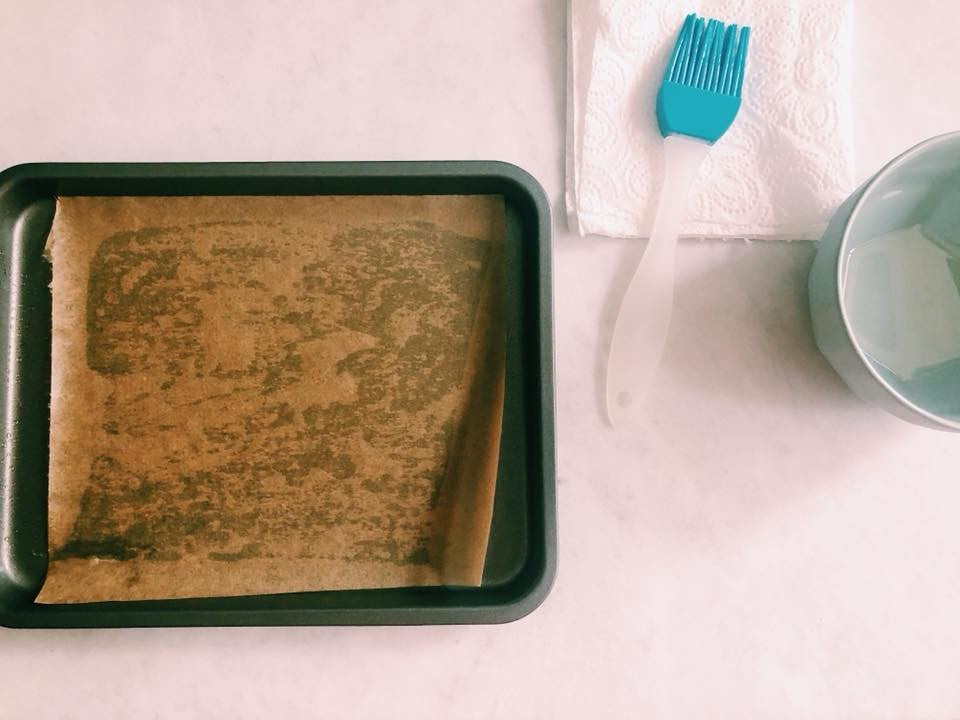
- Add parchment if needed
- Line the base with parchment. Press it flat so no folds trap batter.
- Lightly grease the parchment top for extra release.
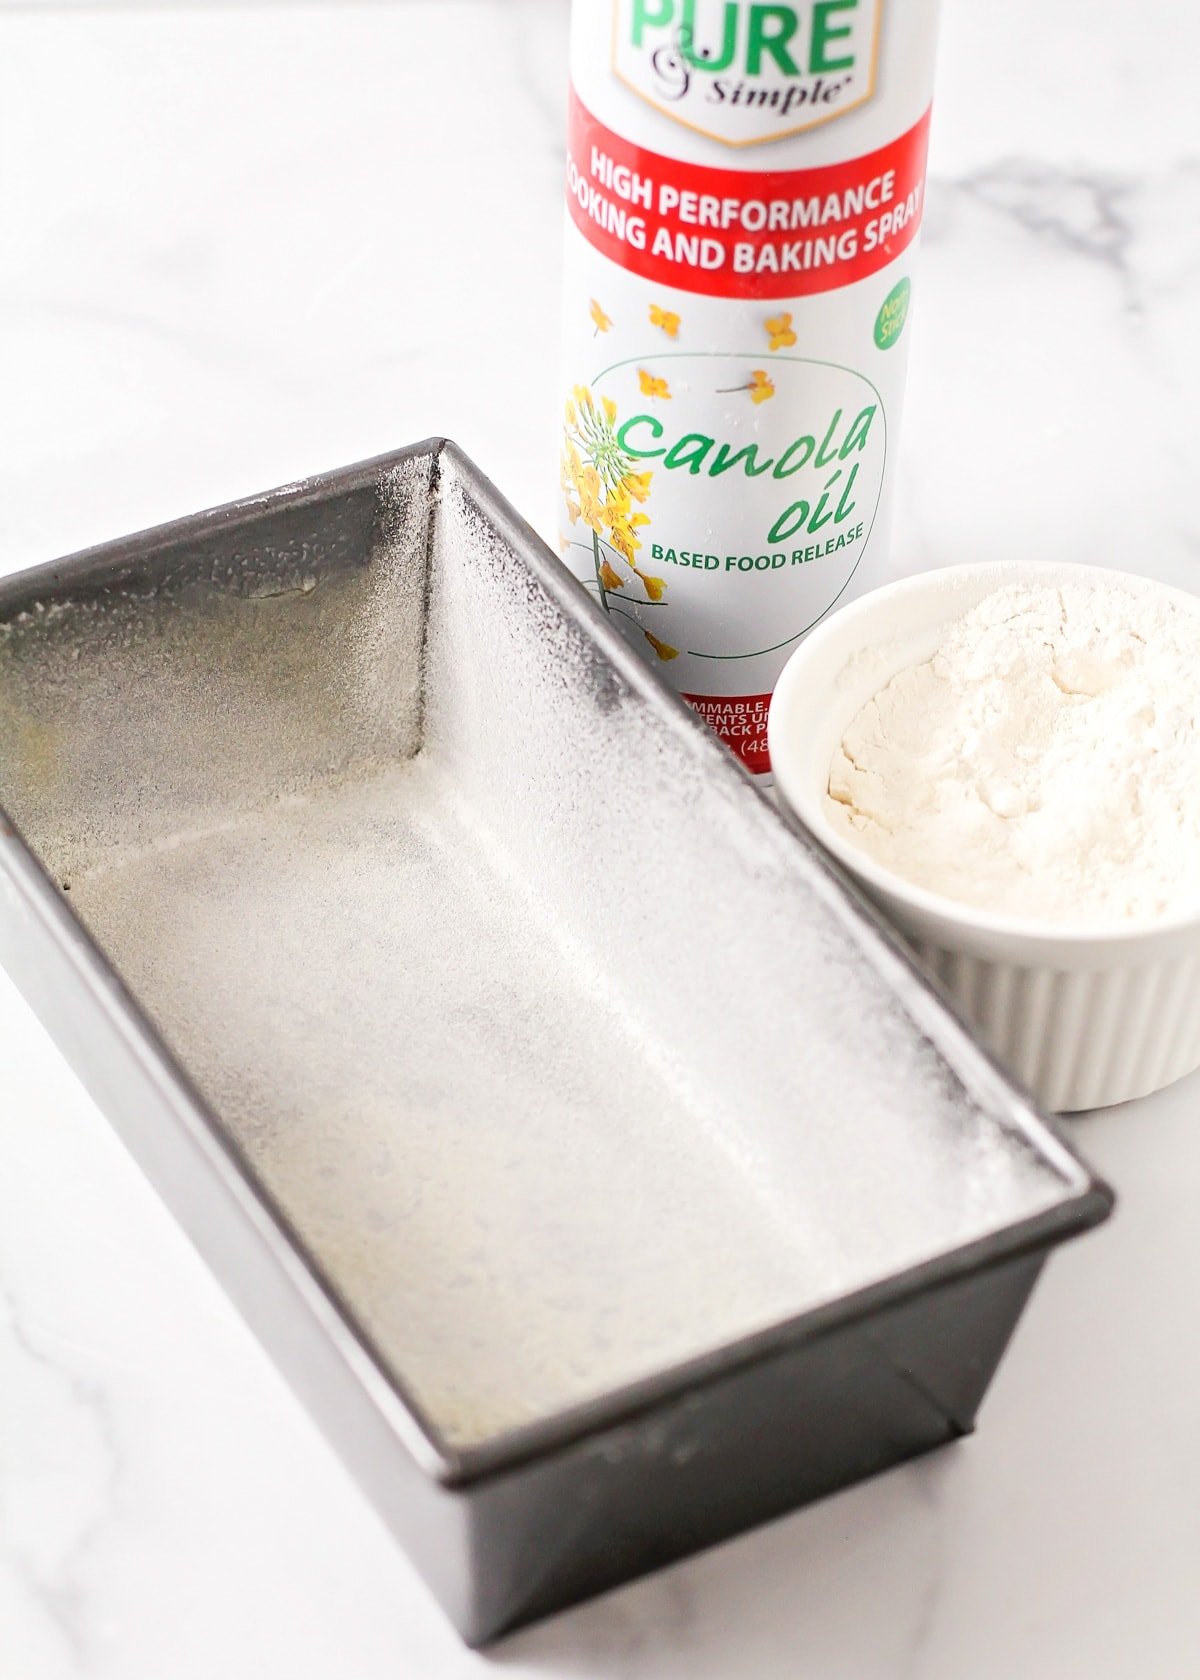
- Dust with flour or cocoa
- Add one tablespoon. Tilt and tap to coat sides and base.
- Invert and tap out the excess. You want a whisper-thin coat only.
- Fill and bake
- Pour in batter right away. Do not grease too early or the fat can slide down.
- Bake and cool per recipe.
When you learn how to grease baking pan properly, you protect your bake at the very first step. A minute here can save your cake later.

Source: dutchapron.com
Methods by Pan Type
Different pans need small tweaks. Here is how to grease them right.
Light or shiny metal pans
- Use butter plus flour for cakes.
- Parchment on the base keeps layers even and easy to lift.
Dark metal pans
- They run hotter and brown faster.
- Grease lightly and consider parchment. Watch bake time.
Glass and ceramic
- They heat slowly and hold heat.
- Light oil works best. Avoid thick butter layers that can scorch at the edges.
Nonstick pans
- They still need a touch of fat.
- Use a thin coat of oil or butter. Avoid heavy aerosol buildup that can dull the surface.
Silicone pans
- They are “nonstick,” but a film of oil helps, especially in corners.
- Place them on a sheet pan for support.
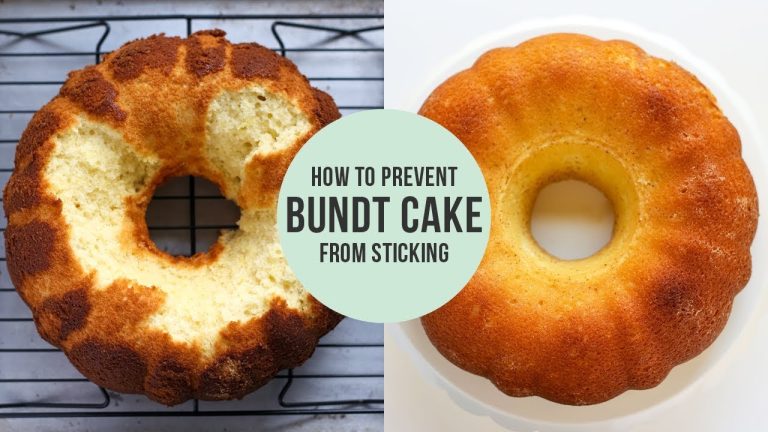
Bundt and detailed molds
- Use baking spray with flour or brush on softened butter into every ridge.
- Dust with flour or cocoa, then tap out the extra. Rotate and re-dust any shiny spots.
These small shifts will show you how to grease baking pan properly in any setup you own.

Source: angesdesucre.com
Common Mistakes and How to Fix Them
Greasing looks simple, but small slips cause stuck cakes. Avoid these traps.
- Too much butter: pools burn and glue the crumb. Use a thin coat and dust.
- Missed corners and seams: use a brush to reach every line.
- Greasing too early: fat slides. Grease right before the batter goes in.
- No flour on intricate pans: add flour or cocoa for grip on all those curves.
- Strong-flavor oils: robust olive oil can add taste you may not want. Use neutral oils.
If a cake sticks, rest it 10 minutes, then run a thin knife along the sides. Tap the base and flip. If needed, warm the pan over a low burner for 10 seconds to soften the fat and try again. Knowing how to grease baking pan properly also means knowing how to rescue a near miss.
Source: lilluna.com
Allergy, Dietary, and Flavor Choices
You can tailor greasing to fit your needs.
- Dairy-free: use canola, avocado, or coconut oil. Vegan butter also works well.
- Gluten-free: dust with fine rice flour, almond flour, or cocoa for chocolate cakes.
- Flavor boosts: brown butter for nutty notes, or coconut oil for tropical hints.
If you bake for mixed diets, label your greasing choice. Cross-contact matters. These swaps still follow how to grease baking pan properly while keeping everyone happy.

Source: angesdesucre.com
Cleanup and Pan Care
Good care keeps pans slick and reliable.
- Wash with warm soapy water soon after use. Dried spray can form a film.
- Avoid metal scrubbers on nonstick. Use a soft sponge.
- For stubborn residue, soak, then use a baking-soda paste.
- Dry at once to prevent rust on steel pans. Store parchment rounds flat for next time.
Clean pans help you repeat how to grease baking pan properly with steady results each bake.
:max_bytes(150000):strip_icc()/GettyImages-72802100-5b34e927c9e77c00372af64c.jpg)
Source: thespruceeats.com
Pro Tips From The Test Kitchen
These are the habits I use when I need a perfect release.
- Make cake goop: mix equal parts flour, oil, and shortening into a smooth paste. Brush on a thin coat. It works on Bundt pans like magic.
- Use cocoa for chocolate cakes. No white streaks and better flavor.
- Grease, line, then grease again for tall layer cakes. This double step prevents side tears.
- Pre-cut parchment rounds and slings on a slow day. Fast setup means you grease at the right moment.
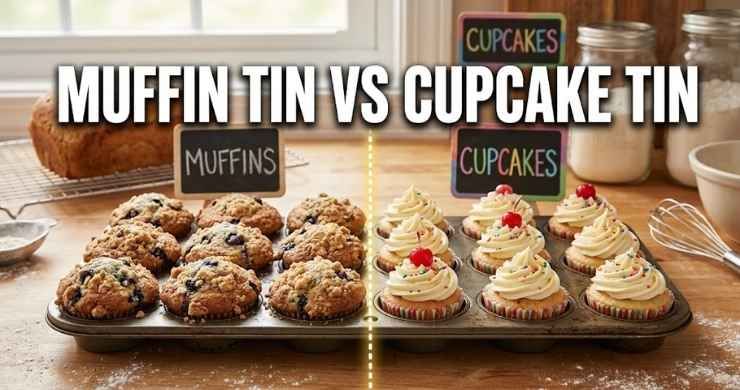
- For muffins, lightly grease the top of the pan so domes do not stick over the wells.
Follow these and you will practice how to grease baking pan properly every time, with fewer surprises.
Frequently Asked Questions of how to grease baking pan properly
Do I grease if I use parchment?
Yes, but lightly. A thin coat under and over the parchment keeps the paper flat and releases the edges cleanly.
Is butter or oil better for greasing?
Oil releases more cleanly, while butter adds flavor and browning. For detailed pans, combine fat with flour for best release.
How do I grease a Bundt pan so nothing sticks?
Brush softened butter into every ridge, then add flour or cocoa and tap out the extra. A baking spray with flour also works very well for fine details.
What can I use instead of flour for dusting?
Use cocoa for chocolate cakes, fine rice flour for gluten-free, or even granulated sugar for a crisp edge. Avoid cornstarch alone, as it can clump.
Can I rely on nonstick pans without greasing?
Lightly grease them anyway. It protects the coating and helps edges release without tearing.
When should I grease the pan?
Right before adding batter. If you do it too early, the fat can slide down and leave bare spots.
How do I grease a pan for brownies?
Grease, then line with a parchment sling with overhangs. Lightly grease the parchment so the top edges release cleanly.
Conclusion
Greasing a pan is a small move that prevents big heartbreak. Choose the right fat, apply a thin even coat, add parchment or a dusting when needed, and work with your pan type. That is how to grease baking pan properly, every single bake.
Try these steps on your next cake or batch of brownies. Share your wins, your questions, and your best pan-release tips in the comments. If this helped, subscribe for more friendly, tested baking guides.