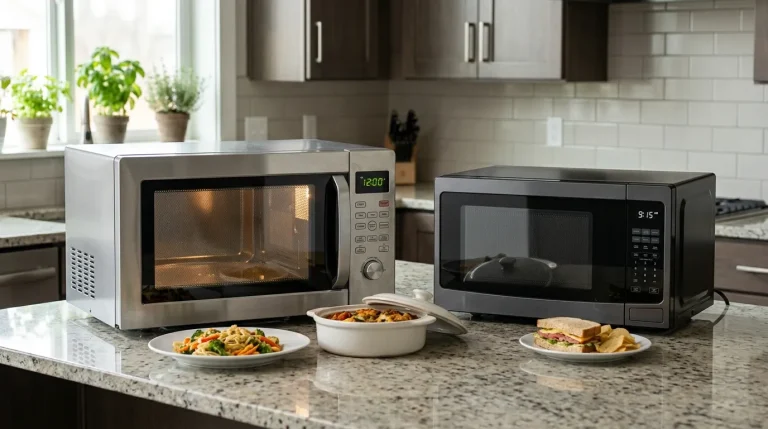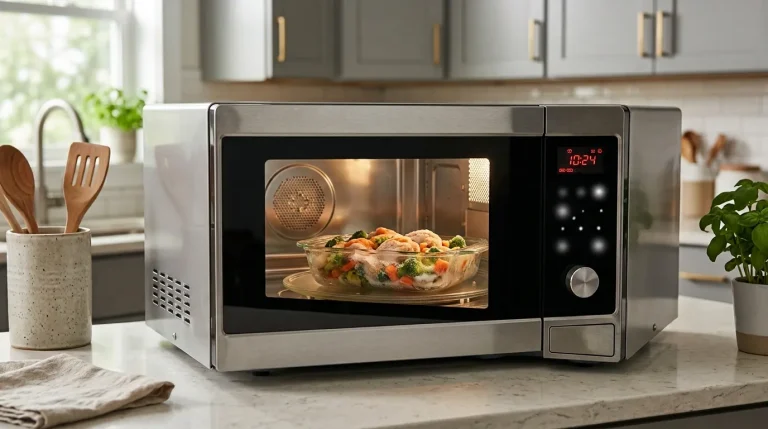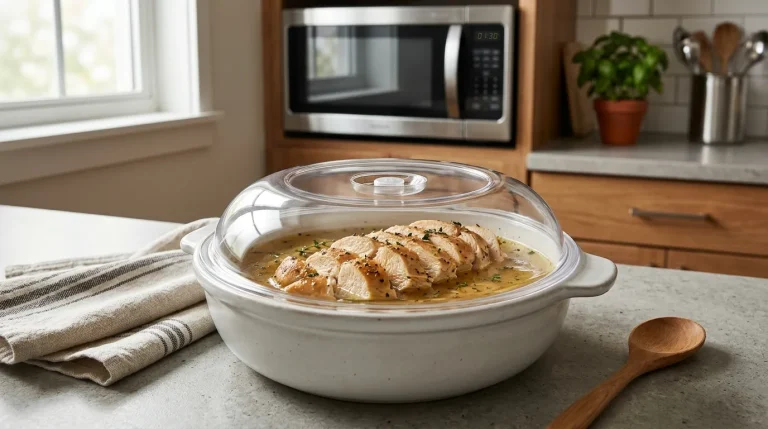
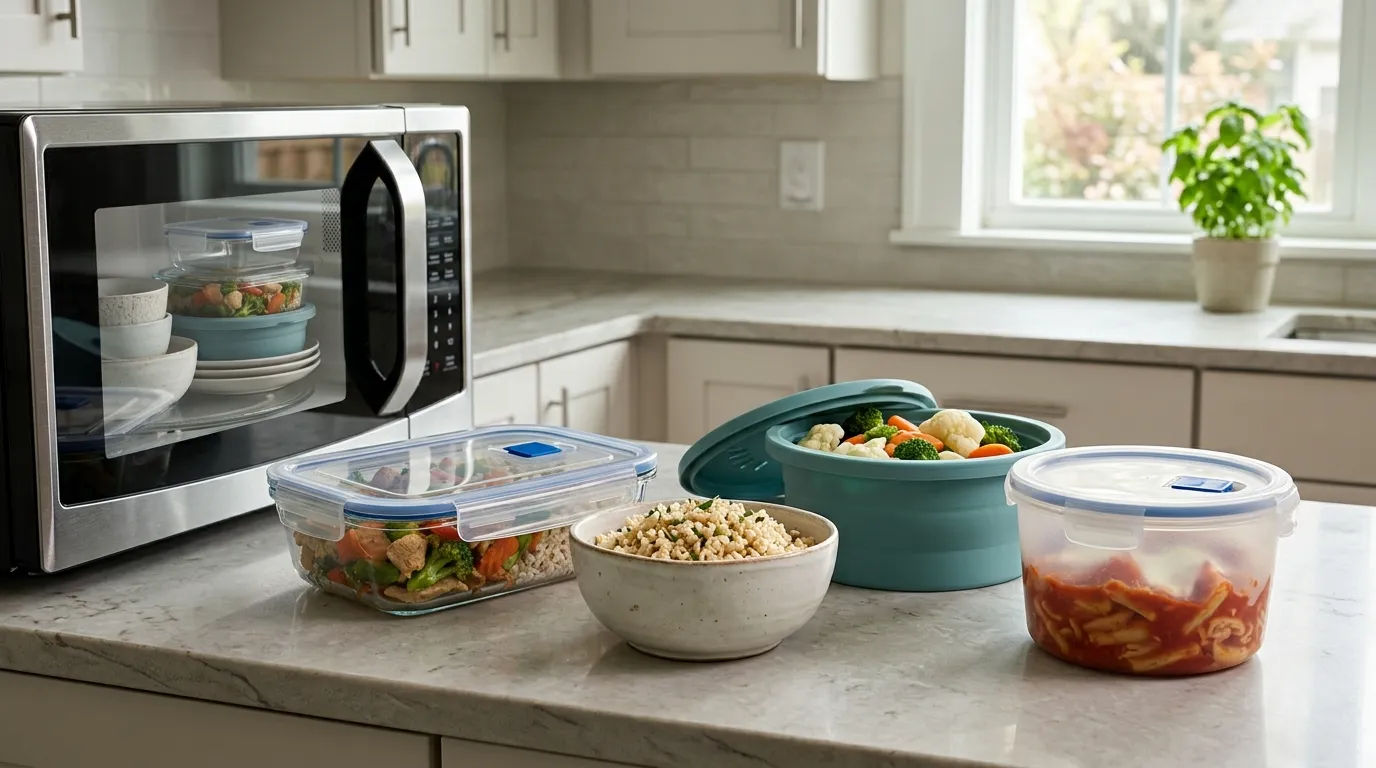
The safest microwave containers are glass, ceramic, and vented, BPA-free plastics.
If you care about food safety, speed, and less mess, this Best Microwave Containers Safe Guide is for you. I test containers daily while meal-prepping for a busy home and coaching clients. Here, I explain what labels mean, which materials win, and how to avoid common mistakes, so you can reheat with confidence and taste the difference.
What Makes a Microwave Container Safe?
A safe microwave container does three things well: it resists heat, it does not leach harmful chemicals, and it distributes heat evenly. Look for a microwave-safe label. That mark means the item passed basic tests for heat and food contact.
Safety depends on time, temperature, and the type of food. Fatty or acidic foods draw out more chemicals from weak plastics. Regulators note that material migration rises with heat and time. Use short bursts, stir often, and let heat spread.
Microwave waves excite water molecules, not the container itself. The container heats by contact with hot food or by absorbing some energy. Choose materials that handle that stress without breaking, warping, or melting. This Best Microwave Containers Safe Guide breaks down each material, so you pick right the first time.
Best Materials for Microwave Containers
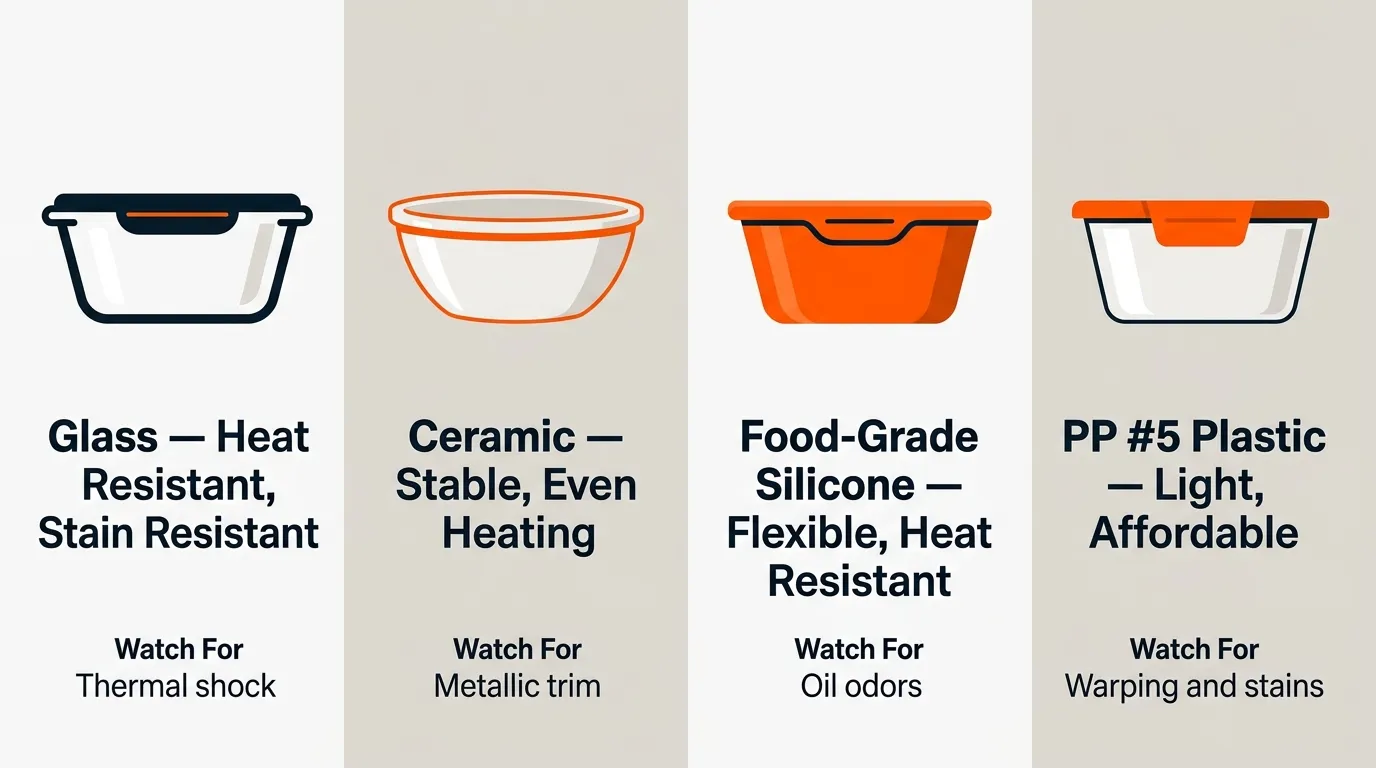
Some materials shine in the microwave. Others only work with care. Here are the top choices from this Best Microwave Containers Safe Guide.
Glass (borosilicate preferred)
- Pros: Inert, resists stains and odors, handles high heat well.
- Cons: Can break if dropped or shocked from freezer to hot microwave.
- Tip: Let chilled glass warm on the counter for a few minutes before heating.
Ceramic and stoneware
- Pros: Stable, great for even heating, no plastic taste.
- Cons: Some glazes get hot; avoid metallic trim.
- Tip: Choose pieces labeled microwave safe.
Food-grade silicone
- Pros: Flexible, heat resistant, great for steaming.
- Cons: Can hold oil odors if not cleaned well.
- Tip: Pinch test is not perfect; buy from reputable brands.
Microwave-safe plastic, especially PP #5
- Pros: Light, affordable, often with vented lids.
- Cons: Shorter life, may warp or stain with red sauces.
- Tip: Use only plastics labeled microwave safe and vent lids.
In my kitchen, glass wins for most meals. Silicone steamers are my go-to for veggies and fish. Labeled PP #5 containers work for quick lunches. I learned the hard way that unlabeled plastic can warp and leak. This Best Microwave Containers Safe Guide helps you dodge those headaches.
Materials to Avoid or Use With Caution
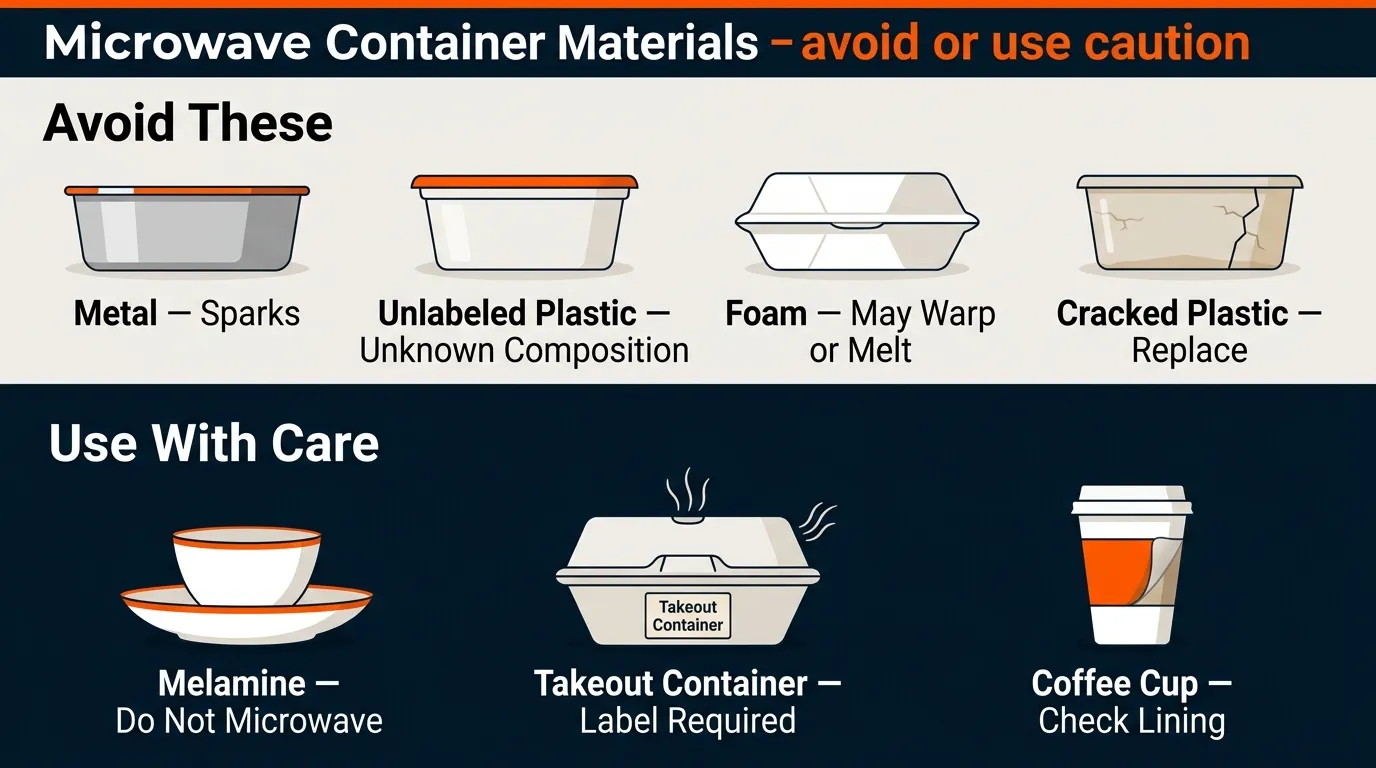
Not all containers belong in the microwave. Some react, melt, or spark.
Avoid these
- Metal or containers with metal trim: Sparks, fire risk.
- Unlabeled plastic or recycled plastic: Unknown composition.
- Polystyrene foam (Styrofoam): Warps, melts, can leach with heat.
- Cracked or old plastic: Higher risk of migration and leaks.
Use with care
- Melamine dishware: Not for microwaving; it can degrade under heat.
- Thin takeout containers: Only reheat briefly if labeled microwave safe, and vent the lid.
- Single-use coffee cups: Many have plastic lining not made for heat.
Regulators warn against microwaving melamine and untested plastics. This Best Microwave Containers Safe Guide keeps your food safe and your microwave clean.
How to Spot a Truly Microwave-Safe Container
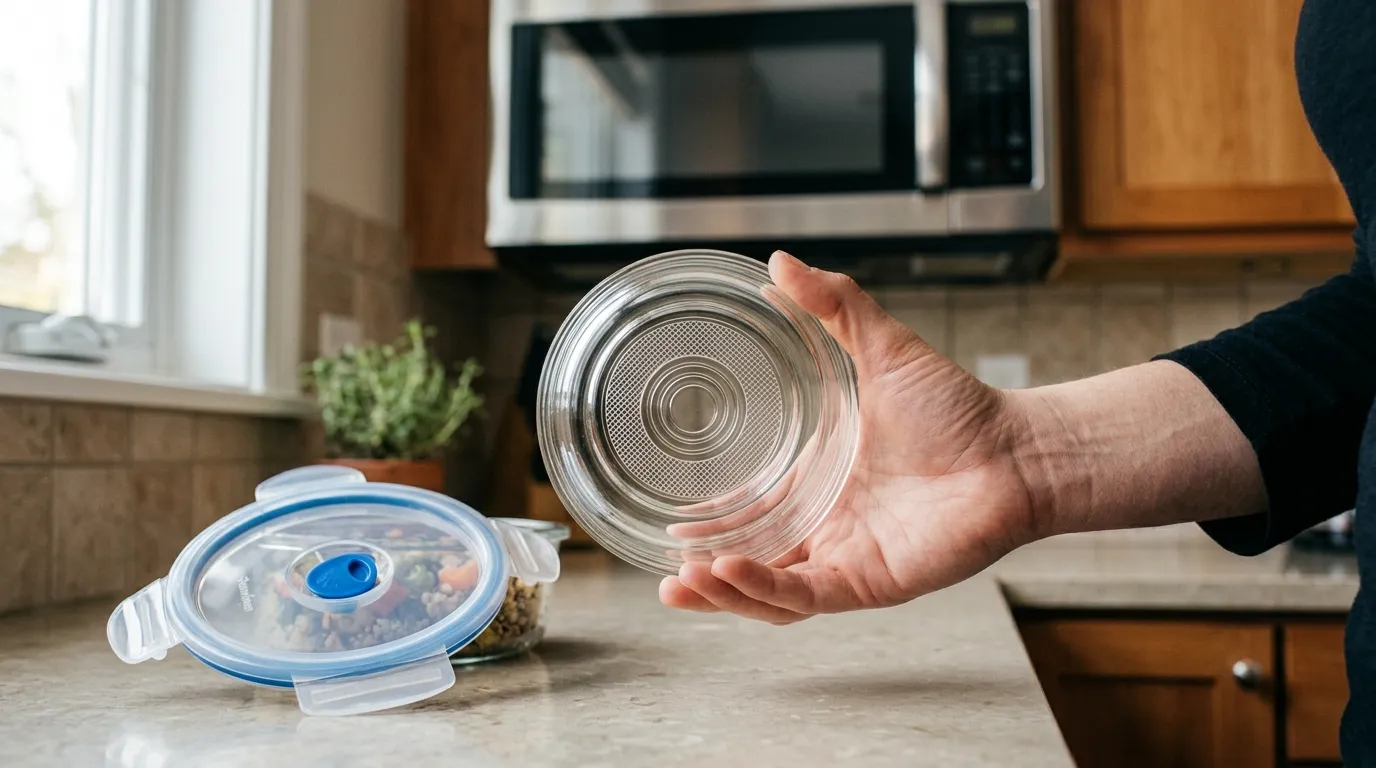
Labels and simple tests tell you a lot.
What to look for
- A microwave-safe symbol or clear text.
- Material type: glass, ceramic, silicone, or PP #5 for plastic.
- Vented lids or lids you can offset to release steam.
Home heat test
- Fill a microwave-safe cup with water and place it next to the empty container.
- Heat for one minute.
- If the empty container is cool and the water is hot, it is likely safe. If the container is very hot, skip it.
Check before use
- No metal rims, paint, or foil print.
- No deep cracks, clouding, or strong plastic smell.
- Lids fit well and can vent.
This Best Microwave Containers Safe Guide gives you quick checks to avoid guesswork.
Smart Microwaving: Use, Time, and Food Types
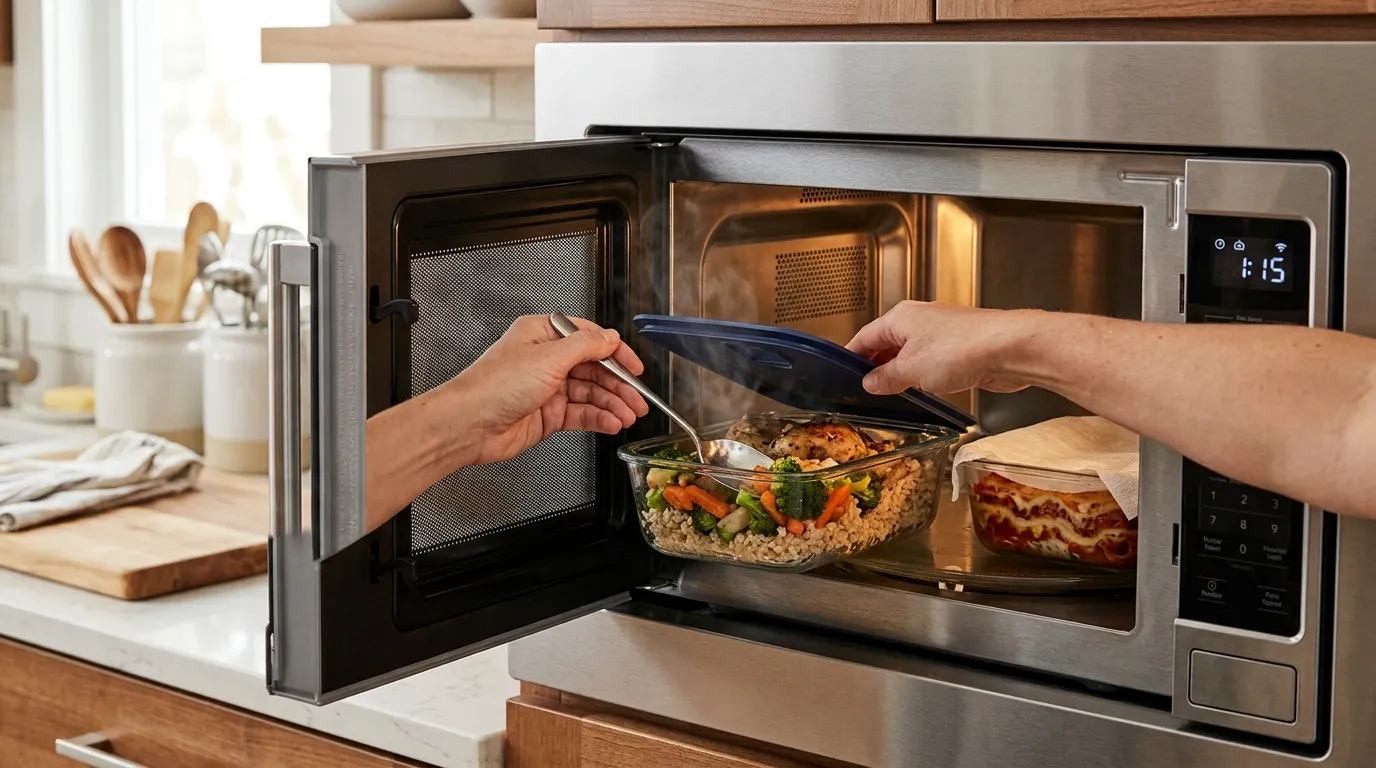
Good technique matters as much as good containers. Even safe materials can fail if misused.
Do this
- Vent lids: Leave a small gap or open the vent tab.
- Short bursts: Heat in 30 to 60-second intervals, then stir.
- Cover smart: Use a vented lid, a silicone cover, or a damp paper towel to keep moisture.
- Stir and rotate: Stops cold spots and reduces overcooked edges.
- Rest time: Let food sit 1 to 2 minutes so heat equalizes.
Watch out for
- High-fat and high-sugar foods: They get hotter; use glass or ceramic.
- Tomato sauces: Stain plastics; use glass for red sauces.
- Super-chilled glass: Warm it slightly first to reduce thermal shock.
These are the exact habits I teach in every meal-prep class. They come from trial, error, and many saved leftovers. This Best Microwave Containers Safe Guide will make your reheats taste like day one.
Meal Prep, Freezing, and Storage Tips
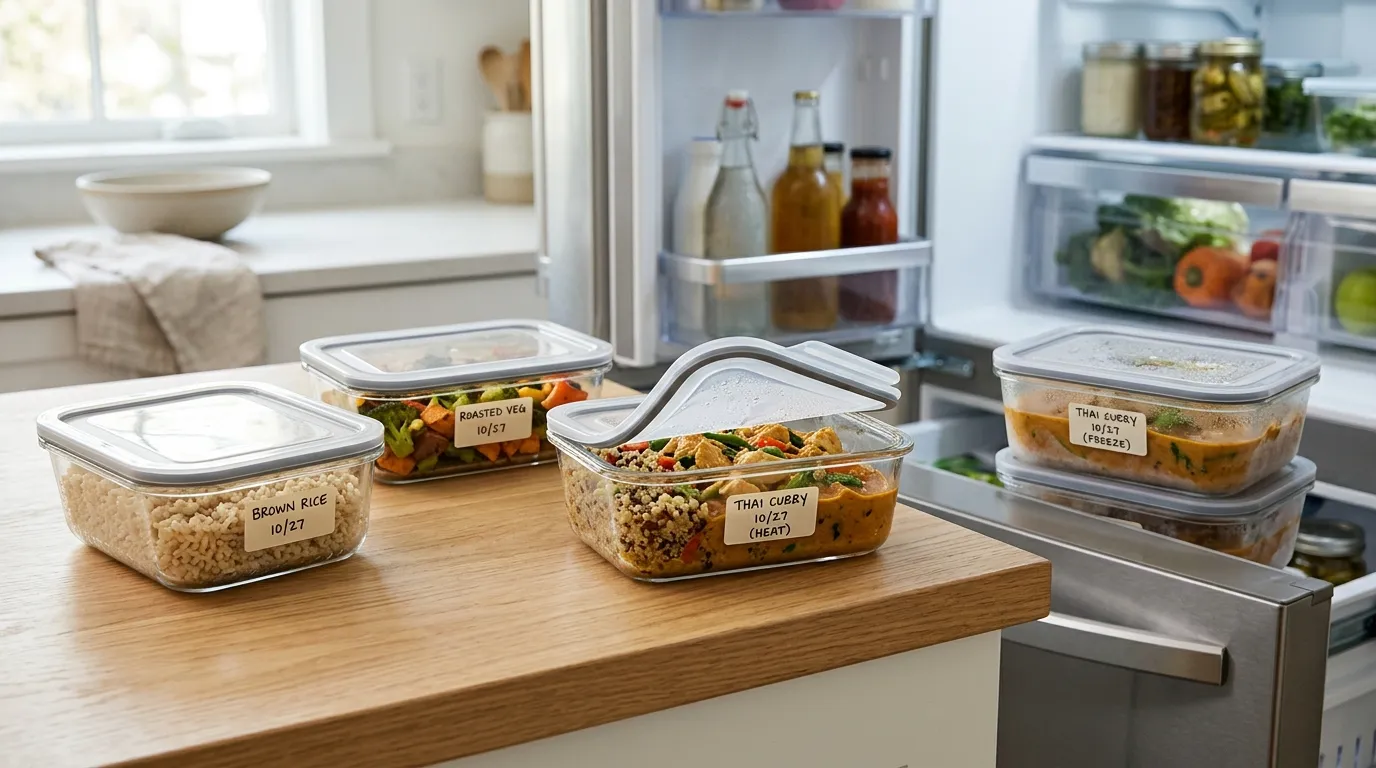
How you store food changes how well it reheats later.
Easy wins
- Leave headspace: Food expands as it heats and when frozen.
- Portion smart: Shallow, wide containers reheat faster and more evenly.
- Label and date: Track freshness at a glance.
- Vent from the freezer: Loosen the lid before reheating.
- Stain blockers: Wipe plastic with a drop of oil before tomato dishes.
Odor and stain fixes
- Baking soda soak: One tablespoon in warm water for an hour.
- Sun cure: Leave clean containers in sunlight to reduce odors.
- Vinegar steam: Heat a tablespoon of vinegar and water to loosen stains, then wash.
With these moves, my Sunday meal prep stays fresh through Friday. This Best Microwave Containers Safe Guide turns your fridge into a grab-and-go station.
Brand Features To Look For
You do not need the most expensive set. Look for smart features that make daily use easier.
Helpful features
- Borosilicate glass bases with snap, vented lids.
- BPA-free PP #5 lids and bases, labeled microwave and dishwasher safe.
- Silicone steamers with rigid rims for easy lifting.
- Stackable shapes that fit your microwave turntable.
- Gasketed lids you can remove before heating.
I reach for heavy glass for casseroles and rice. For desk lunches, I like light PP #5 with steam vents. This Best Microwave Containers Safe Guide helps you match features to your budget and habits.
Myths, Facts, and What Science Says
Let’s clear up the big myths.
Common myths vs facts
- Myth: Microwaves make food radioactive. Fact: Microwaves are non-ionizing and do not make food radioactive.
- Myth: All plastics are unsafe in the microwave. Fact: Only use plastics tested and labeled microwave safe; many pass strict food-contact rules.
- Myth: Covering food is unsafe. Fact: Venting is key; covered food heats more evenly and stays moist.
Food safety agencies agree on these basics. Use tested materials, avoid melamine and unlabeled plastics, and follow time and temperature guidance. This Best Microwave Containers Safe Guide sticks to evidence, not rumors.
Cleaning and Care To Extend Container Life
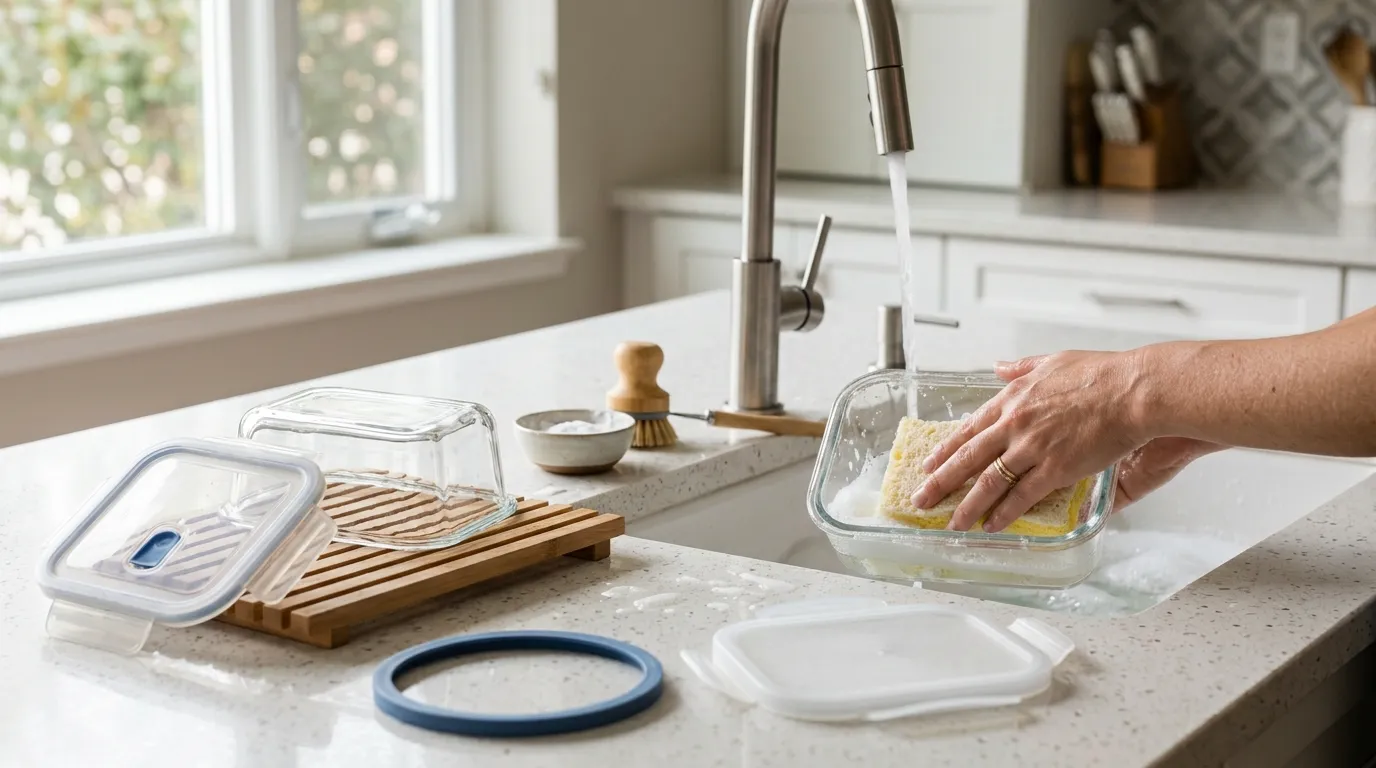
Care adds years to your set and keeps food tasting great.
Daily care
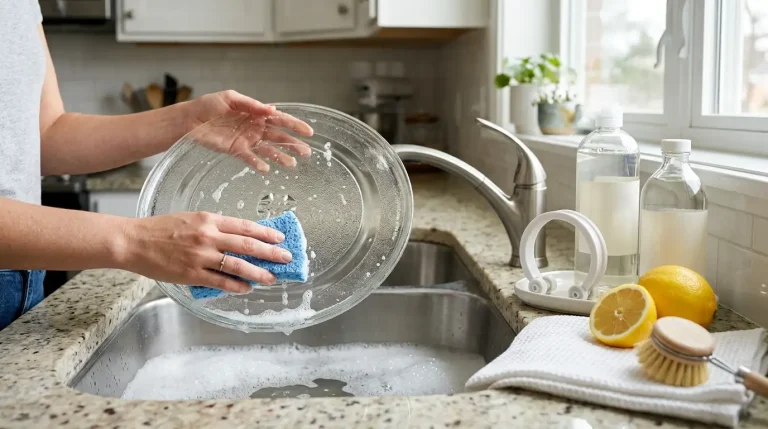
- Top-rack dishwasher for lids; bases as labeled.
- Non-abrasive sponges to avoid scratches.
- Remove seals and gaskets to wash and dry fully.
Deep clean
- Baking soda paste for stains.
- Lemon and water steam to lift odors.
- Replace warped or cracked pieces.
Storage
- Store with lids off or ajar to prevent odors.
- Keep sets nested to save space but do not force-fit wet lids.
This Best Microwave Containers Safe Guide is not just about what to buy. It is about keeping your gear safe and fresh.
Health and Environment: Making Safer, Greener Choices
Your container choices affect your health and the planet.
Better choices
- Reusable glass and silicone cut waste.
- When using plastic, choose durable, tested PP #5.
- For baby food or high-heat meals, glass is the safest bet.
What I tell new parents and college students is the same: buy a few durable pieces, not a dozen flimsy ones. You will save money and reduce waste. This Best Microwave Containers Safe Guide helps you align safety with sustainability.
Troubleshooting Common Microwave Container Issues
Small tweaks fix most problems fast.
If lids pop or spill
- Vent more, reduce fill level, and use shorter heat bursts.
If food dries out
- Cover with a vented lid or damp paper towel and reduce power to 70–80%.
If edges burn but the center is cold
- Stir mid-way, use a wider container, and drop power to 50–70% longer.
If plastic stains
- Move red sauces to glass and pre-wipe plastic with a drop of oil.
Keep these tips near your microwave. This Best Microwave Containers Safe Guide turns trial and error into simple wins.
Frequently Asked Questions of Best Microwave Containers Safe Guide
How do I know if a container is microwave safe?
Check for a microwave-safe label or symbol and material type, like glass, ceramic, silicone, or PP #5 plastic. If unsure, use the water cup test described above.
Are BPA-free plastics always safe in the microwave?
BPA-free is one factor, but the container should still be labeled microwave safe. Follow time and temperature rules and avoid long heating of fatty foods in plastic.
Can I microwave frozen meals in glass?
Yes, but let the glass sit at room temperature for a few minutes first. Heat in short bursts and avoid sudden temperature shocks.
Why do my lids warp in the microwave?
Excess steam and tight seals cause pressure buildup. Vent lids, leave a corner open, or use a microwave cover instead.
Is it safe to microwave food in takeout containers?
Only if they are labeled microwave safe, and even then, reheat briefly and vent the lid. When in doubt, transfer food to glass or ceramic.
Conclusion
Safe microwaving is simple: choose the right materials, use vented lids, and heat in short, mindful bursts. Glass, ceramic, silicone, and labeled PP #5 plastics form a reliable toolkit for daily meals.
Start by upgrading one or two containers you use most. Put this Best Microwave Containers Safe Guide into action this week. If you found this helpful, subscribe for more smart kitchen guides or share your favorite container tips in the comments.