Use food-grade mineral oil monthly to seal, protect, and revive wooden cutting boards.
If you want your board to last, this cutting board oil guide for wood boards shows you how. I’ve maintained boards in busy home kitchens and small cafés. I’ll break down safe oils, simple steps, and pro fixes. You’ll learn what works, what to avoid, and how to keep wood happy for years.
What Is Cutting Board Oil and Why It Matters
Cutting board oil is a food-safe oil that soaks into wood and locks in moisture. It helps stop cracks, warping, and stains. It also makes cleanup easier. This cutting board oil guide for wood boards explains how oil keeps fibers stable and water out.
Mineral oil is the gold standard. It is clear, tasteless, and does not go rancid. Food-grade is key. It must be safe for kitchen use.
Some oils cure and harden. Others do not. For daily boards, a non-drying oil like mineral oil protects well. A wax blend on top adds grip and shine.
The Best Oils for Wood Cutting Boards
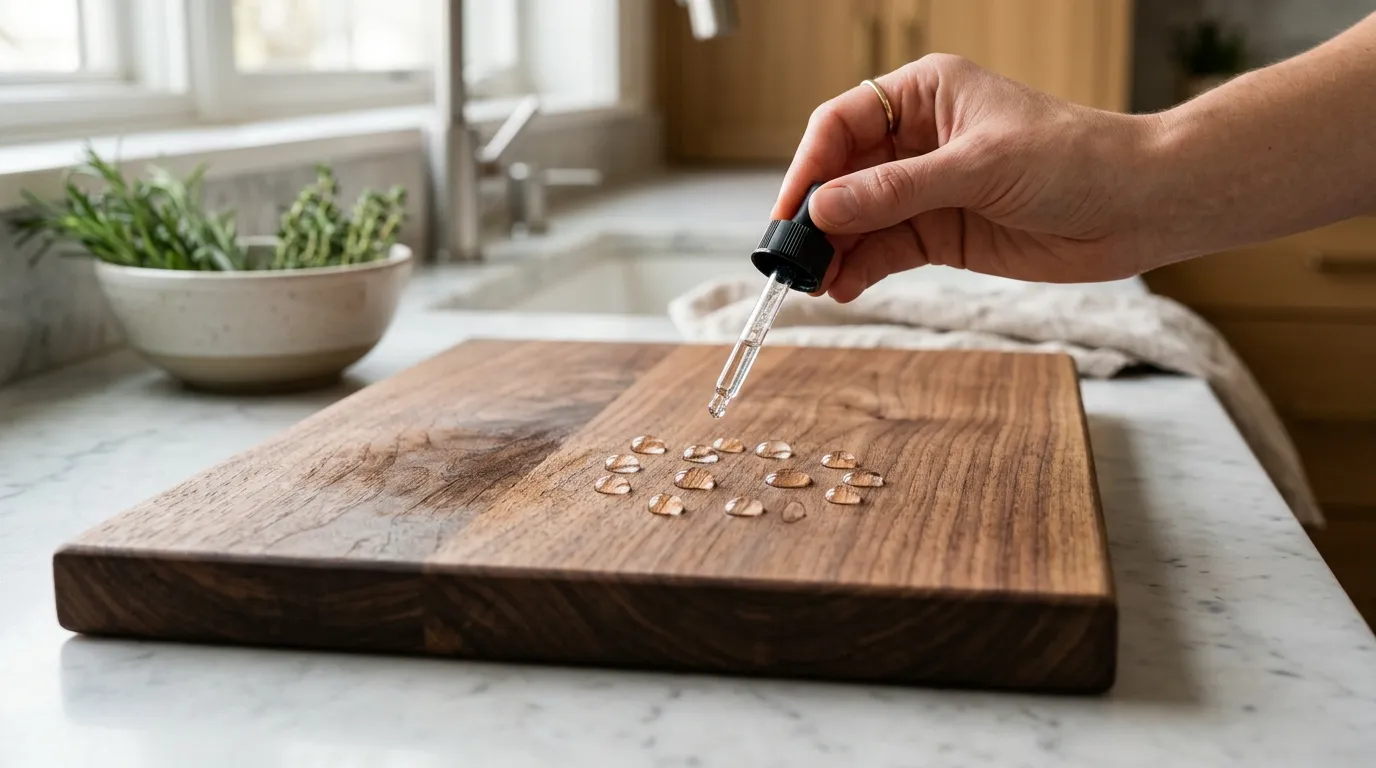
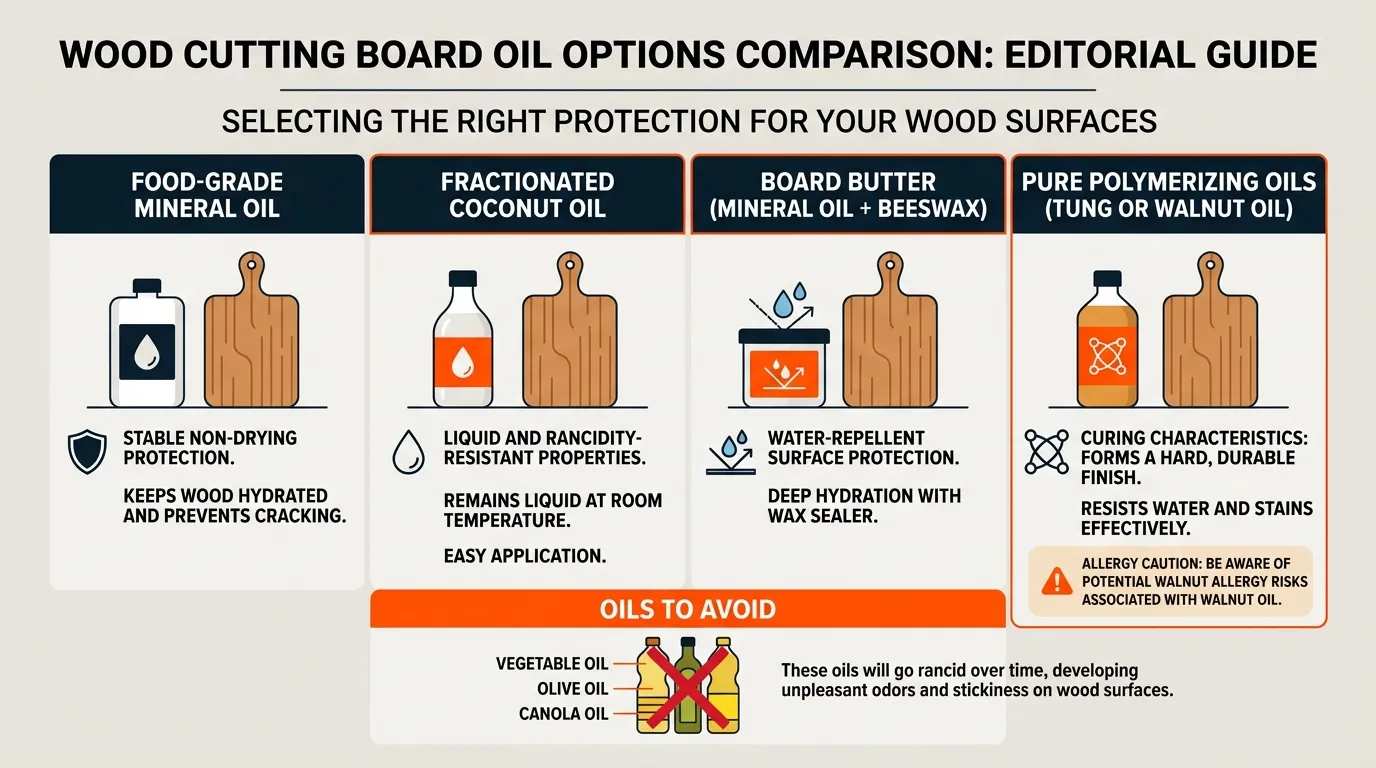
You have a few safe choices. Pick based on use, look, and care level. This cutting board oil guide for wood boards covers the best options and why they work.
- Food-grade mineral oil: The classic. Cheap, easy to find, and stable. It will not turn rancid.
- Fractionated coconut oil: Stays liquid and resists rancidity. Not the same as grocery coconut oil.
- Board butter mixes: Mineral oil plus beeswax. Adds a water-repellent top coat and silky feel.
- Polymerizing oils (pure tung or walnut): They cure hard. Great for a finish, but needs thin coats and time. Walnut is a tree nut, so note allergy risks.
- Avoid vegetable, olive, or canola oils: These can go rancid. They smell and gum up the surface.
From a food-safety view, neutral, stable oils win. Food safety groups favor non-rancid, food-grade oils. Wax blends add a durable shield on top.
How to Oil a Cutting Board Step-by-Step
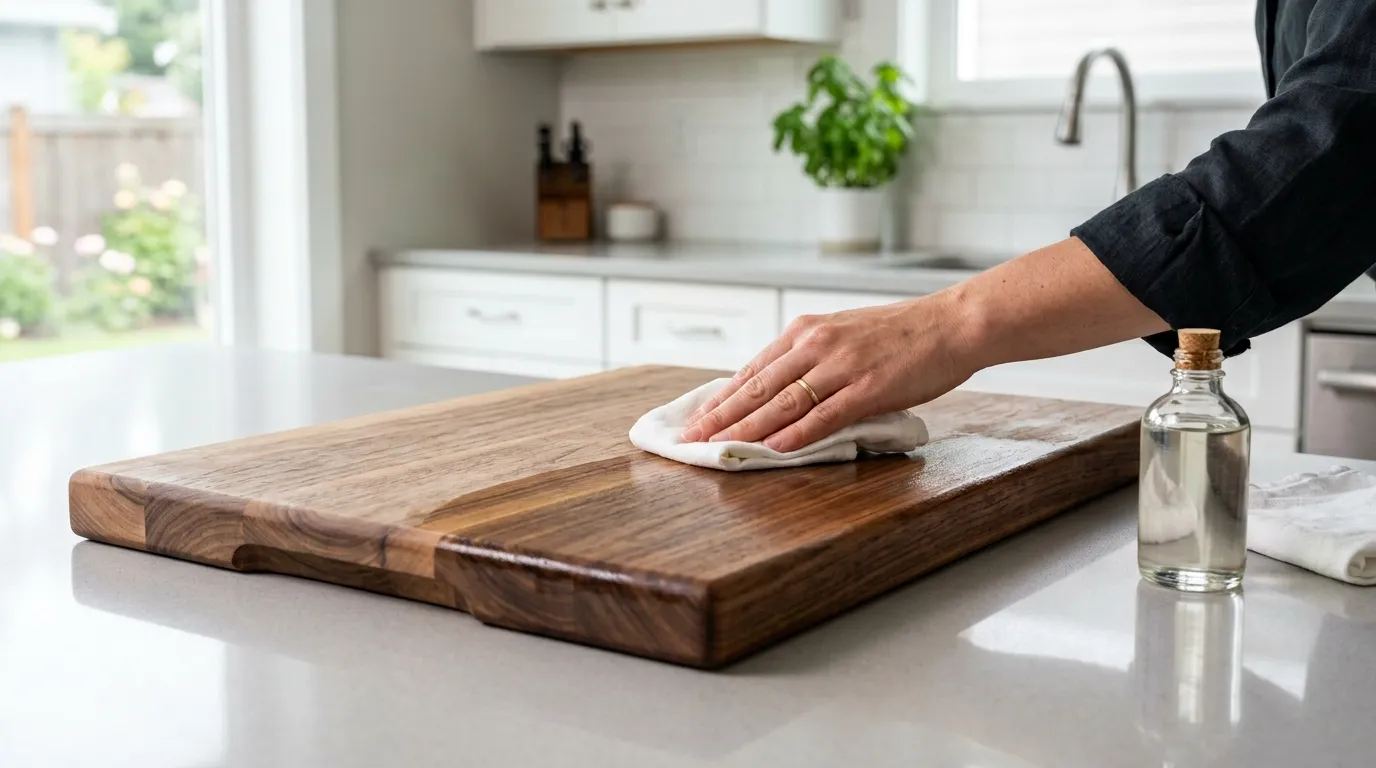
A little routine goes far. Follow this plan from the cutting board oil guide for wood boards to get a smooth, sealed surface.
- Clean and dry: Wash with warm soapy water. Rinse and air dry upright until fully dry.
- Warm the oil: Slightly warm the bottle in hot water. Warm oil spreads better.
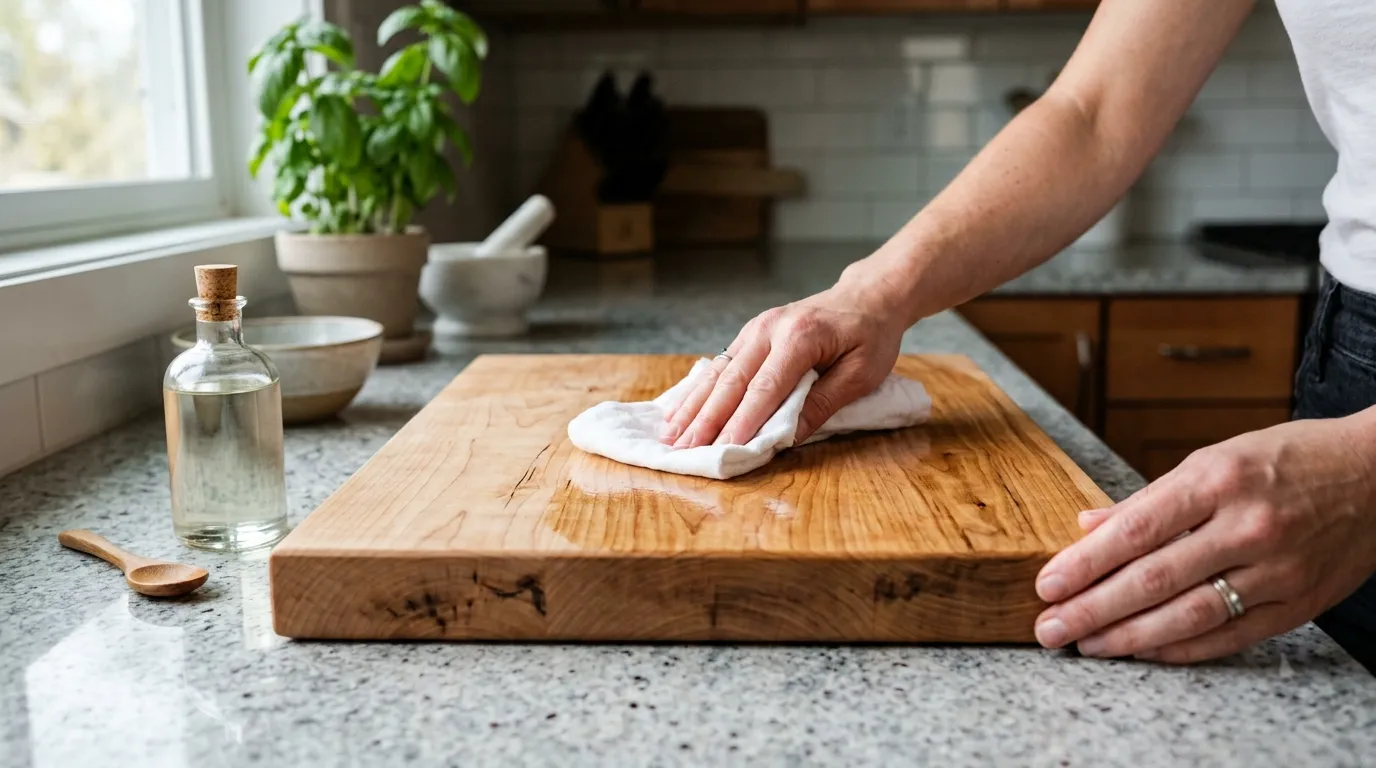
- Apply: Pour a small puddle. Rub with a lint-free cloth along the grain. Coat all sides and edges.
- Let it drink: Rest 20–30 minutes. Add more if the surface looks dry.
- Wipe off: Buff away all excess until the board feels dry to the touch.
- Optional wax: Rub on a board butter. Let set 10 minutes. Buff to a soft sheen.
- Cure: Stand it up to breathe for a few hours before use.
Pro tip: New or very dry boards may need 2–3 rounds the first day. Keep wiping off all extra oil to avoid a sticky film.
How Often to Oil and How to Tell It Needs Oil
There is no fixed calendar. Wood and climate vary. This cutting board oil guide for wood boards suggests a simple test.
- Water bead test: Drop water on the surface. If beads hold tight, you are good. If it soaks in or leaves a dark spot, it needs oil.
- Visual cues: The board looks pale, chalky, or feels rough. End grain looks thirsty.
- Smell test: A dry board holds odors. Oiling helps block smells.
- Rule of thumb: Once a week at first. Then monthly or as needed.
Heavy use or dry winters may call for more care. Oil sooner if you wash the board many times a day.
Care and Maintenance Beyond Oiling
Good habits matter as much as oil. This cutting board oil guide for wood boards covers daily care that prevents damage.
- Wash right: Use warm soapy water and a soft brush or sponge. Rinse well. Never soak or put in a dishwasher.
- Disinfect smart: For deep clean, wipe with white vinegar or 3% hydrogen peroxide. If you use diluted bleach, keep it mild and brief, then rinse and dry fast. Harsh bleach can dry wood.
- Dry fast: Stand the board on edge to dry with air flow on both sides.
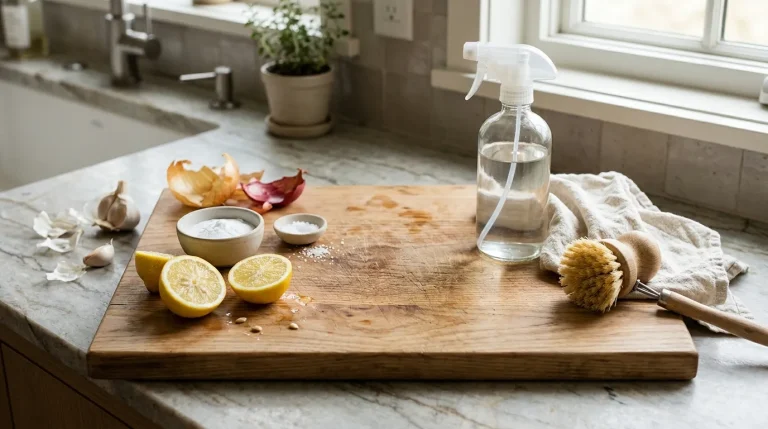
- Deodorize: Rub with coarse salt and a cut lemon. Rinse and dry.
- Store safe: Keep away from heat vents and direct sun. Flip sides between uses.
If the surface feels raised, a quick sand with fine grit (220) sets it right. Always re-oil after sanding.
Science and Safety: Food-Safe Oils and Myths
Wood is porous but smart. Studies show some hardwoods hinder bacteria in the fibers as they dry. Oil helps by keeping water from soaking in. This cutting board oil guide for wood boards aligns with food safety advice: clean, dry, oil, and sanitize when needed.
Rancidity is the big risk with cooking oils. Unsaturated oils can oxidize and smell. Mineral oil is stable and does not oxidize like that. Polymerizing oils can be great, but apply thin and let them cure.
You still need safe food handling. Keep raw meat boards separate or clean and sanitize with care. Allow full drying time before storage.
Troubleshooting and Fixes
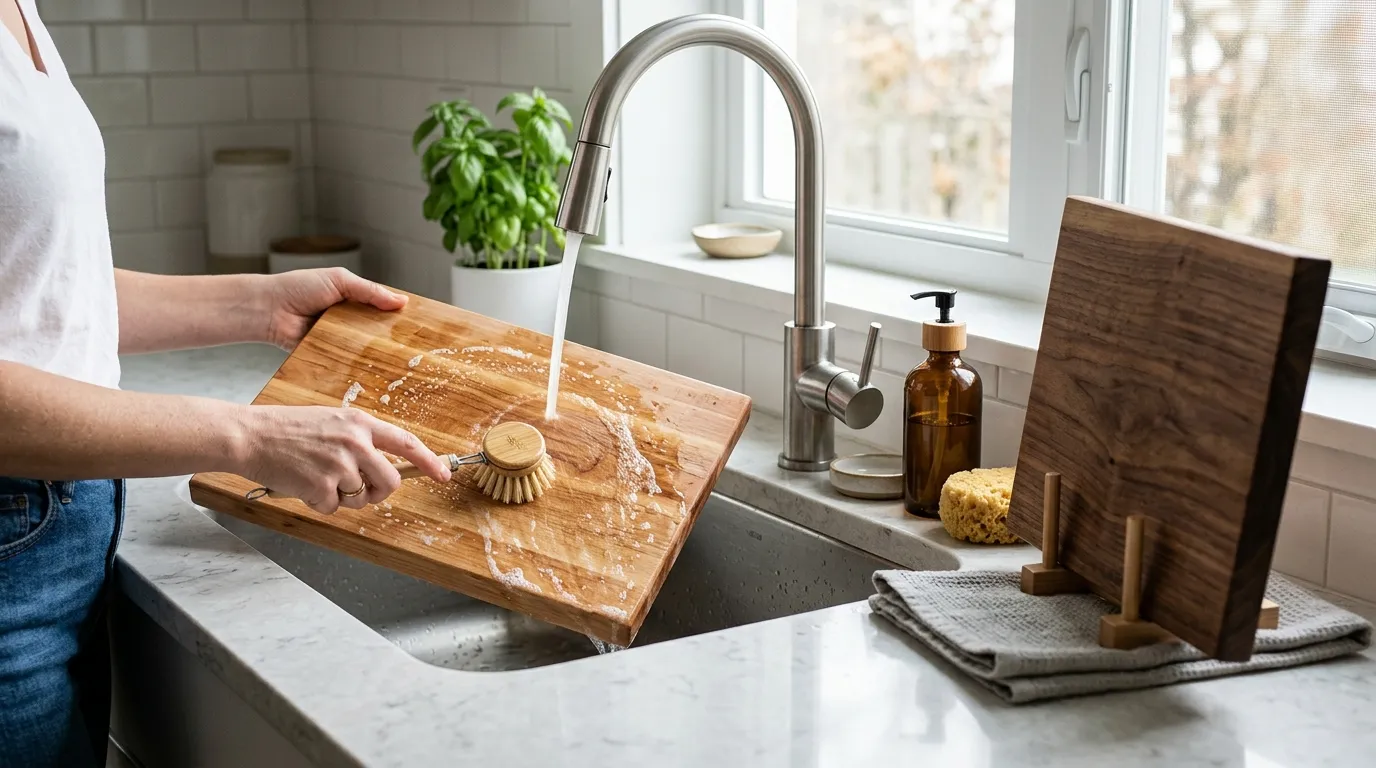
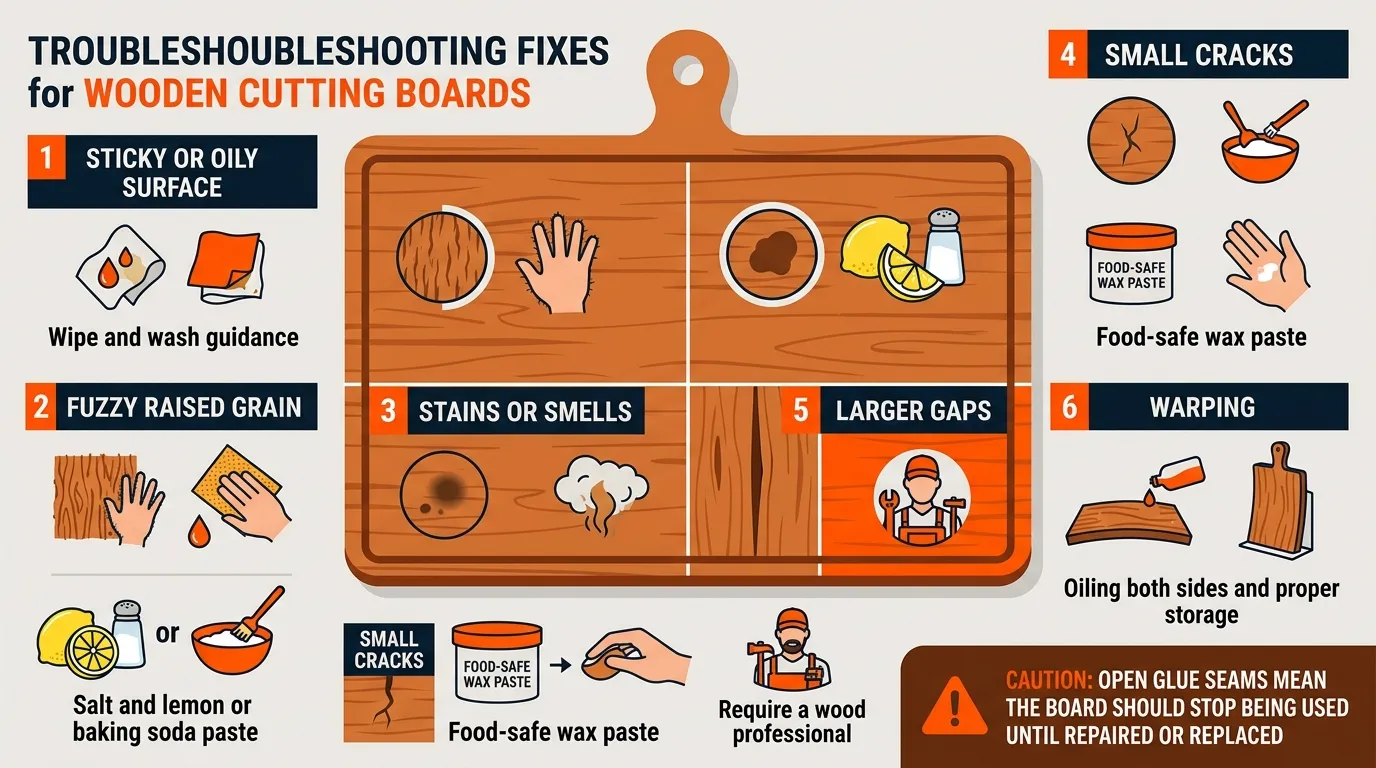
Stuff happens. Here are quick solves I use on client boards. This cutting board oil guide for wood boards keeps fixes simple and safe.
- Sticky or oily surface: You used too much oil or wax. Wipe with a dry cloth, then wash with warm soapy water. Dry, then apply a thinner coat.
- Fuzzy grain after washing: Lightly sand with 220 grit. Wipe dust. Re-oil.
- Stains or smells: Salt and lemon scrub. For tough cases, a paste of baking soda and water. Rinse well and dry.
- Small cracks: Fill with a food-safe wax paste. For larger gaps, see a wood pro for a food-safe epoxy.
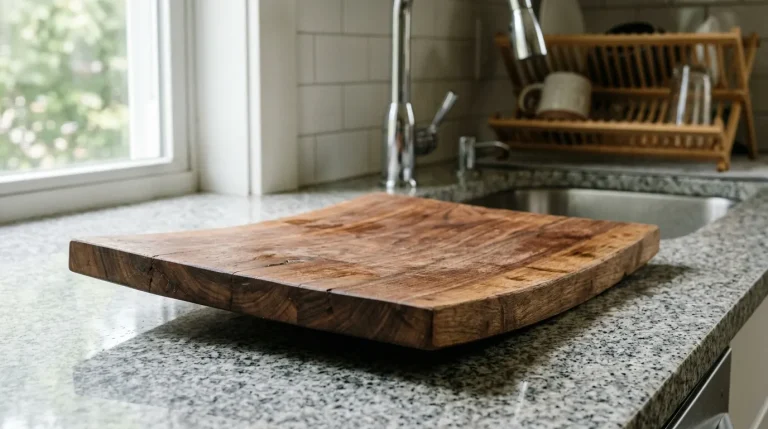
- Warping: Oil both sides, then store flat with a light weight on top. Let it settle.
If glue seams open, stop using the board for now. Repair or replace to keep it safe.
My Field Notes and Pro Tips
I once watched a gorgeous maple board cup in a week. The cause was simple. The client oiled only one face. Since then, I always oil all sides and edges. This cutting board oil guide for wood boards stresses even care because wood moves with moisture.
What works best for me:
- Prime new boards with three light coats in one day.
- Keep a small tin of board butter by the sink. A two-minute buff after weekend prep keeps the board sealed.
- Use fractionated coconut oil in humid kitchens. It stays clear and light.
- For end-grain boards, apply extra oil on day one. They drink more but also last longer.
Common mistake: Rushing the wipe-off step. Always remove extra oil. The surface should feel dry, not greasy.
Frequently Asked Questions
What is the best oil for wooden cutting boards?
Food-grade mineral oil is the top choice. It is safe, stable, and does not go rancid.
Can I use olive or vegetable oil on my board?
No. These oils can oxidize and turn rancid. They may leave sticky, smelly residue.
How often should I oil my board?
Test monthly or as needed. If water does not bead or the wood looks dry, re-oil.
Is beeswax necessary after oiling?
Not required, but helpful. Wax adds a water-repellent layer and a smooth feel.
How do I remove strong odors like garlic?
Scrub with coarse salt and a cut lemon. Rinse, dry, and re-oil.
Are walnut or tung oils safe to use?
Pure versions can work if fully cured. Avoid them for nut-allergy homes and follow cure times.
What about plastic vs wood for meat?
Both can be safe if cleaned well. Keep good habits, sanitize, and dry fully.
Conclusion
Cared-for wood lasts, looks great, and feels better under the knife. Choose a safe oil, apply light coats, and keep up a simple routine. Your board will reward you with years of steady service.
Use this cutting board oil guide for wood boards as your roadmap. Start with a clean, dry board. Oil all sides. Buff well. Then cook, wipe, and repeat as needed. Want more tips like this? Subscribe, share your results, or drop a question and I’ll help you dial in your setup.