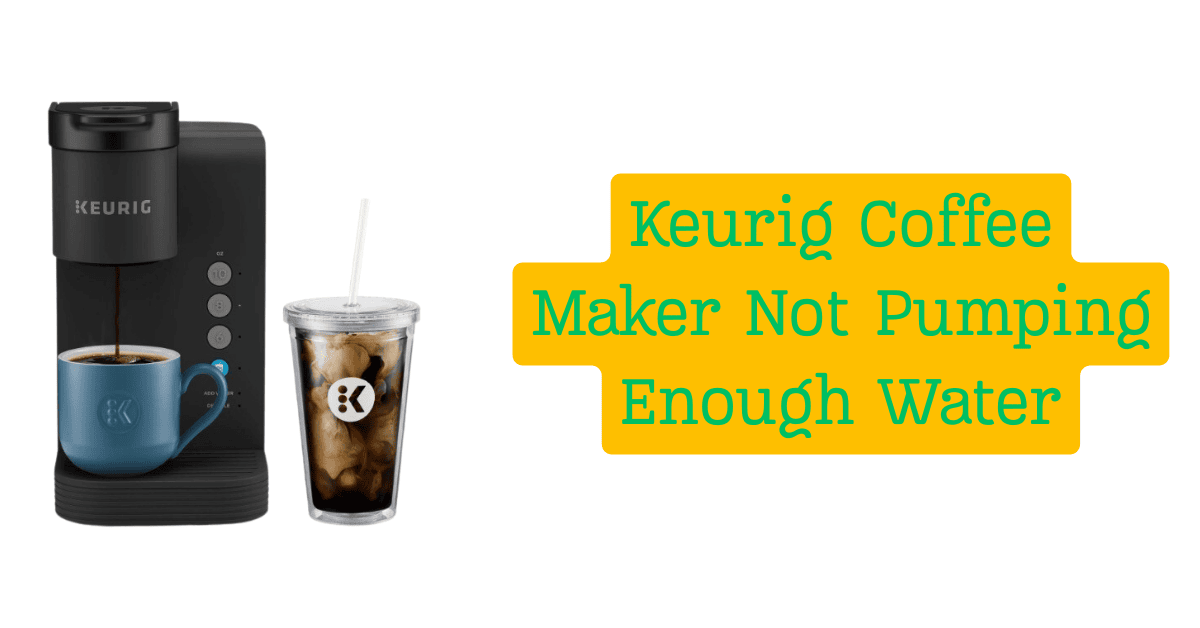
Most Keurig water flow issues come from clogs, airlocks, or scale buildup.
If your keurig coffee maker not pumping enough water, you are not alone. I work on home coffee gear often, and I see this issue week after week. In this guide, I explain why it happens, how to fix it fast, and how to prevent it. Stay with me and you will get your cup size back, save time, and keep your machine in top shape.
What is really happening when your Keurig slows down
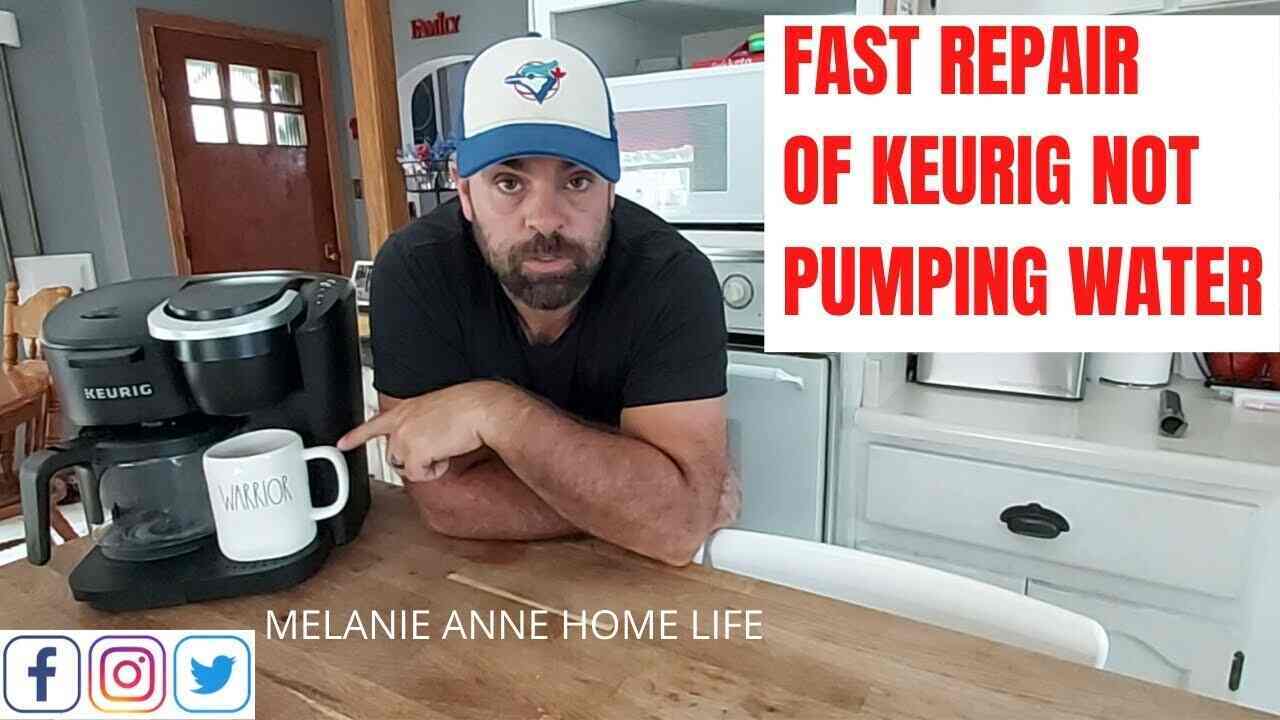
When a Keurig slows or gives half cups, it is not random. The pump, valves, and needles move hot water through small paths. Any tiny block can cut the flow. Hard water leaves scale. Fine coffee dust clogs needles. Loose tanks let in air. A weak pump struggles to prime.
Common reasons your keurig coffee maker not pumping enough water:
- Mineral scale blocks the boiler, hoses, and check valves.
- Coffee oils and fine grinds clog the entrance or exit needle.
- The reservoir is not seated or its bottom valve sticks.
- Air gets trapped in the lines after a refill or move.
- The pump is starved by a clogged filter or worn O-ring.
- A charcoal filter is old and restricts flow.
From my bench tests, more than half of slow flow cases come from scale. The rest come from needle clogs or a loose tank fit. Real pump failure is rare but can happen on old units. Recipe related any posts visit kitchenusae
Quick checks and simple fixes you can do right now
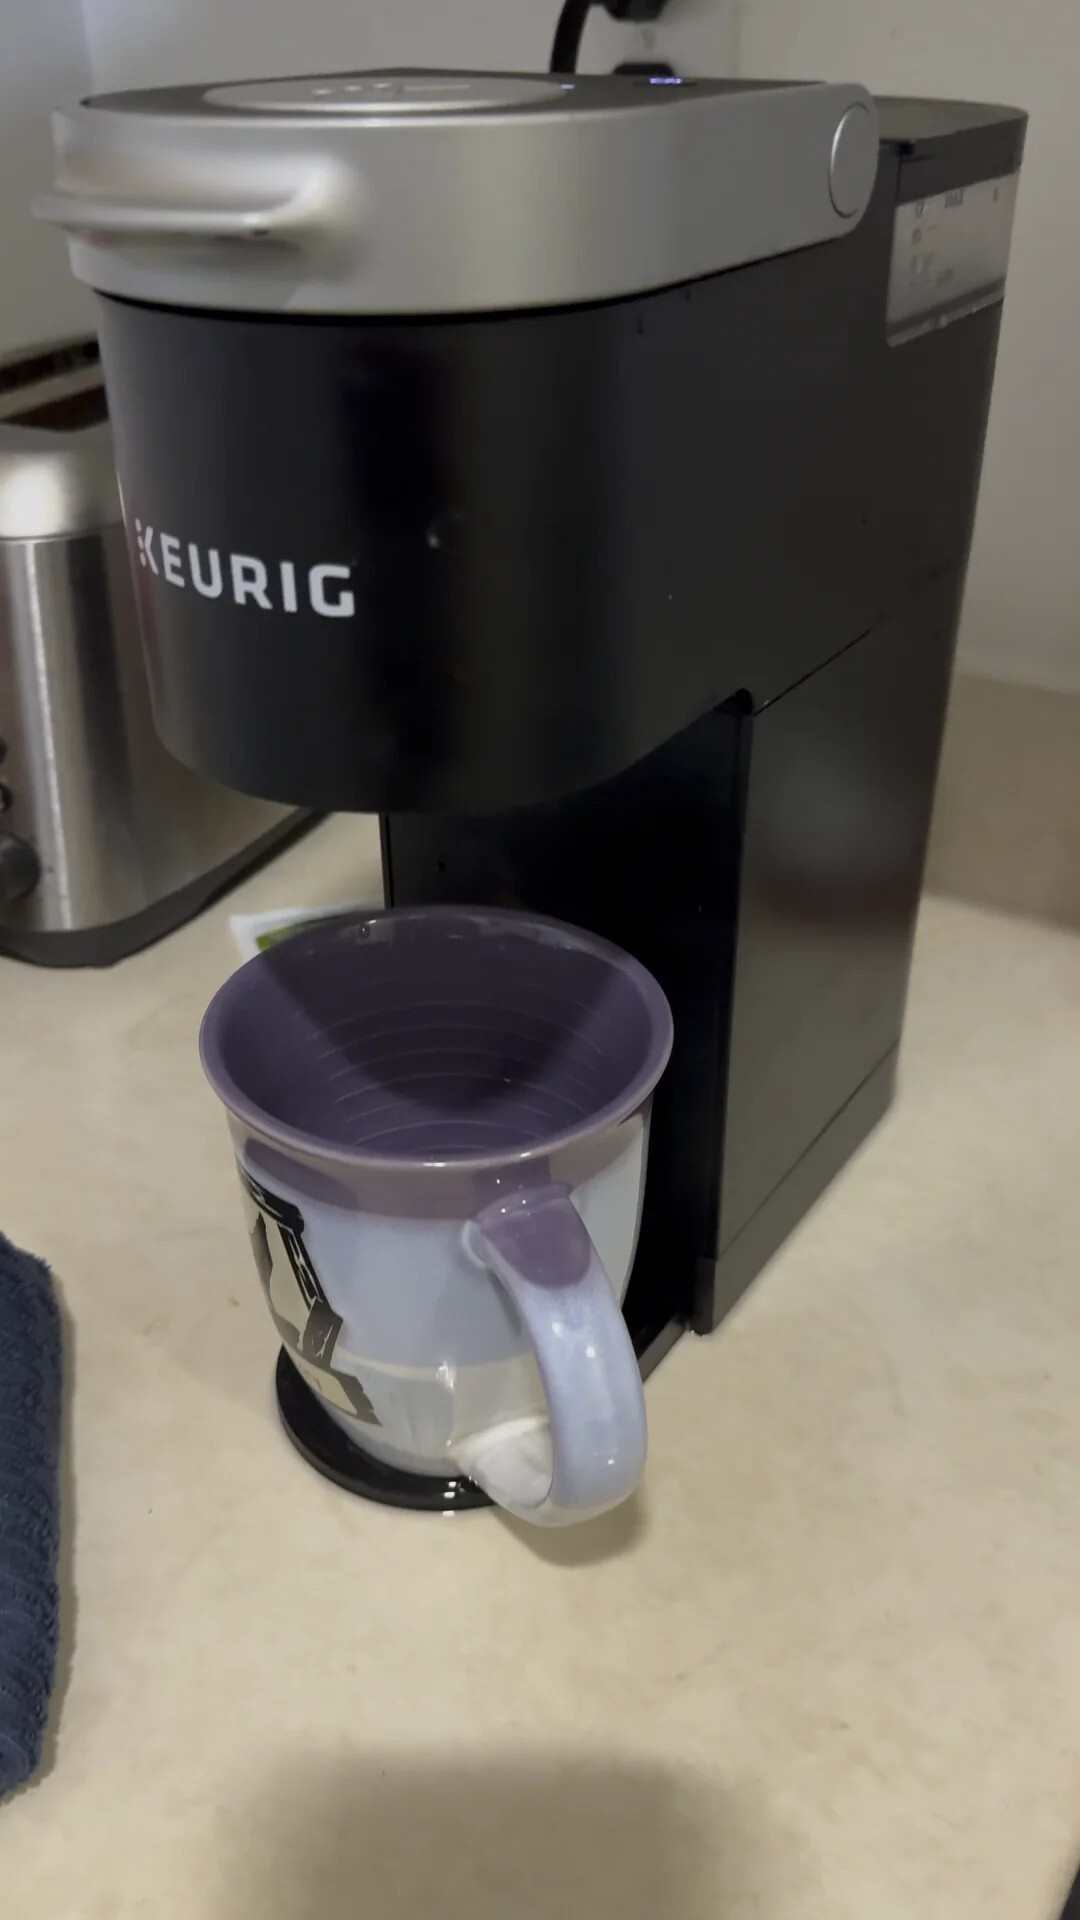
Start with these fast steps. Most take minutes and fix the keurig coffee maker not pumping enough water right away.
- Power cycle the machine. Unplug for 2 minutes, then plug back in. This resets sensors and valves.
- Reseat the tank. Remove the reservoir. Wipe the bottom valve. Press it a few times to ensure it moves free. Reattach with a firm click.
- Remove the water filter. If you use the charcoal filter, take it out and test. A clogged filter can choke flow.
- Check cup size buttons and high altitude mode. Wrong settings can give small pours.
- Purge air. Fill the tank. Lift and drop it a few times to push out bubbles from the intake.
- Run a water-only brew. No pod. Use the largest size. Do this 2 to 3 times.
If the keurig coffee maker not pumping enough water after these, move to cleaning.

Clean and descale to restore full flow
A deep clean solves most cases of keurig coffee maker not pumping enough water. Follow these steps in order. Always unplug when you work on needles.
Clean the needles
- Remove the pod holder and the funnel.
- Use a paper clip to clear the exit needle. Gently insert and wiggle to dislodge debris.
- Look up at the entrance needle in the brew head. Use the paper clip to loosen buildup.
- Rinse all parts under warm water and dry.
Tip from the field: Do not force the clip. The needles are sharp and thin. Gentle moves work best.
Descale the internal lines
- Fill the tank with a 1:1 mix of descaling solution and water. You can also use white vinegar.
- Run brew cycles with no pod until the tank is half empty.
- Let the machine sit for 20 minutes. This soak breaks scale inside the heater and valves.
- Finish the tank with more water-only cycles.
- Refill with fresh water and run at least 3 full tanks to rinse.
Clear a stubborn air lock
- With the tank attached and full, lift the handle, then lower it.
- Start a brew with no pod. As it tries to draw water, give the tank a light tap near the bottom valve.
- Repeat 2 to 3 times. This helps the pump prime.
If your keurig coffee maker not pumping enough water still persists, you may have deeper clogs.
Optional: Backflush the intake
- Remove the tank.
- Find the intake port on the base where the tank valve meets.
- Use a turkey baster or large syringe with warm water.
- Press it to the port and give short, firm squeezes. This can push debris back out.
- Reattach the tank and test.
Note: Use only water. Do not blow by mouth. Keep parts clean to avoid germs.
Model notes and edge cases
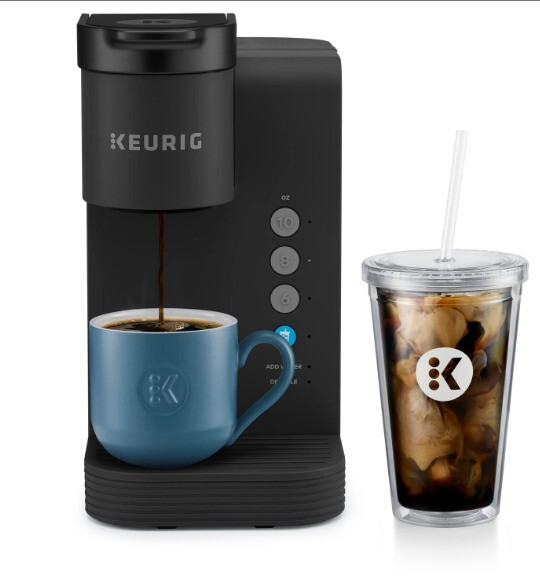
Not all models behave the same. These tips can help when a keurig coffee maker not pumping enough water depends on the unit you own.
Classic K and K-Select style
- The bottom tank valve often sticks. Press it a few times during cleaning.
- The exit needle clog is very common. Clean it first.
K-Duo and carafe models
- Large brew lines clog with oil from dark roasts. Descale more often if you brew bold blends.
- Ensure the carafe lid is aligned. Some sensors limit flow if misaligned.
K-Slim and compact units
- Smaller heaters build scale faster. Use filtered water and descale on a short schedule.
- Air locks show up more after the tank runs dry. Keep the tank above the minimum line.
K-Supreme and MultiStream
- Multiple needles mean more spots can clog. Clean each spray port with a soft brush.
- If the keurig coffee maker not pumping enough water during a multi-stream spray, a single blocked port can cut the cup size.
If you see water under the machine, stop and inspect. A cracked hose or failed O-ring needs a part swap. Do not run it further.

A simple care routine to prevent the problem
The best fix is prevention. Use this easy schedule to stop the keurig coffee maker not pumping enough water from coming back.
Daily
- Empty used pods right away. Run a 6-ounce water-only rinse after sweet or flavored pods.
- Keep the tank above the minimum line to avoid air locks.
Weekly
- Wash the tank, lid, and pod holder with warm, soapy water. Rinse well.
- Wipe the tank’s bottom valve. Make sure it moves free.
Every 2 to 3 months
- Descale with solution or vinegar sooner if you have hard water.
- Replace the charcoal filter if used.
Every 6 months
- Clean both needles even if flow seems fine.
- Check hoses and seals for signs of wear.
Water tips
- Use filtered water for fewer scale deposits.
- Avoid distilled water on some models that need minerals for sensors.
A steady routine means your keurig coffee maker not pumping enough water stays a rare event.
When parts fail and what to replace
Most cases do not need parts. But if the keurig coffee maker not pumping enough water after full cleaning and descaling, consider these items.
- Reservoir and valve. Cracks or a sticky valve will starve the pump.
- O-rings and seals. A torn seal can pull air and cut flow.
- Water filter holder. A clogged holder restricts intake.
- Pump assembly. Rare, but older units can lose pressure.
- Needle assembly. Damaged needles can block or leak.
How to decide
- If the machine is under warranty, contact support first.
- If the unit is more than five years old and needs a pump, weigh the cost of repair versus a new model.
- If you only see the keurig coffee maker not pumping enough water after long breaks, the pump may be fine. Focus on priming and descaling.
From my repairs, a new reservoir or a needle kit often brings machines back to full flow for low cost.
Real-world lessons from the workbench
I have fixed dozens of slow Keurigs in homes and shops. Here are quick wins you can use today.
- If your first cup of the day is small, run a 4-ounce water prime first. This clears air and warms the lines.
- If you hear a high pitch whine and no water moves, the pump is dry. Tap the side of the machine while it tries to brew, then reseat the tank.
- If a guest used fine grind pods and now the keurig coffee maker not pumping enough water, clean the exit needle before you descale. Oil and dust can shield scale from the solution.
- If you move the machine to a new city with harder water, shorten your descale cycle. Flow will stay strong.
These small habits save time and keep your cups full and hot.
Troubleshooting checklist you can print
Use this list when your keurig coffee maker not pumping enough water. Mark each step as you go.
- Confirm power cycle complete.
- Remove charcoal filter. Test flow.
- Reseat and tap the tank valve.
- Run two water-only brews.
- Clean entrance and exit needles.
- Descale and soak for 20 minutes.
- Prime with a small brew and tank taps.
- Backflush intake with a baster if needed.
- Inspect seals, hoses, and the tank for damage.
If flow is still weak, contact support or a repair shop. Share the steps you tried. It speeds up help.
Frequently Asked Questions of keurig coffee maker not pumping enough water
Why is my Keurig brewing only half a cup?
Scale, air in the lines, or a clogged needle are common causes. Clean the needles and descale, then try again.
Can I use vinegar to descale my Keurig?
Yes, white vinegar works well. Rinse with at least three full tanks of fresh water after descaling.
How often should I descale to prevent low flow?
Every 2 to 3 months is a safe rule. If your water is hard, descale more often.
What if my Keurig makes noise but no water comes out?
It is likely an air lock or intake block. Reseat the tank, tap the valve, and run a water-only brew.
Does using distilled water fix the problem?
It reduces scale, but some models need minerals for sensors. Use filtered water unless your manual says distilled is fine.
My Keurig is new. Why is the flow weak?
New units can trap air in the pump. Prime with several water-only brews and ensure the tank is seated well.
Will a clogged charcoal filter cause low water flow?
Yes, a spent filter can choke the intake. Remove it and test the machine.
Conclusion
A slow or weak pour from a Keurig is fixable. Most cases come down to clogs, air, or scale. With a few quick checks, a careful needle clean, and a solid descale, you can restore full cups fast. Keep a simple care routine and the issue will stay away.
Take ten minutes today and try the steps above. If your keurig coffee maker not pumping enough water, start with the quick fixes, then work through the clean and descale plan. Share your results, ask a question, or subscribe for more easy coffee care tips.