Choose light-colored aluminum, standard sizes, safe coatings, and sturdy, warp-resistant pans.
You want a bakeware buying guide for home bakers that is clear, tested, and honest. I’ve spent years baking in small home ovens and busy test kitchens. In this guide, I break down what to buy, what to skip, and why it works. If you want gear that performs without drama, this bakeware buying guide for home bakers is your shortcut.
A quick framework for choosing bakeware
Use this simple checklist before you buy:
- Match the pan to what you bake most. Cookies, cakes, pies, or bread need different traits.
- Pick light-colored aluminum or aluminized steel for even browning and easy release.
- Choose standard sizes so recipes and liners fit and you can scale bakes.
- Check max oven temp, dishwasher notes, and whether metal tools are safe.
- Prefer thicker gauge pans. They resist warping and heat more evenly.
- Confirm food safety. Look for PTFE that’s PFOA-free, and silicone that is food-grade.
My rule of thumb from years of testing: start simple, buy once, and upgrade only when your baking style demands it. This bakeware buying guide for home bakers aims to save you time and money.
Bakeware materials explained
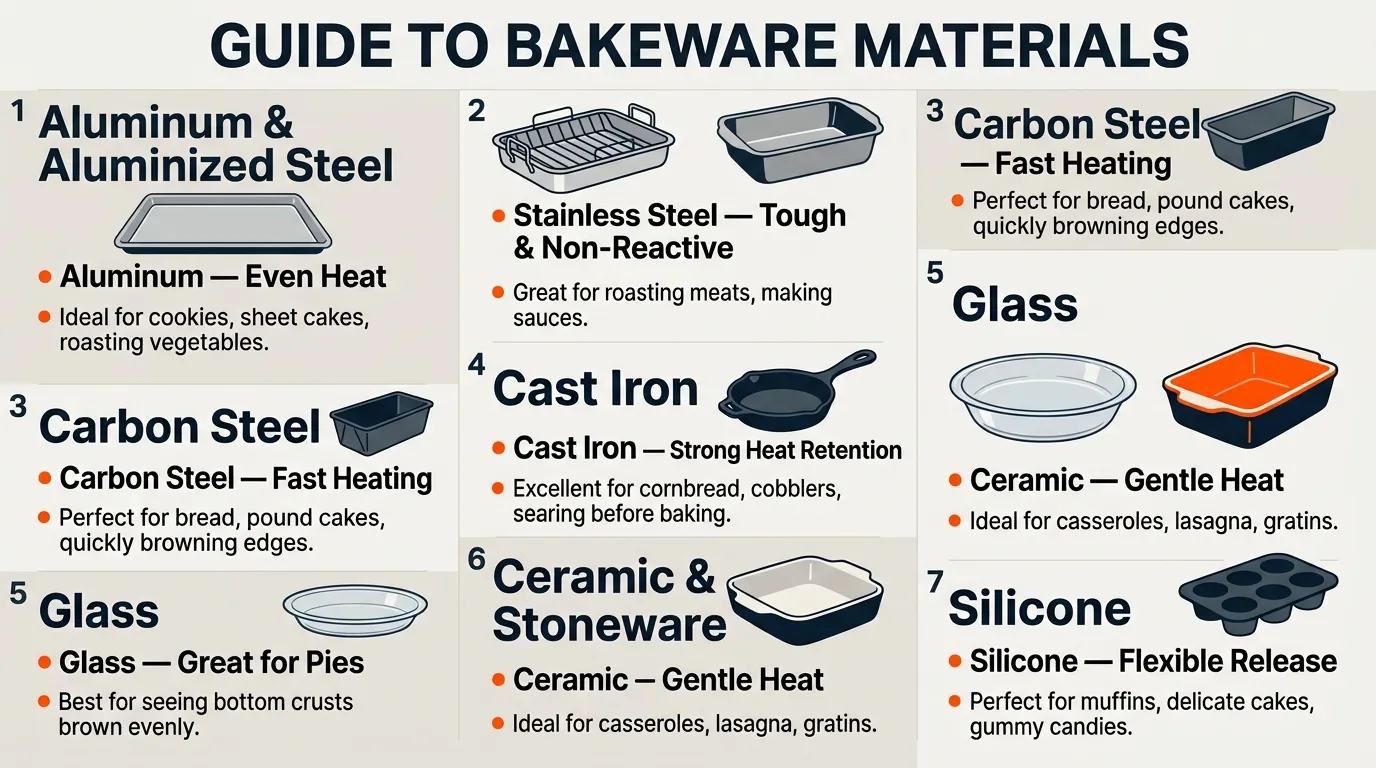
Not all pans behave the same. Material controls heat, browning, and durability. Here is how each type performs and where it shines in a bakeware buying guide for home bakers.
Aluminum and aluminized steel
- Strengths: Excellent heat conduction, even baking, lighter weight, often affordable.
- Best for: Sheet pans, cake pans, muffin tins.
- Watch-outs: Bare aluminum can react with acidic foods. Anodized or coated versions fix that.
Stainless steel
- Strengths: Non-reactive, tough, dishwasher-friendly.
- Best for: Roasting and serving pieces.
- Watch-outs: Poor heat conduction on its own. Cookies may bake pale and uneven.
Carbon steel
- Strengths: Heats fast, seasons over time, durable.
- Best for: Sheet pans, loaf pans, tart tins.
- Watch-outs: Needs seasoning and thorough drying to avoid rust.
Cast iron
- Strengths: Heat retention, gorgeous crusts, stove-to-oven use.
- Best for: Skillet cakes, cornbread, deep-dish pies.
- Watch-outs: Heavy, slower to heat, needs seasoning.
Glass
- Strengths: Non-reactive, you can see browning on sides, great for pies and casseroles.
- Best for: Pies, brownies, cobblers.
- Watch-outs: Heats slow, can overbrown edges once hot. Avoid thermal shock.
Ceramic and stoneware
- Strengths: Even, gentle heat, attractive on table.
- Best for: Custards, crumbles, bread puddings.
- Watch-outs: Slower to heat. Check max temp and avoid sudden temperature swings.
Silicone
- Strengths: Nonstick by nature, flexible release, easy cleanup.
- Best for: Candy molds, delicate shapes, mini loaves.
- Watch-outs: Needs a rigid sheet pan beneath. Browning is lighter. Pick food-grade silicone.
Essential pans for home bakers
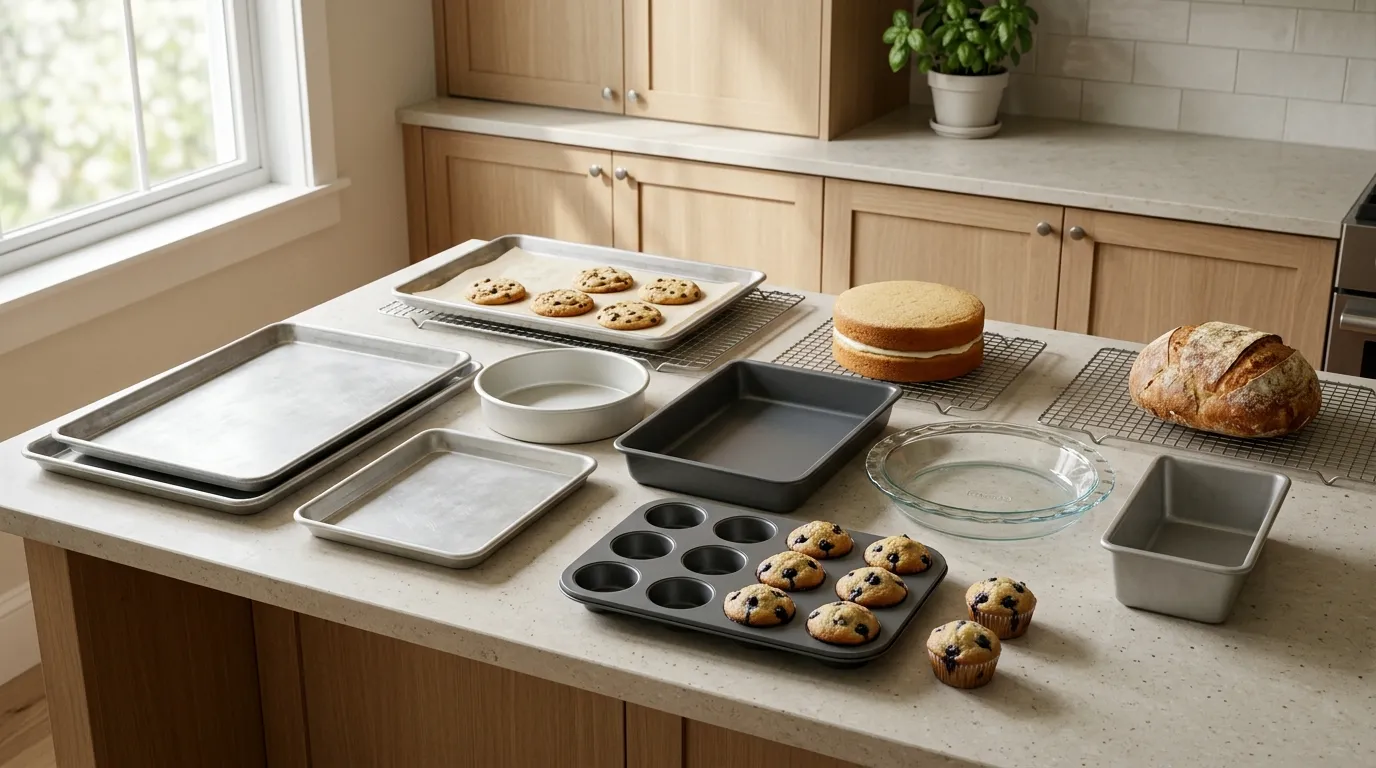
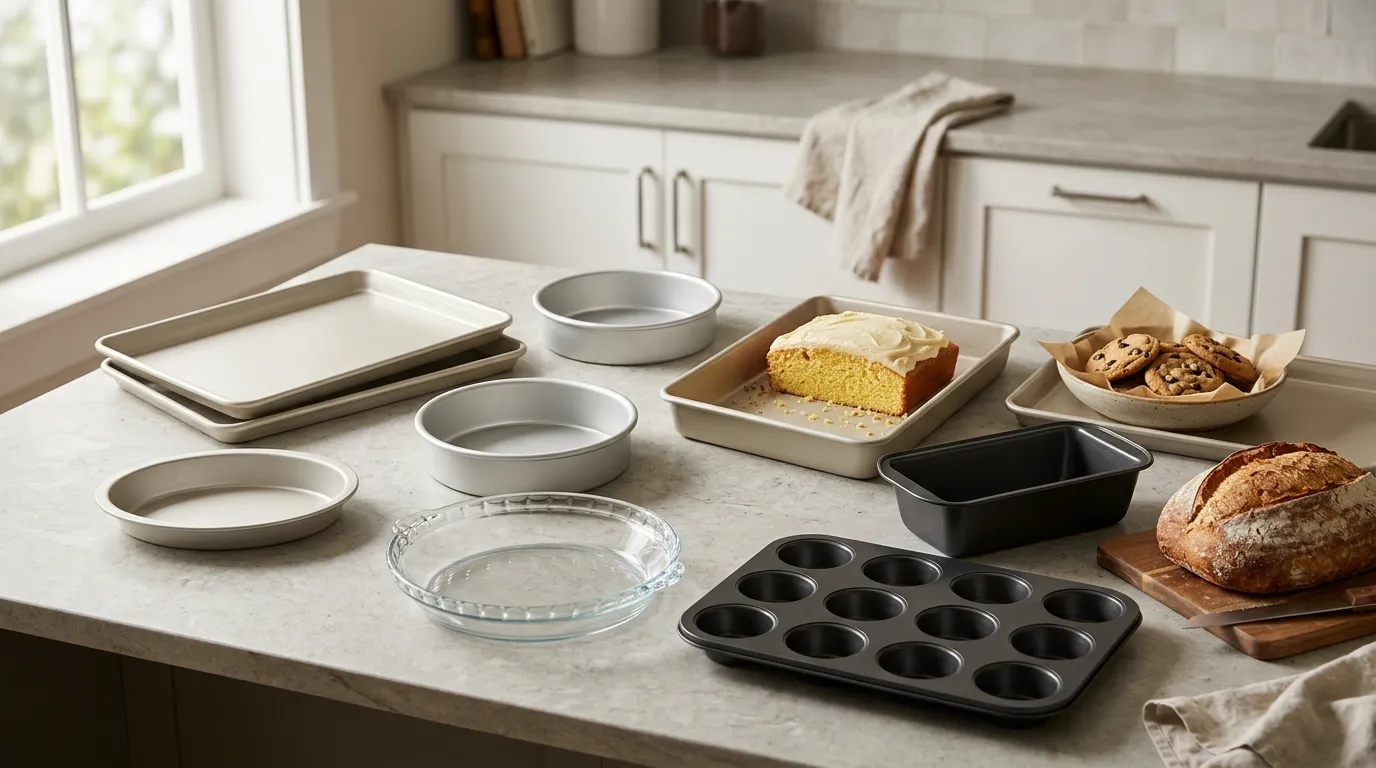
If you are building a core kit, start here. These picks cover most bakes without clutter. This is the heart of any bakeware buying guide for home bakers.
- Rimmed half-sheet pans, 18 x 13 inches. Buy two. Use for cookies, roasting, and freezing.
- Quarter-sheet pans, 13 x 9 inches. Handy for small batches and to support silicone molds.
- Light-colored aluminum cake pans, 8-inch or 9-inch, at least two. Straight sides release cleaner layers.
- 9 x 13-inch rectangular pan, 3-quart capacity. Brownies, bar cookies, casseroles.
- 9-inch pie plate, glass or ceramic. Glass helps you see the crust color.
- 1-pound loaf pan, about 8.5 x 4.5 inches. Sandwich bread and quick breads.
- Muffin tin, 12-cup, light-colored nonstick or aluminized steel. Even cupcakes and easy cleanup.
- Cooling racks, oven-safe, that fit your sheet pans. Airflow equals crisp bottoms.
From experience: my first real upgrade was switching to light aluminum cake pans. My layers baked flat and even, which fixed years of domed cakes and dry edges.
Sizes and standards that actually fit
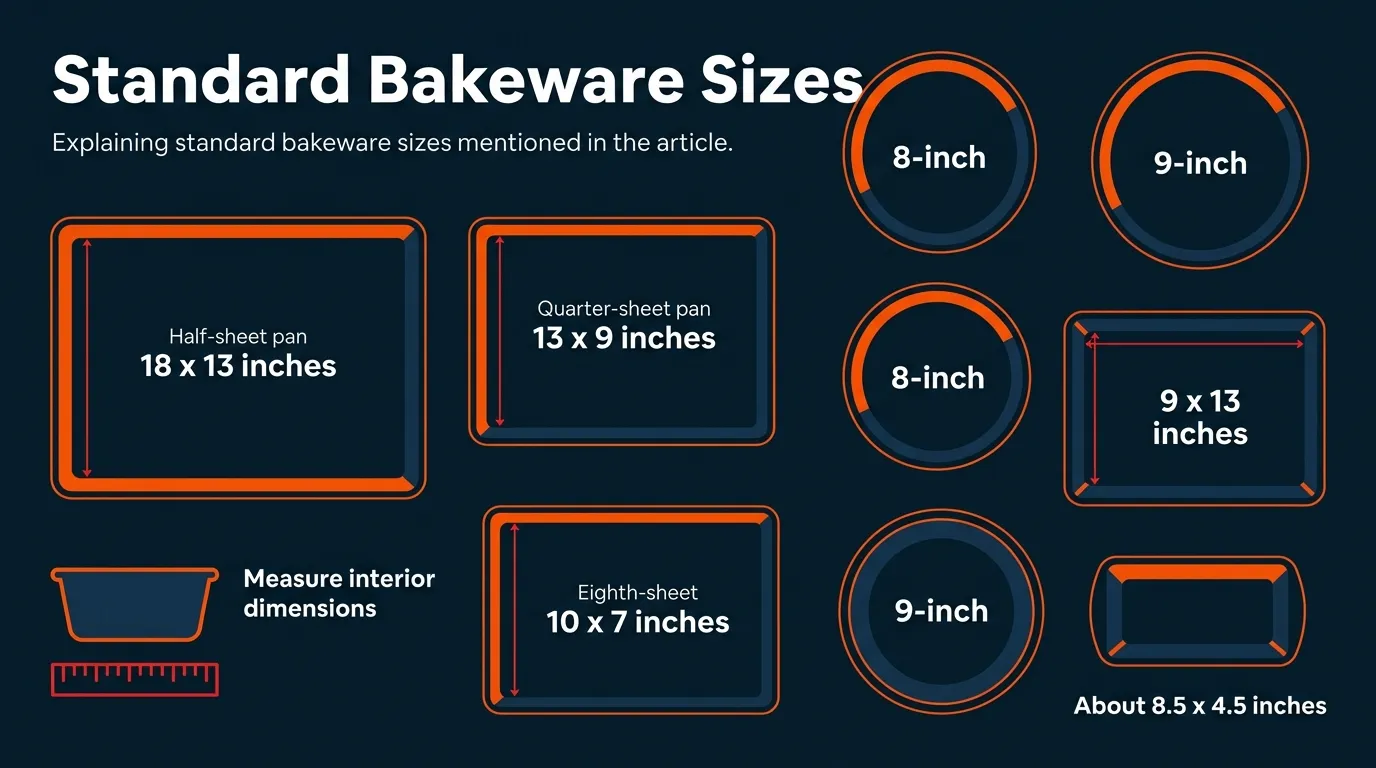
Standard sizes make recipes work as written and fit home ovens.
- Sheet pans: Half-sheet is 18 x 13 inches. Quarter-sheet is 13 x 9 inches. Eighth-sheet is about 10 x 7 inches.
- Cake pans: 8-inch versus 9-inch rounds differ by about 25 percent in surface area. If you swap sizes, adjust batter or bake time.
- Rectangular: 9 x 13 inches holds about 3 quarts. Many recipes assume this.
- Springform: Common sizes are 9 or 10 inches. Wrap the base to prevent leaks.
- Conversions: Two 8-inch rounds roughly equal one 9 x 13-inch pan in batter volume.
Tip from this bakeware buying guide for home bakers: measure interior dimensions, not just exterior, since rolled rims steal space and can change volume.
Surface, color, and coatings
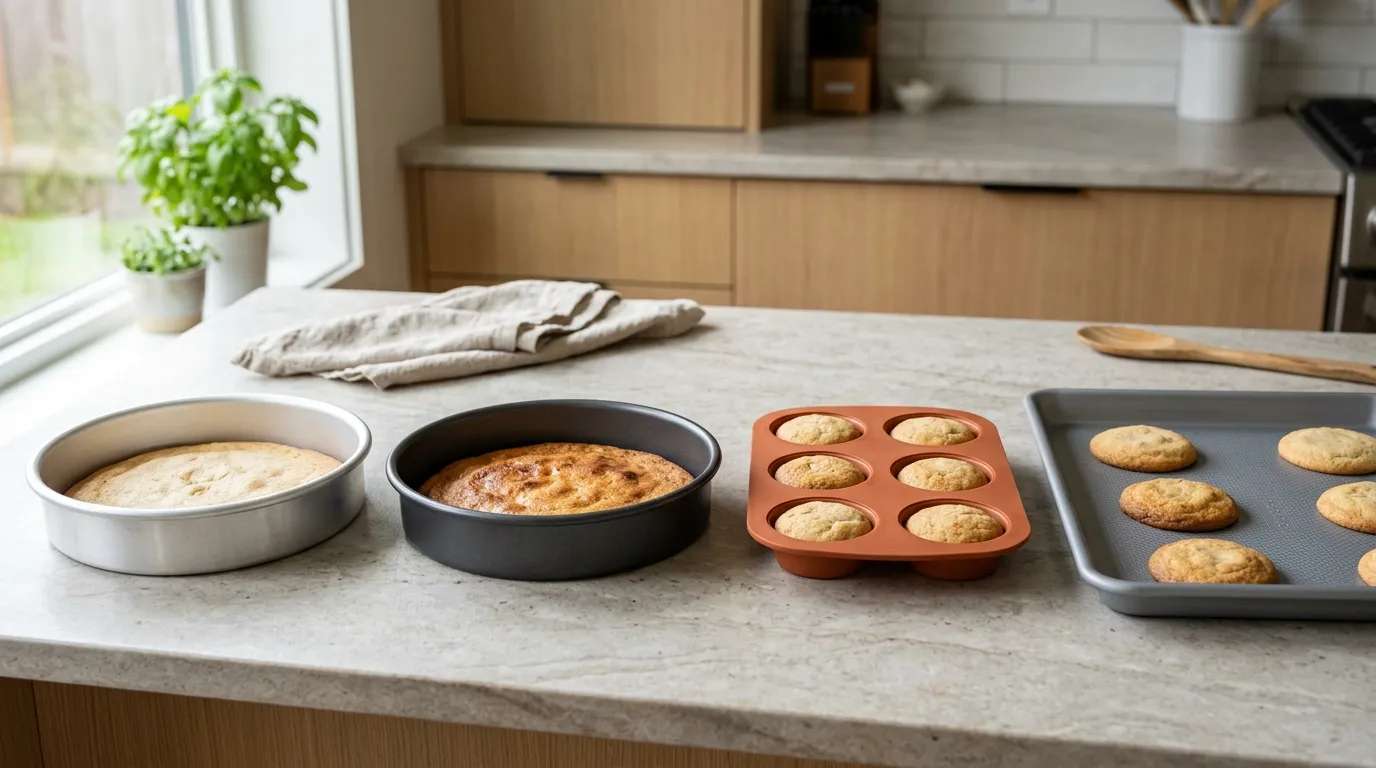
The finish and color change how your bake turns out.
- Light versus dark: Dark pans brown faster. If a recipe burns on the bottom, switch to light-colored or reduce heat by 25 degrees.
- Anodized aluminum: Non-reactive, tougher surface, often more even browning.
- Nonstick PTFE: Great release and easy cleaning. Use below 500°F, avoid broiler, and skip aerosol sprays to protect the coating.
- Ceramic nonstick: PTFE-free, but often less durable. Good for light use.
- Textured surfaces: Help airflow and release, useful for cookies.
For food safety in this bakeware buying guide for home bakers: choose PFOA-free PTFE, and silicone labeled food-grade. Replace any chipped or flaking coating.
Performance factors that matter
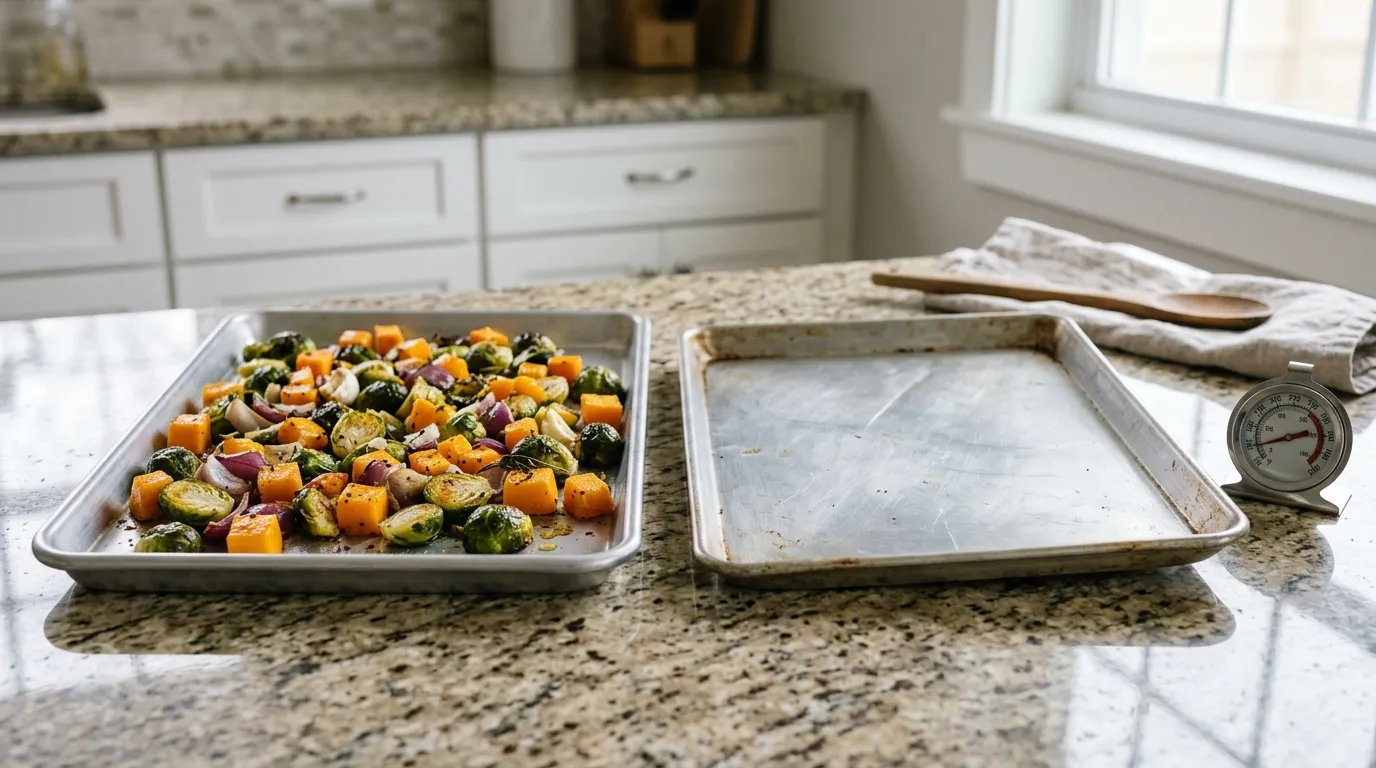
A few small specs make a big difference in day-to-day baking.
- Thickness and gauge: Thicker pans stay flat. For sheet pans, 18-gauge resists warping better than thinner versions.
- Rolled rims and support: A wire-reinforced rim keeps pans from twisting at high heat.
- Thermal shock: Glass and ceramic can crack if moved from fridge to hot oven. Let them come to room temp first.
- Oven accuracy: Many home ovens run hot or cold. An oven thermometer saves bakes.
- Tolerances: Check max temperature. Some nonstick pans cap at 450°F.
Pro insight in this bakeware buying guide for home bakers: my thinnest sheet pan warped under the broiler and dumped roasting carrots. A thicker half-sheet fixed it for good.
Handy add-ons and accessories
Small tools boost consistency and reduce waste.
- Parchment paper: Prevents sticking and speeds cleanup. Great under cookies and bread.
- Silicone baking mats: Reusable, ideal for sugar work. Expect lighter browning than parchment.
- Pie weights or dried beans: Prevent soggy bottoms in blind-baked shells.
- Oven-safe cooling racks: Use for glazing, draining, and crisping.
- Instant-read thermometer: Check custards and bread doneness.
- Digital scale: Measure by weight for accuracy and repeatable results.
This bakeware buying guide for home bakers favors simple tools that do double duty and store flat.
Budget and value: where to save or splurge
You do not need a full set from one brand. Mix and match to fit your budget and style.
- Splurge on: Half-sheet pans, cake pans, and pie plates. These touch your food the most and affect texture and browning.
- Save on: 9 x 13-inch glass pan, cooling racks, and parchment. Function over fashion here.
- Starter set: Two half-sheets, two 8-inch cake pans, one 9 x 13, one 9-inch pie plate, one loaf pan, one 12-cup muffin tin, two cooling racks.
- Growth adds: A springform pan, tart pan with removable bottom, and an extra quarter-sheet.
From my kitchen notes for this bakeware buying guide for home bakers: I reached pro results fastest by upgrading sheet pans and cake pans first. Everything else was icing.
Care, cleaning, and storage
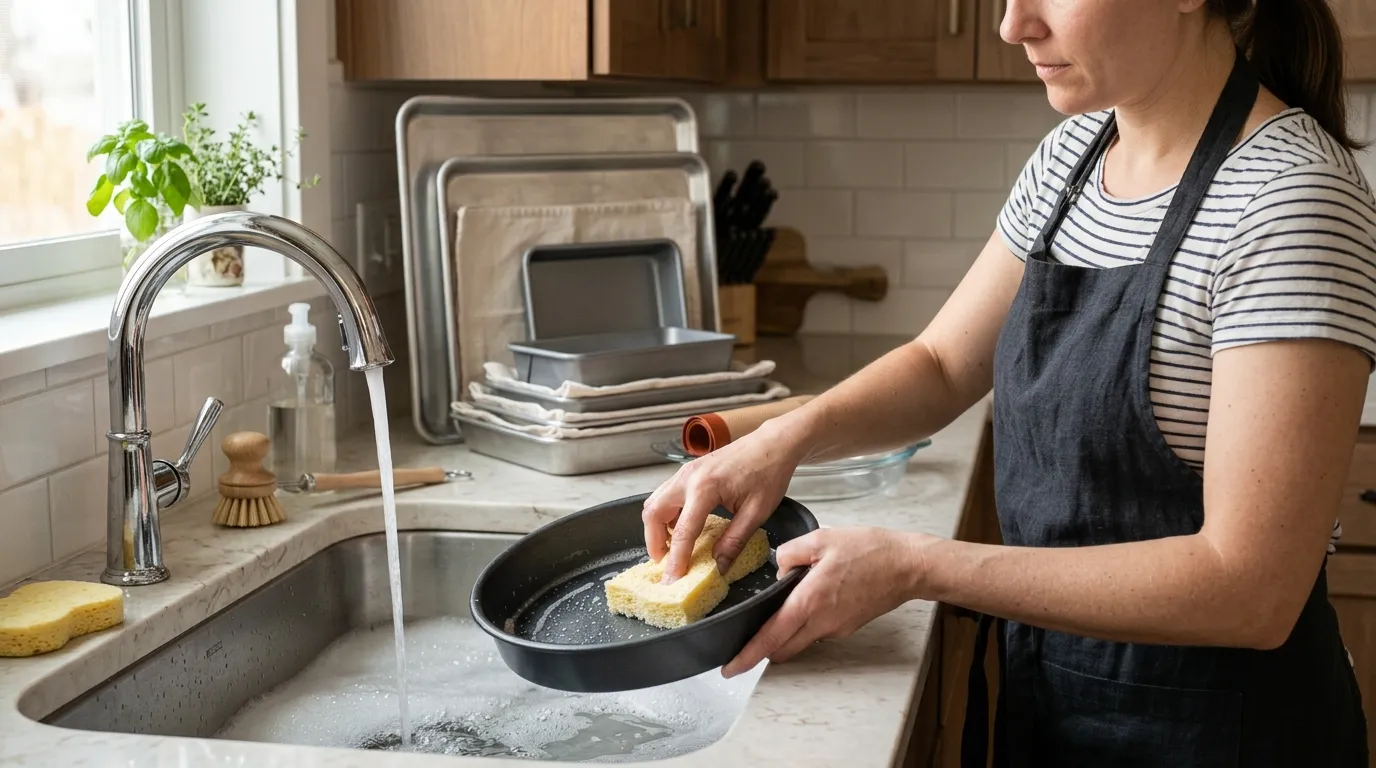
Treat bakeware well and it will last for years.
- Nonstick: Hand wash with mild soap and a soft sponge. Avoid metal tools and abrasive pads.
- Aluminum and steel: Dry fully to prevent spots or rust. For carbon steel, oil lightly after drying.
- Glass and ceramic: Avoid rapid temperature swings. Do not add cold liquid to a hot pan.
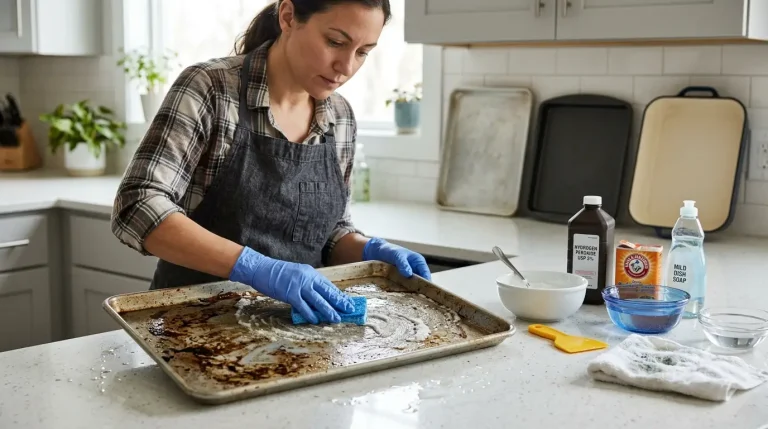
- Stuck-on sugar: Soak with warm water. Use a nylon scraper. Skip harsh chemicals.
- Storage: Stack with paper or a towel between pans to protect coatings and rims.
My habit from this bakeware buying guide for home bakers: label boxes and lids with max temp using painter’s tape. It prevents broiler mishaps.
Common mistakes to avoid and pro tips
A few small tweaks prevent many bake fails.
- Ignoring pan color: Dark pans run hot. Lower the oven temp or line with parchment.
- Wrong size: Overfilling leads to domes and spills. Fill cake pans two-thirds full.
- Skipping rotation: Rotate sheets halfway for even color, especially in small ovens.
- Using sprays on nonstick: They can build residue. Use butter, oil, or parchment instead.
- Cooling in hot pans too long: Carryover heat dries bakes. Unmold or lift with parchment once set.
From my early days: my brownies burned in a dark 9 x 13. Switching to light aluminum and lowering by 25 degrees gave me shiny tops and fudgy centers. That simple fix anchors this bakeware buying guide for home bakers.
Frequently Asked Questions of bakeware buying guide for home bakers
What bakeware material is best for beginners?
Light-colored aluminum or aluminized steel is the most forgiving. It heats evenly, releases well, and keeps browning under control.
Do dark nonstick pans ruin cookies?
Not if you adjust. Reduce oven temperature by 25 degrees or use parchment to buffer heat and avoid over-browning.
Is silicone bakeware safe and effective?
Food-grade silicone is safe within its rated temperature. Expect lighter browning, so place it on a metal sheet pan for support and better heat.
What size sheet pan fits a standard home oven?
A rimmed half-sheet, 18 x 13 inches, fits most home ovens. Measure interior rack width to be sure, including clearance for the rim.
How do I stop pans from warping?
Choose thicker pans with reinforced rims and avoid sudden temperature shocks. Do not broil on thin sheets or add cold liquid to hot pans.
Glass vs metal for brownies: which is better?
Metal bakes faster with crisp edges, while glass yields sturdy sides but can overbrown. Adjust time and watch the edges with glass.
How many cake pans do I need to start?
Get two 8-inch or two 9-inch round pans. You can bake most layer cakes and many breads or rolls with that pair.
Conclusion
Great bakeware does not need to be fancy. Choose the right material, stick to standard sizes, and care for what you own. Build a small, strong kit and add pieces only when your baking asks for them. With this bakeware buying guide for home bakers, you can shop with confidence and bake with less stress.
Ready to level up your bakes? Use the checklist above on your next purchase, share your wins, and subscribe for more tested kitchen guides.